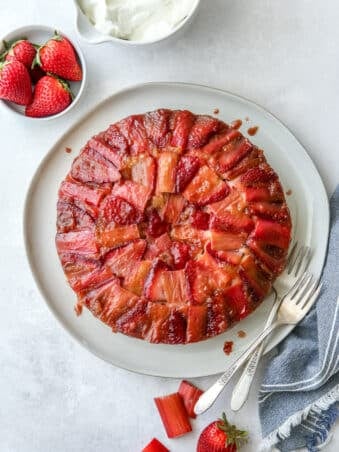
Strawberries and rhubarb are the perfect way to welcome spring, and this strawberry-rhubarb upside-down cake is a great cake for all occasions. It's simple,...
With a soft, tender texture and delightful vanilla flavor, these no-chill, no-roll sugar cookies topped with delicious buttercream frosting are a game-changer.
Twice-baked potatoes filled with spinach and sharp cheddar cheese are an excellent make-ahead option for holidays, potlucks and dinner parties. Add bacon or keep...
And I love to share all things completely delicious! I attended culinary school briefly, but learned most of my baking and cooking all on my own. Here you’ll find sweet and savory recipes, tips, and so much more!
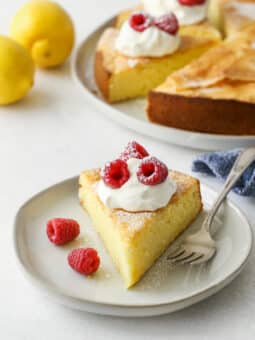
Light and tender, this flavorful lemon olive oil cake requires just 6 basic ingredients. It’s easy enough for a casual dessert, but fancy enough to impress dinner guests too. And it's perfect for spring!