

Summer Berry Pie (aka Triple Berry Pie)
This classic triple berry pie combines raspberries, blackberries, and blueberries with buttermilk crust for the perfect balance of sweet-tart flavor, juicy berry filling, and flaky pie crust. It’s a beautiful pie with perfectly thick filling and no soggy bottom crust.
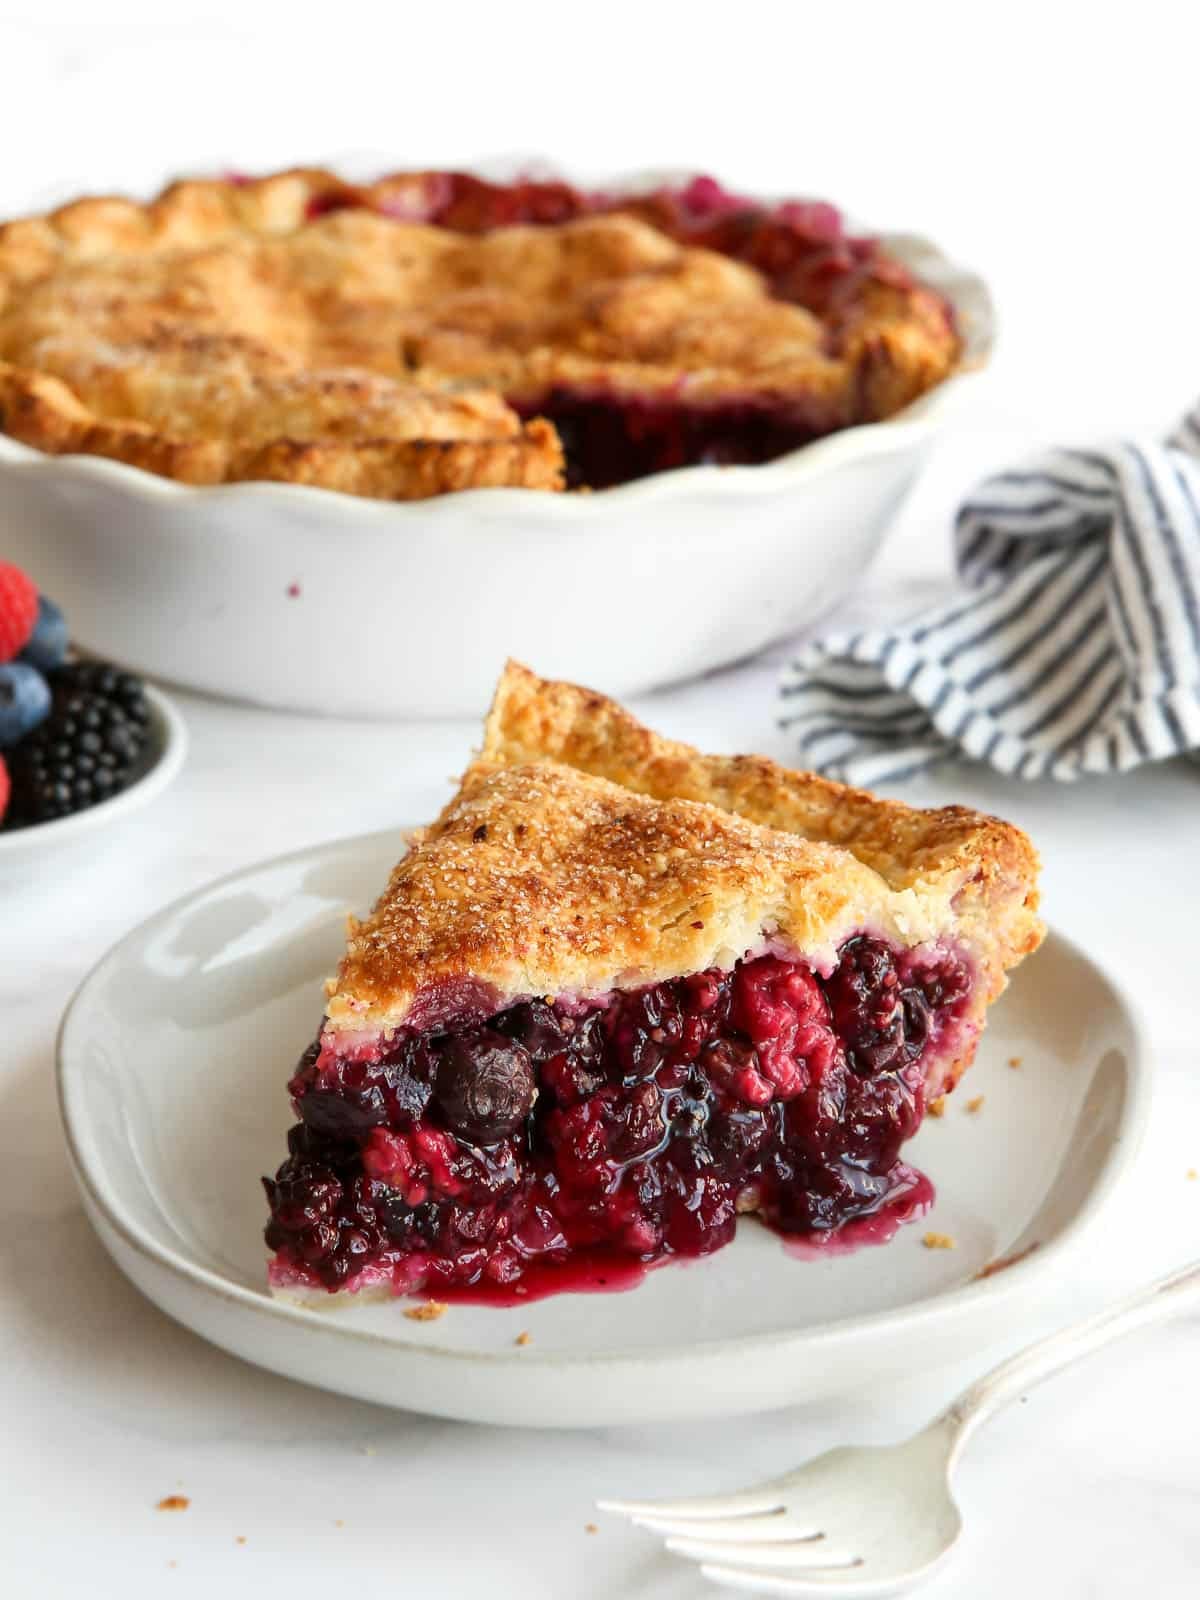
The combination of raspberries, blueberries, and blackberries paired with my go-to buttermilk pie crust is pure pie perfection. And it’s well-worth the effort, I can assure you. This pie is especially incredible in the summertime when berries are in season, but you can’t go wrong baking this mixed berry pie any time of the year. So go ahead, bake a pie! And be sure to share it with the people you love.
Interested in more berry desserts? See my full list of the best berry recipes.
Recipe overview: Summer Berry Pie
- The recipe isn’t overly complicated, so it’s a great recipe even for pie novices.
- It’s a classic berry pie featuring a mix of raspberries, blackberries, and blueberries.
- You’ll love the berry flavor contrasted with the flaky homemade buttermilk pie crust.
- It’s ideal with fresh, in-season berries, but you can use frozen berries too.
- Follow all of my best pie tips for success with this pie.
Summarize & save this content on:
Recipe update 2026: I originally shared this recipe in 2011, early in my pie baking years! I’ve improved the recipe with more berries for a thicker filling, added lemon zest for a brighter flavor, and made a few other minor adjustments. I’ve also expanded recipe instructions and information, and updated the photos. This pie recipe is better than ever!
But don’t just take my word for it… “This recipe is AMAZING. I have literally never found a better recipe. I use this buttermilk pie crust recipe for any pie I’m making, regardless of what’s inside, but this whole recipe is golden. This is what got me to love baking pies! Thank you for a delicious recipe that I have been making for almost 10 years. It’s my (and my family’s) favorite summer treat!!⭐⭐⭐⭐⭐”—from reader Lauren
Ingredients you’ll need
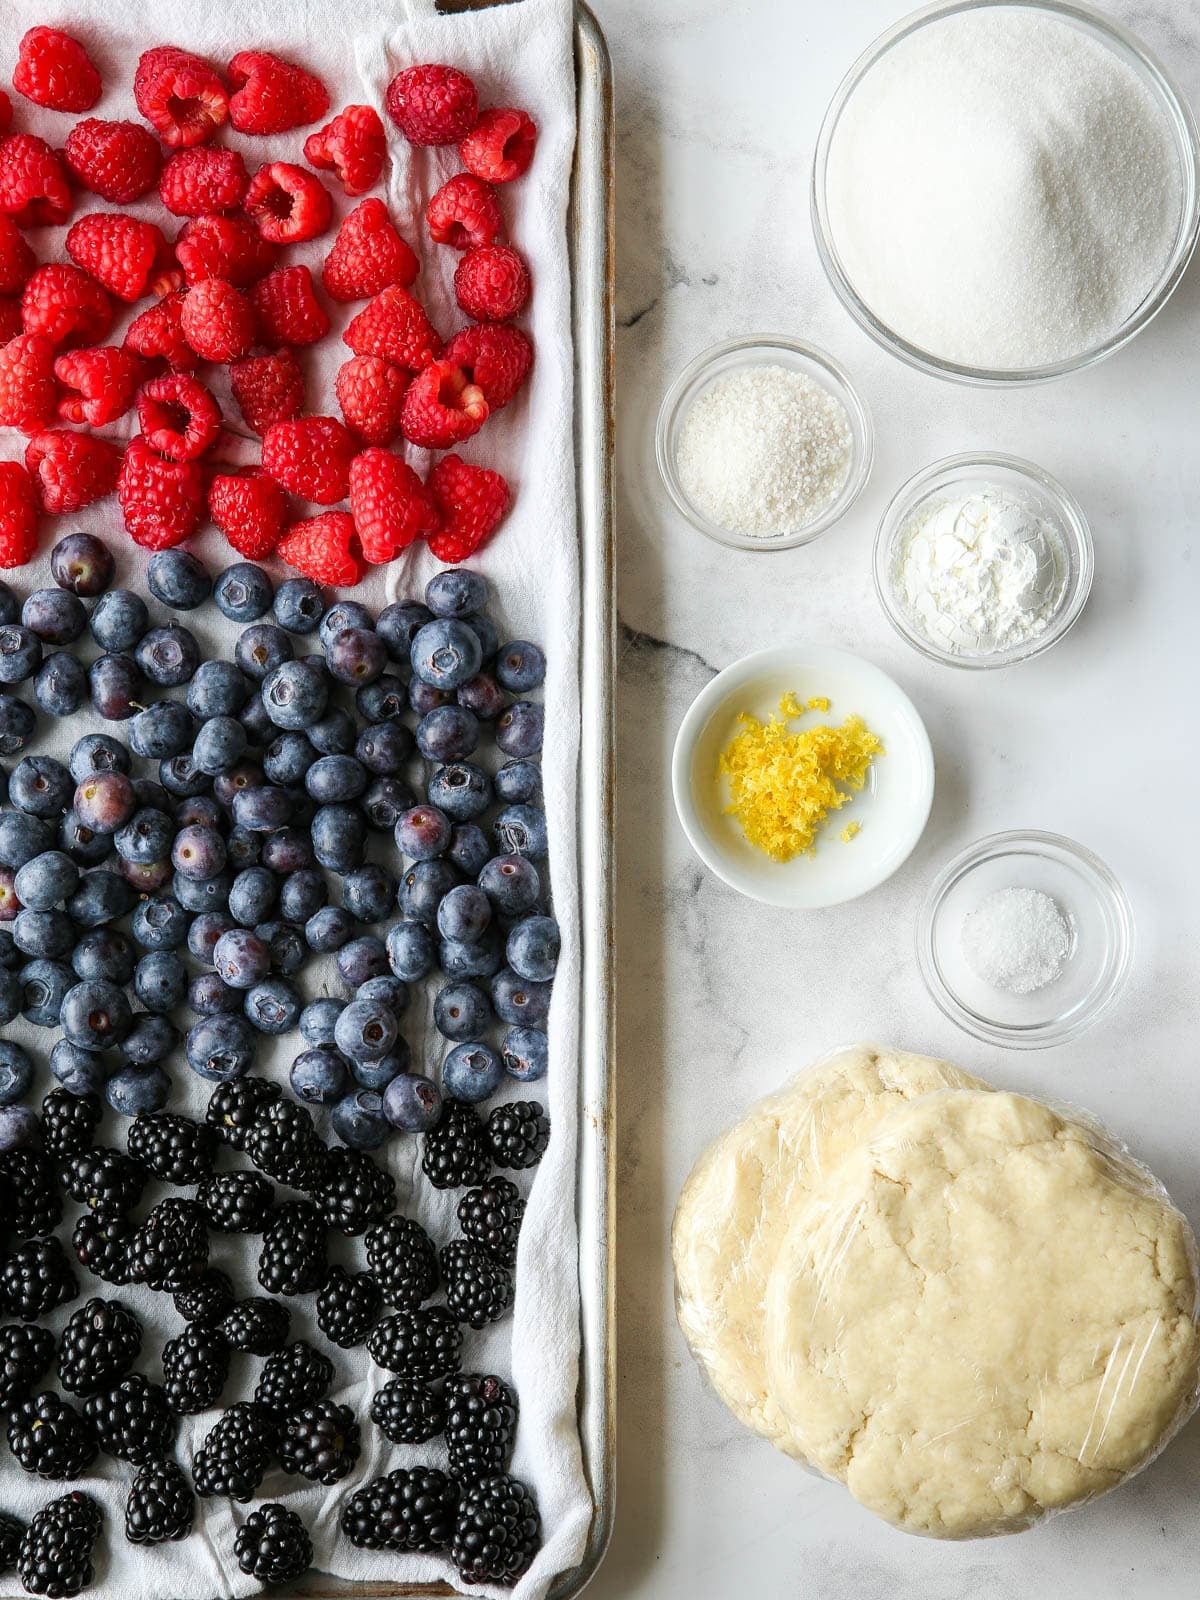
- Raspberries, blackberries and blueberries: You’ll want all 3 for the classic “mixed berry” combination.
- Granulated sugar
- Lemon zest and salt: Both boost flavor.
- Instant/minute tapioca or tapioca flour: Used as a thickener in place of flour, as it leaves the filling thick and glossy without adding any flavor. You should be able to find it in most grocery stores.
- Cornstarch: Combined with the tapioca, it creates the sturdiest slices.
- All-purpose flour: For the pie crust.
- Salted butter: I use an all-butter pie crust for the best flavor and flaky texture, and I prefer to use salted, but unsalted butter is fine too.
- Buttermilk: Gives the pie crust rich, tangy flavor that compliments the berry filling.
How to make this summer berry pie


baking tip:How to avoid a runny pie filling
Fruit pies can be tricky! Why is my pie filling so runny? is a question I get a lot. Here are some tips for baking fruit pies that set up beautifully, with thick filling and sturdy (not soupy) slices:
- Do not adjust the amount of fruit, sugar and thickener (flour, cornstarch, etc.) listed in the recipe. Changing this ratio will affect how the filling sets up. Adding more fruit will add more moisture, and reducing the cornstarch and sugar will lessen the thickening power of the filling.
- Bake the pie until filling in the center bubbles. Cornstarch specifically won’t activate until it reaches a boil, so look for bubbling in the center of the pie to indicate that it’s fully baked.
- Let the pie cool completely. As the pie cools, the starches and fruit juices thicken and set. If you slice before the pie has cooled enough for the thickener to finish its job, the filling will be runny.
Recipe tips for baking the perfect pie
- Use your favorite pie crust. I will never stop singing the praises of buttermilk pie crust, but this recipe will work with any double crust recipe, or even store-bought pie crust.
- Use frozen berries: Do not thaw before mixing the filling and increase tapioca amount to 3 tablespoons.
- Make a lattice crust for the topping, if you prefer.
- Don’t slice the pie too soon. See tip above! If you want a pie with nice, clean slices, you have to let it cool completely over several hours. Bake in the morning, or the night before you want to serve it (this makes is a great make-ahead dessert!).
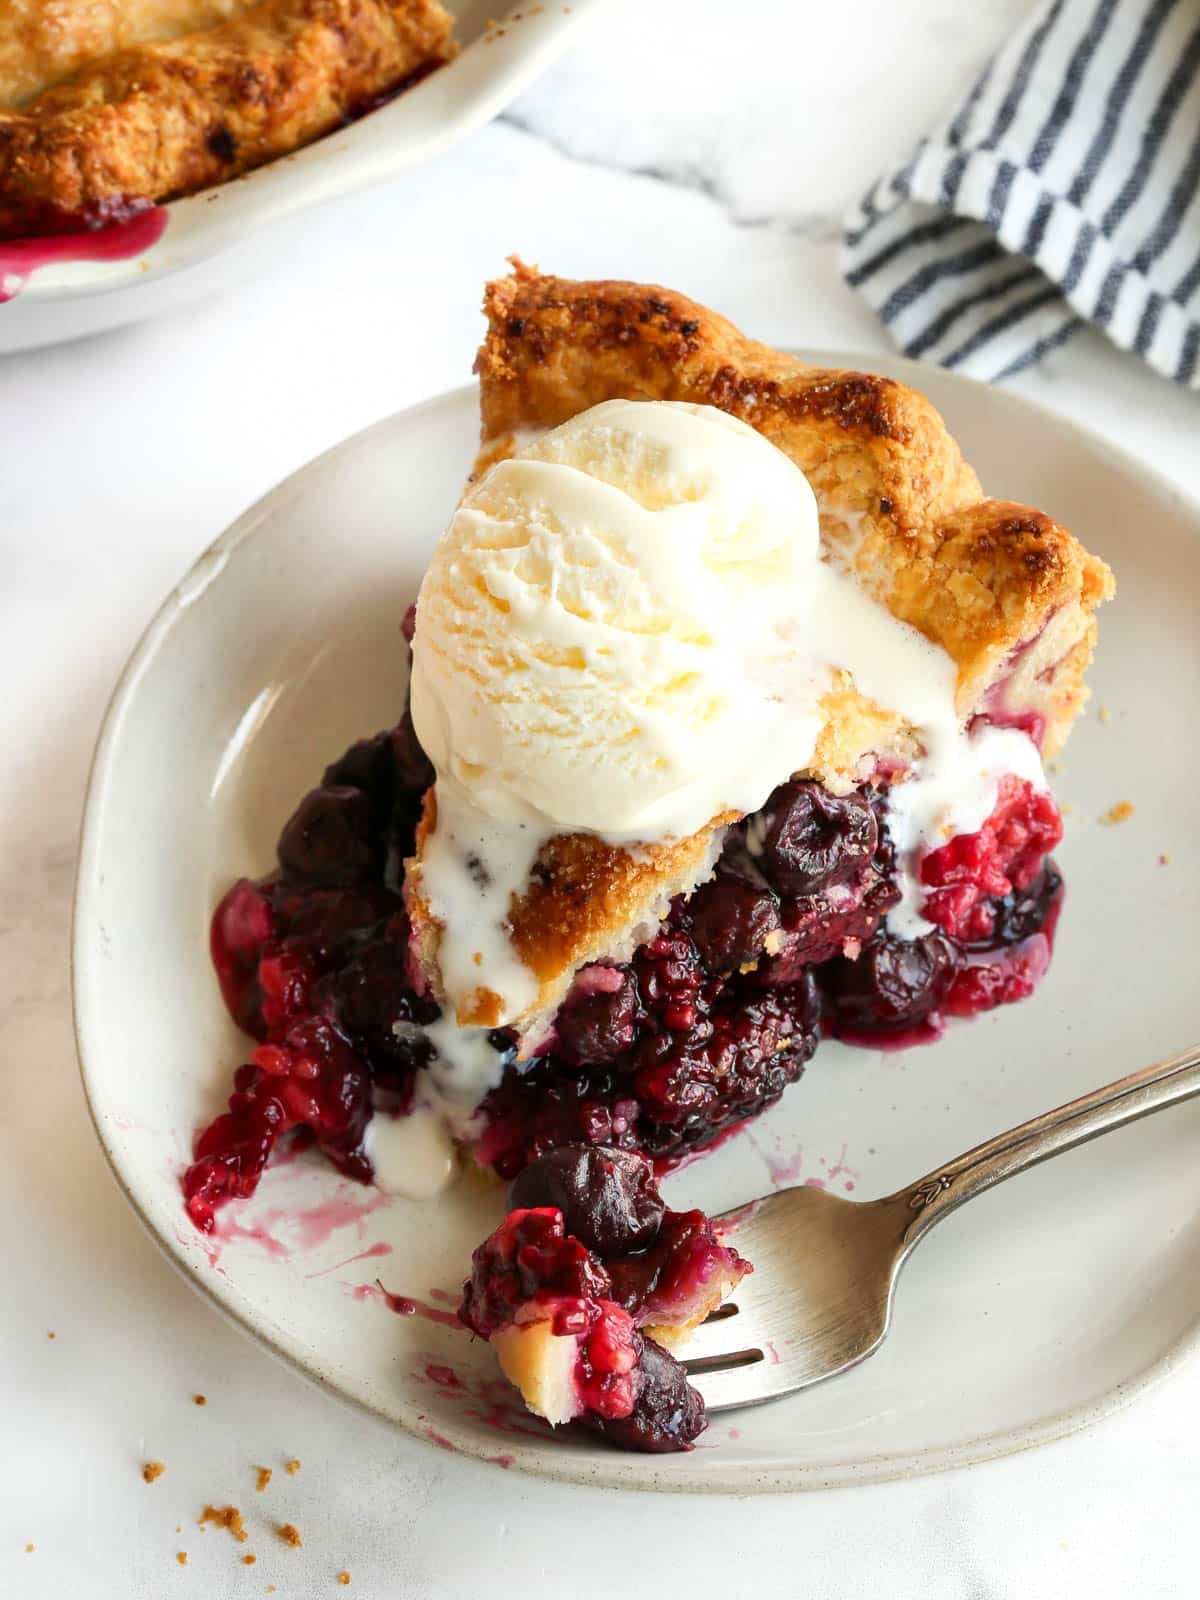
- If you want to serve the pie warm: Cover cooled pie with foil and warm in a 350°F oven for 30 minutes.
- Storage instructions: This mixed berry pie is fine at room temperature for about 2 days. After that, I recommend storing it in the fridge. After 4-5 days, the pie crust will start to get soggy.
- How to freeze a baked pie: Let it cool completely, then cover in a layer of foil followed by a layer of plastic wrap. Store in the freezer for up to 2 months. Thaw overnight in the fridge, then remove the plastic wrap and warm in a 350°F oven for 30 minutes (this helps crisp up the crust and return it to its flaky texture).
More fruit pie recipes
Summer Berry Pie
Ingredients
Buttermilk Pie Crust:
- 2 ½ cups (315 grams) all-purpose flour
- 1 cup (227 grams) cold butter , cut into 1-inch pieces
- 1 tablespoon granulated sugar
- 1 teaspoon salt
- ½ cup (113 grams) cold buttermilk , well-shaken
Berry Filling:
- 1 cup (200 grams) granulated sugar
- 2 tablespoons cornstarch
- 2 tablespoons instant/minute tapioca , or tapioca flour
- 1 tablespoon lemon zest
- ¼ teaspoon salt
- 3 cups (425 grams) blueberries
- 2 cups (230 grams) raspberries
- 2 cups (285 grams) blackberries
- 1 large egg , lightly beaten (for egg wash)
- 2 tablespoons sanding sugar (optional topping)
- Vanilla ice cream ,for serving (optional)
Equipment
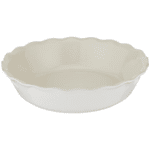
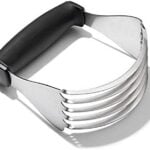
Instructions
To make the buttermilk pie crust:
- In a large bowl, stir together the flour, sugar and salt. Add the butter and cut into the dry ingredients with a pastry blender or knife until pieces are the size of peas.
- Add the buttermilk and stir to make a shaggy dough. Dump the mixture out onto a clean counter and use your hands to bring it together. Add more buttermilk a tablespoon at a time, if necessary. (but it's okay if it's on the dry side).
- Form into two equally sized disks. Wrap in plastic wrap and chill in the fridge for at least one hour or up to 3 days.
To prepare the filling and assemble the pie:
- Preheat oven to 450°F. Line a sheet pan with parchment paper (this will catch any juices that spill over as the pie bakes).
- When ready to make the pie, unwrap one of the chilled disks of dough and roll out to about ¼ inch thick on a well-floured surface. Transfer to a pie dish, trim the crust to about ½ overhang and chill until you're ready for it. Meanwhile, roll out the second disk.
- Roll out the second disk and have it ready to go on your counter.
- In a bowl, combine the sugar, cornstarch, instant tapioca, lemon zest, and salt. Add the berries and toss gently until covered. Pour into the prepared chilled pie crust.
- Cover with the second crust and pinch the edges together tightly to seal, and crimp into a fluted pattern. Brush with the beaten egg and sprinkle with the sanding sugar. Cut 3 vents in the center of the crust to allow steam to escape.
- Place pie on the prepared baking sheet and bake at 450°F for 10 minutes. Reduce oven temperature to 375°F and bake for an additional 30-40 minutes, or until crust is golden brown and juices are bubbly in the center. If the crust browns before the filling is ready, cover with foil.
- Cool 3 hours, or until pie is room temperature. (This ensures pie filling has thickened properly). Slice and serve with vanilla ice cream, if desired.
- Store pie covered with plastic wrap at room temperature for up to 24-48 hours max, or in the fridge for up to 5 days.
Notes
- Use frozen berries: Do not thaw before mixing the filling and increase tapioca amount to 3 tablespoons.
- If you want to serve the pie warm: Let the pie cool, then cover with foil and warm in a 350°F oven for 30 minutes.
- To freeze pie: Let it cool completely, then cover in a layer of foil followed by a layer of plastic wrap. Store in the freezer for up to 2 months. Thaw overnight in the fridge, then remove the plastic wrap and warm in a 350°F oven for 30 minutes (this helps crisp up the crust and return it to its flaky texture).
- Adapted from The Gourmet Cook Book.


That is one gorgeous pie! I am not going to show this to my husband or else he will be on your doorstep, begging for a piece. I suck at making pies and am in awe of anyone who can make one that looks this good.
Probably the prettiest pie I have ever seen! YUM!
holy smokes, that pie is beautiful!!! Berry pies are my absolute favorite.
Your pie looks perfect! Love all of the berries!
Wow. That is the most beautiful pre-baked pie crust I have ever seen. I am ready for my lesson. Sunday?
I love that movie! I could watch it over and over and over again!
Seriously feel like having a slice..
I swear I fall in love with every single one of your posts! Your photos are always so stunning but atmospheric too, and the food itself is purely irresistible! 🙂 Gorgeous
That seriously looks like the most perfect pie!!
That pie looks so good, I could cry. Really.
this looks just gorgeous. i don't even like pie, and you talked me into it – these photos are beautiful. yum!
Aw, I feel the same way about pie. I made one for a friend two days ago and felt awesome all through the process. Cute post!
Oh – and I thought Waitress was adorable, too 🙂
That's it. I'm coming over for a pie making lesson. That does include sangria, right? GORG!
What a fabulous berry pie. Such a great picture. Makes me want to bake pie!
Hold me.