

How to Make Pie Crust in a Food Processor
Perfectly flaky and delicious pie crust doesn’t have to be complicated. Learn how to make perfect pie crust in a food processor for the easiest homemade pie crust ever!
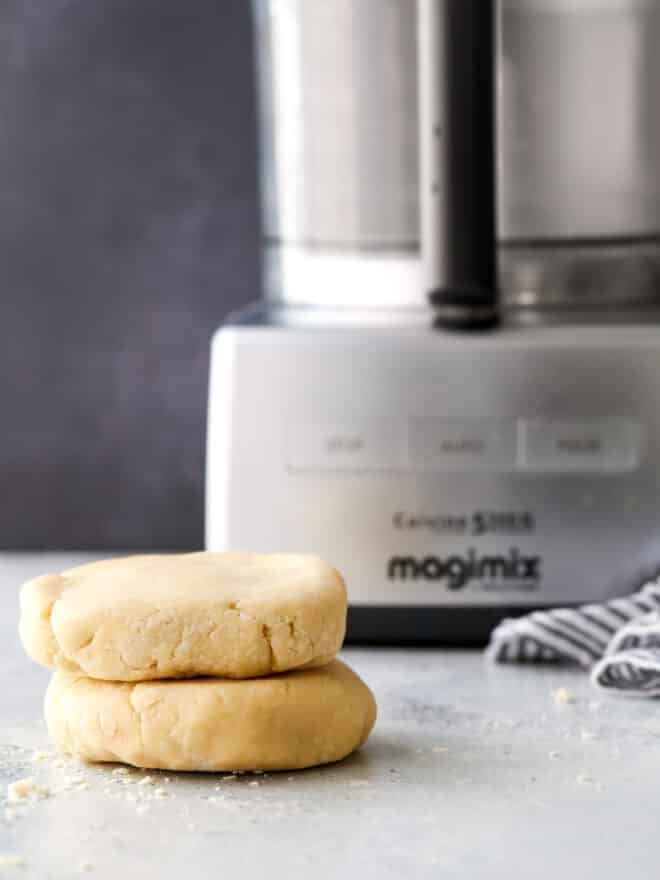
There are times when I just don’t have the energy or patience for traditional pie crust. I need a shortcut so I can get it done fast and move on to other things. Food processor to the rescue!
This pie dough method saves time and effort, but still yields a perfectly flaky all-butter double pie crust. I use this recipe most of the time now when I make homemade pie crust, and once you’ve learned it, it’s sure to be your go-to also!
But don’t just take my word for it! Here’s what others are saying about this easy food processor pie crust:
“Easiest, tastiest, way to make a pie crust dough, something I’ve never been able to do! I made my first chicken pot pie Thank you! ⭐⭐⭐⭐⭐” —from reader Barbara J.
“Absolutely perfect crust. I am 70 years old. This is the easiest recipe I have ever used. Goodbye premade refrigerated crusts! ⭐⭐⭐⭐⭐” —from reader Arliene
“For the first time I made a pie crust that I am happy with! No mess, perfect pie at the end! I will keep this recipe forever! ⭐⭐⭐⭐⭐ ” —from reader Elisa
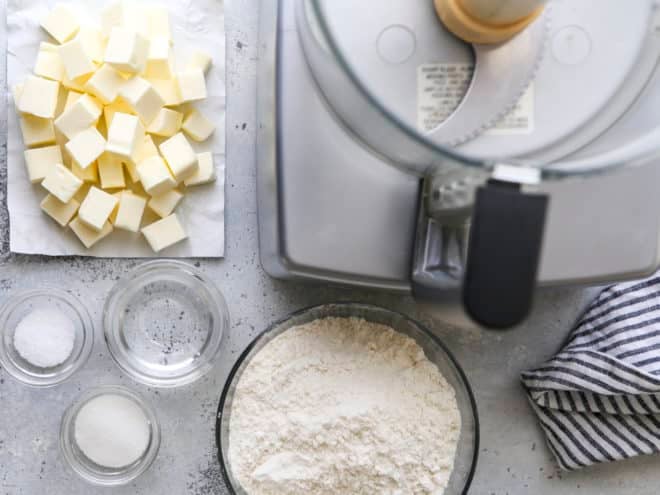
What you’ll need for this recipe
- All-purpose flour
- Butter: I’ve switched to baking primarily with salted butter and I love the extra boost of flavor, but unsalted butter is fine too.
- Sugar: Optional, for dessert pies only.
- Salt
- Water (Or use buttermilk if making my famous buttermilk pie crust recipe)
- A food processor: This recipe and method is specifically designed for making in a food processor. Feel free to use my foolproof flaky pie crust recipe instead if you prefer.
Now that we have everything ready for this recipe, let’s get started!
How to make pie crust in a food processor
- Add dry ingredients to food processor. Put flour, salt and sugar (if using) into a large food processor and pulse a few times to combine.

- Pulse to break up the butter. Add cubed butter and do a quick pulse 3-5 times until the smallest butter pieces are the size of large peas. (It’s okay if you have some bigger pieces at this point. You don’t want them any smaller than that as the butter will be further broken up in the next step.)
- Add liquid. Begin to add the cold water and then turn on the food processor while continuing to add all of the liquid.
- Let dough start to come together with the food processor running. Once you’ve added all the liquid, you should only need to let it run for a few seconds more, less than 10 seconds total. (The food processor will actually start making a louder sound when this happens).
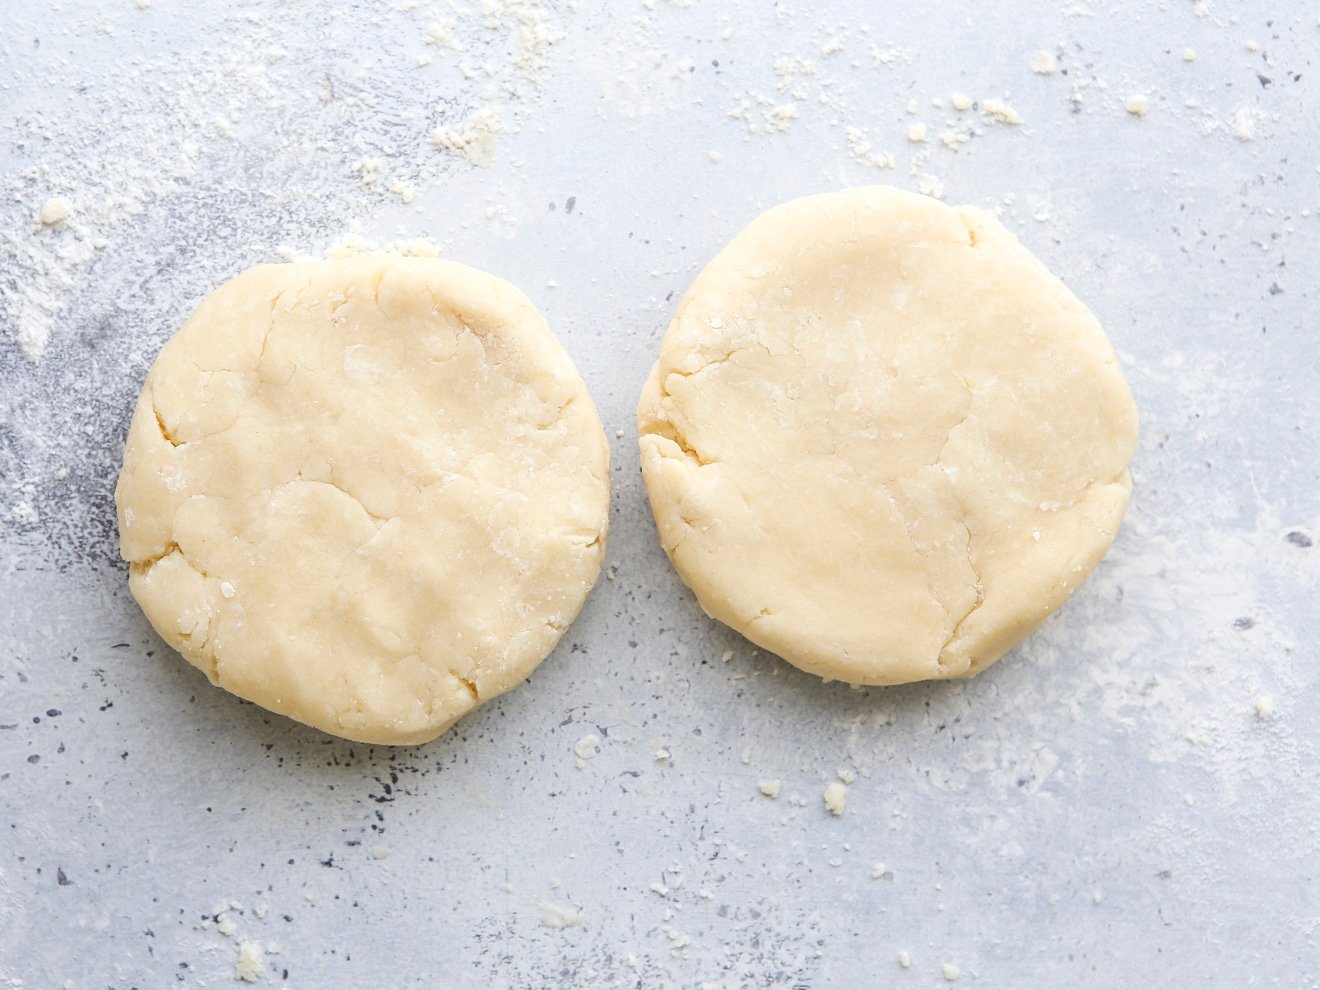
- Do not over mix! The dough should NOT come together completely into a ball at this point. (Use photos as a guide to what it should look like. It looks loose, but holds together when pinched.)
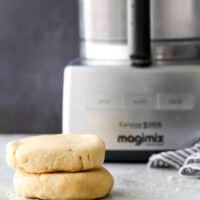
- Remove from food processor and form dough into disks. Dump the crumbly-looking dough out onto a clean surface and work it together with your hands to form two disks. (If the dough doesn’t come together at this point, sprinkle more water on top 1 tablespoon at a time.)
- Chill until ready to use. This pie crust should rest in the fridge for 1-2 hours, but you can store it longer if you wish— up to 3-5 days in the fridge and 2 months in the freezer.


Recipe tips and FAQs
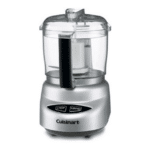
I recommend at a 10-cup food processor for this recipe, though you can get away with a smaller one. I just like to have enough space for everything to be blended evenly and quickly. Here is the Magimix food processor that I was gifted ages ago and still love. Cuisinart makes a nice one too. If you want a more budget-friendly option, Hamilton Beach also has some options. *Affiliate links
I use the standard S-shaped multi-purpose blade.
Most likely you added too much liquid to your pie crust. After adding 1/3 cup of water and following the recipe as written, your dough may look crumbly and like it won’t hold together. But it will! Trust the process (and the processor!).
It’s also possible the dough is too warm and the butter has softened. Start with cold cubed butter and work quickly, and if the dough gets too warm you can always stick the dough in the fridge for 15 minutes to get it cold again.
If the dough still won’t come together as you work it with your hands, sprinkle additional liquid 1 tablespoon at a time over the dough. (Do not add extra liquid during the food processor steps, as it’s too easy to add more than you need. Only add as you’re working with the dough by hand.)
Be sure to also measure flour correctly so you don’t have too much, which can also cause dough to be too dry.
You can store pie crust in the fridge for up to 5 days (though I try to use it within 3 days) or freeze it for a few months or more. If freezing, double wrap in plastic wrap first. When ready to use, let thaw in the fridge overnight.
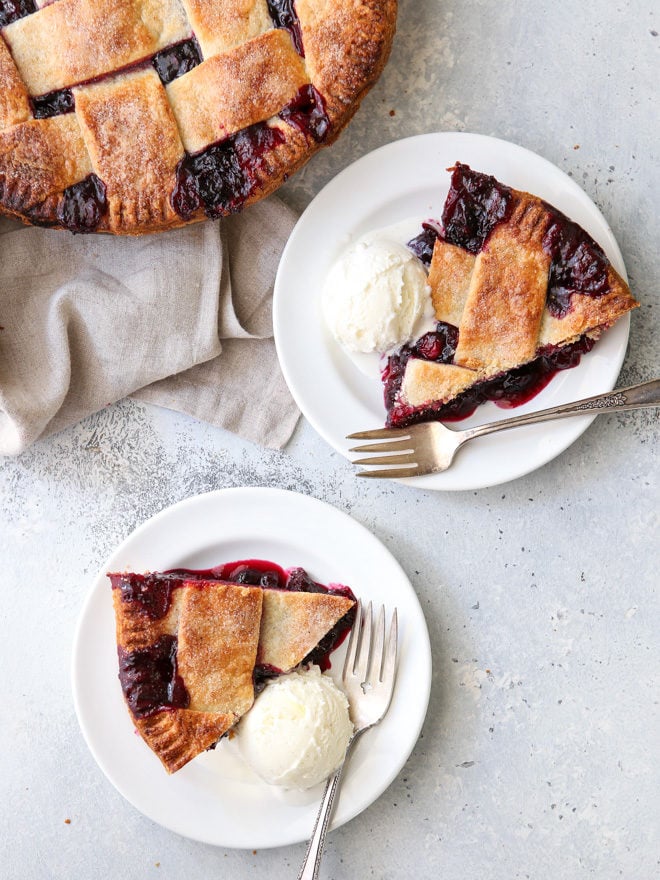
My favorite pie recipes
- Cranberry Blueberry Pie
- Mile High Apple Pie
- Sweet Cherry Pie
- Strawberry Rhubarb Pie
- Classic Pumpkin Pie
More pie help
Recipe for making pie crust in the food processor
How to Make Pie Crust in a Food Processor
Ingredients
- 2 ½ cups (300 grams) all-purpose flour , measured with "spoon and sweep method"
- 1 tablespoon granulated sugar (optional)
- 1 teaspoon salt
- 1 cup (226 grams) unsalted butter , cold and cubed
- ⅓ cup (75 grams) ice cold water
Equipment
Instructions
- Put the flour, sugar (if using) and salt in a large food processor fitted with the metal blade and pulse a few times to combine.
- Add the cubed butter and quick pulse 3-5 times until butter is broken up and the smallest pieces the size of large peas. It's okay if you still have some larger pieces.
- Begin to gradually add ⅓ water through the top, and then while still pouring, run the food processor until all the water has been added and mixture begins to come together (mixer will actually begin to make a different sound), but stop before it forms a complete ball. It will look a little crumbly but actually holds together when you pink it. (This whole step should take less than 10 seconds total!)
- Turn dough out onto a clean surface and form into 2 equal disks with your hands. If the dough won't come together as you work it, add more water 1 tablespoon at a time, sprinkling it over the dough.
- Once formed into disks, cover in plastic wrap and chill in the fridge for at least 1-2 hours and up to 3-5 days. Pie crust also freezes very well, up to 2 months. Double wrap in plastic wrap to prevent freezer burn, and thaw overnight in the fridge before using.
- Use pie crust as desired with your favorite pie recipes.
Notes
- Makes two 9-inch pie crusts (for 2 single crust pies, or 1 double crust pie).
- More pie crust recipes: Check out my more traditional tutorial on how to make the flakiest pie crust. You can also find my buttermilk pie crust variation here. It’s my favorite for fruit pies!
- I have only used this method for traditional all-butter pie crusts. It’s possible that other types of pie crust and recipes will have different results.

Note: This tutorial was originally published in 2020. While the recipe and method remain the same, instructions have been expanded and improved for more clarity.

Is it necessary to chill the dough first? Can I make it and press it into a pie pan right away?
I’ve always bought pre-made crusts because I found making them myself daunting. This couldn’t have been easier. Never going back to pre-made!
Came out perfect! SO much easier than the way I’ve been making pie crusts for 40+ years
Yay! This is exactly what I love to hear! I’m so happy to hear it made pie crust easier for you.