

How to Make Foolproof Flaky Pie Crust
Welcome to my foolproof flaky pie crust recipe, where I’ll guide you through creating a perfect all-butter pie crust that’s easy to prepare and practically impossible to mess up. If you’re looking for the best flaky pie crust recipe that anyone can make, this is it!

This flaky pie crust is my go-to for all of my pie baking and I’ve probably made it hundreds of times over the last 10+ years. I know there are a lot of recipes and opinions out there when it comes to pie, but this is the crust that never fails me.
It’s not just very flaky and tender, but it’s also full of delicious buttery flavor all on its own. Combine this pie crust with your favorite filling and I promise it will be a tasty match made in heaven! And if making pies intimidates you, this tutorial is a great place to start.
“I’ve always had a hard time getting a flaky pie crust, and this recipe is now my go-to. Delicious!!!” — from reader Marisa
“Ever since I found your sheeting technique several years ago, I’ve made all my crusts this way. I’ve used it for sweet/dessert pies, chicken pot pies, hand pies, and my favorite…pie crust cookies. The crust comes out so flaky and tender every time. Thanks so much!” — from reader KDub
Pie crust ingredients

Let’s get started! For the most basic butter pie crust, you need just 4-5 simple ingredients (view the full recipe below):
- All-purpose flour
- Butter
- Granulated sugar (optional, for sweet/dessert pies)
- Coarse salt
- Cold water
Give your pie crust a flavor boost! My favorite way to make this recipe is with buttermilk instead of water. So much flavor and it adds a touch of tenderness to the flaky layers! Click here to see my buttermilk pie crust variation.
baking tip:What causes flaky layers in a pie crust?
How to make homemade pie crust
There are three ways I know of to make pie dough:
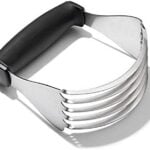
- With a pastry blender, using it to cut the butter into dry ingredients. This is probably the most common method.
- Using a food processor, which works great, especially if you’re short on time.
- By rolling out the butter into the dry ingredients, the method I’m going to show you here.
These are all fine options! But I want to show you how rolling the butter into the dry ingredients is a guaranteed way to get the perfect flaky pie crust. This method takes a little bit more time and effort, but only about 5 additional minutes, and it works!
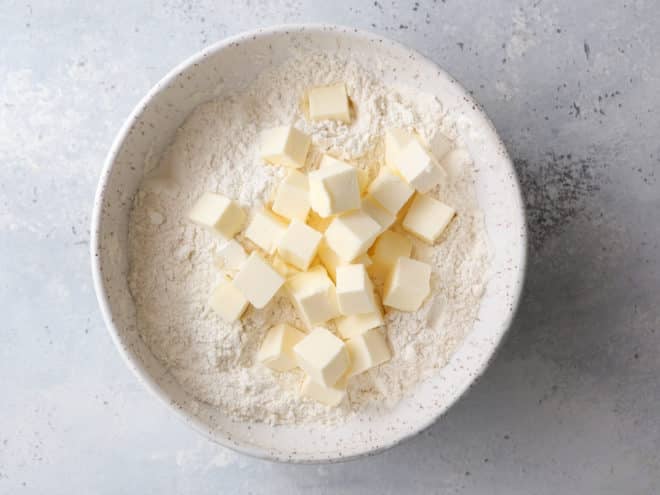
Step 1— Combine dry ingredients and add butter
Combine the flour, salt and sugar (if using) in a bowl and add the cold butter cubes. Toss until all the butter is coated in flour.
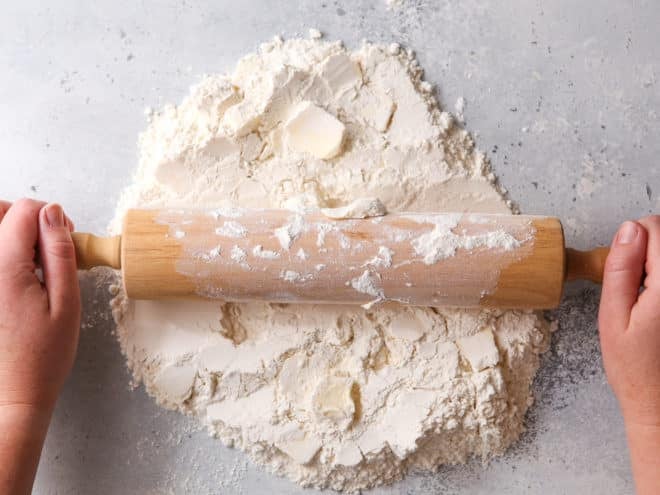
Step 2— Roll butter into dry ingredients
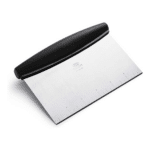
Dump everything out onto a clean surface. Use a rolling pin to flatten the butter cubes and roll them into the dry ingredients. A bench scraper is handy to bring it all back together into a pile, and also to remove butter from the rolling pin as needed.
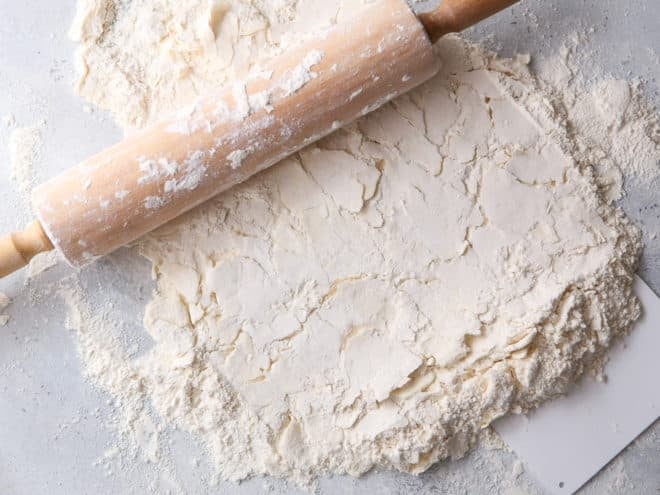
Keep rolling until all of the butter has been rolled into the dry ingredients (yes, this get’s quite messy!). The goal is to have thin sheets of butter visible throughout the dry ingredients. Break up any really long sheets of butter with your bench scraper.
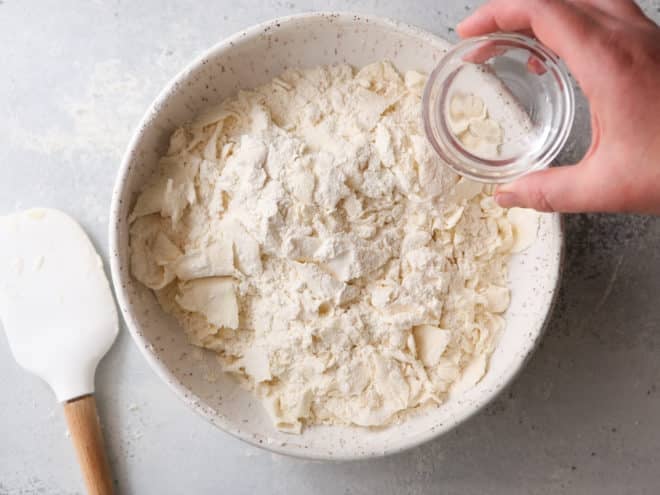
Step 3— Add ice water
Gather up the mixture and return it to the bowl. Place the bowl in the freezer for a few minutes if needed, just to get everything cold again. Then, make a well in the center and add about 2-3 tablespoons of cold water (or buttermilk if using that variation).
Use a large spoon and then your hands to bring the mixture together into a ball. If necessary, add more cold water 1 tablespoon at a time. I always need to add more water, anywhere from ¼ cup – ½ cup total, but it’s different every time and so I start with a small amount and slowly add more. Adding too much water will make the dough sticky and produce a tough crust.
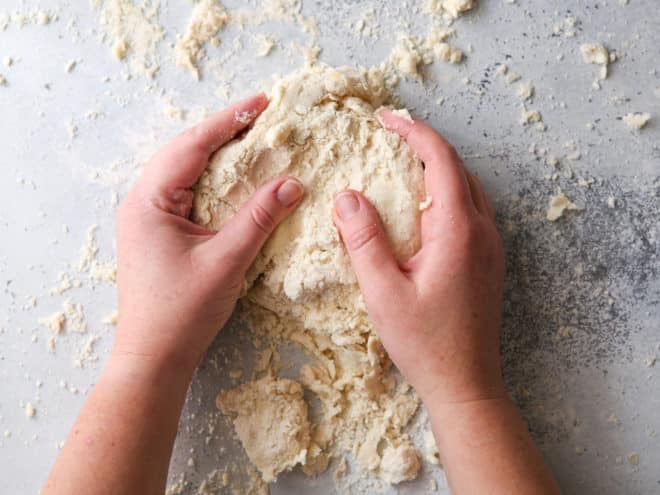
Step 4— Form dough into disks
The dough should hold together in a ball, but a few loose crumbs are okay. I like to dump the mixture out onto a work surface to bring the dough together with my hands. You don’t want to over-work it, but a little kneading and handling is just fine.
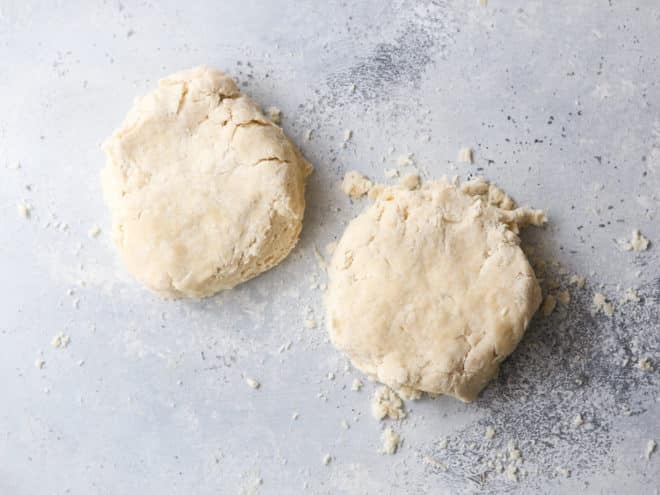
Divide the dough in half and flatten each into a disk. Cover with plastic wrap and chill in the fridge for at least 2 hours. Then, you’re ready to bake a pie!
How to roll out pie crust
- Let dough rest at room temperature for 5-10 minutes on a lightly floured surface.
- Use a rolling to begin rolling out the disk. This may be hard at first while it’s thick and cold, but move from the center outwards and it should take shape.
- Every few rolls, rotate the dough a quarter turn on your surface and add more flour if needed.
- Keep rolling until it’s the size you want and evenly thin. Encourage the dough into a circle, and reshape with your hands if needed or if the dough cracks.
- Roll the pie crust up onto your rolling pin and transfer it to a pie plate, then use it according to your pie recipe’s instructions.

Pie crust tips for success!
- The bigger the butter chunks, the flakier your pie will be. So don’t be afraid to leave larger pieces throughout.
- Keep ingredients and dough cold. In order to get those flaky layers, the butter needs to stay separate from the flour. Start with cold butter and water, chill the dough mixture as needed while you’re working with it, and rest the dough in the fridge before rolling it out.
- Cut this recipe in half for a single-crust pie. Or you can freeze the second disk of dough for another time.
- Use an egg wash. In order to get a shiny golden crust once baked, brush the dough with a simple whisked mixture of 1 egg + 1 tablespoon of water.
- Pie crust storage: Pie crust dough will keep in the fridge up to 5 days and in the freezer (double-wrapped) for up to 2 months. Thaw overnight in the fridge.
- Make pie crust ahead of time: It’s easy to do and a great time saver! For example, I usually make pie crusts for Thanksgiving 1-2 weeks before so it’s one less thing to worry about in the busy days before the holiday.
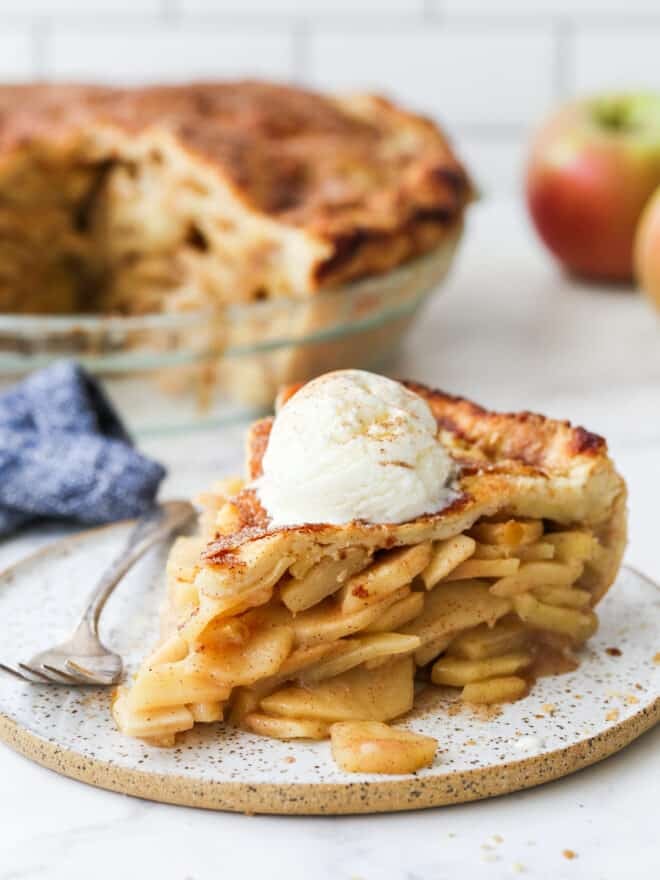
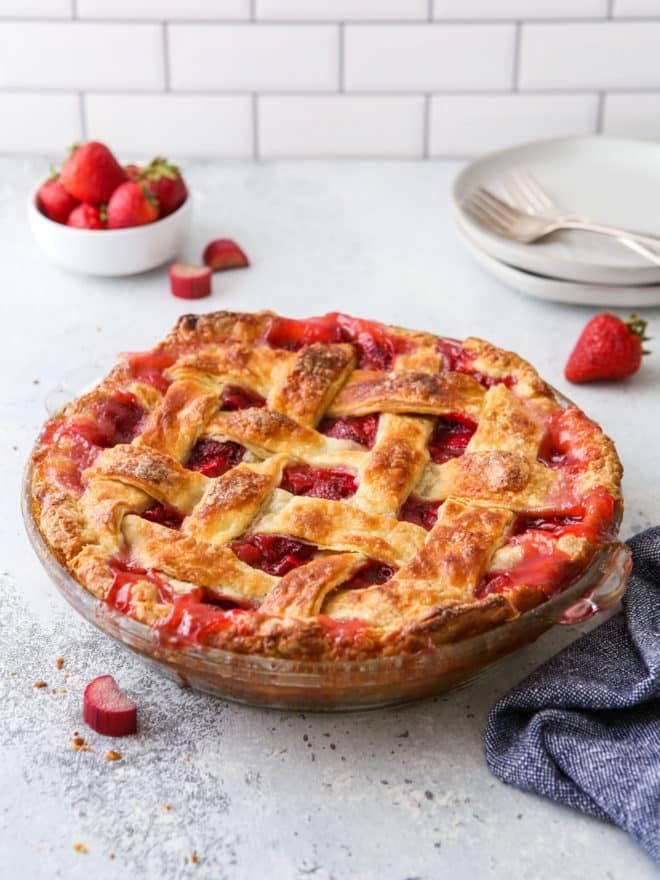
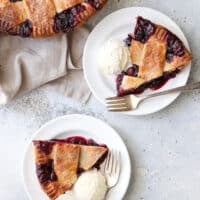
My favorite pies to make with this pie crust

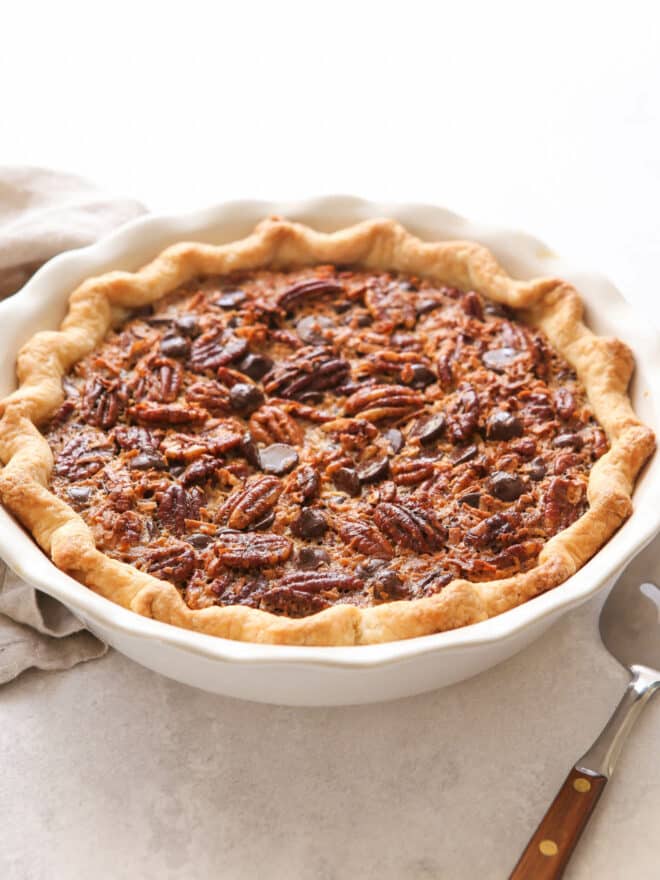
Get the best pie crust recipe
The Best Flaky Pie Crust
Ingredients
- 2 ½ cups (300 grams) all-purpose flour
- 1 tablespoon granulated sugar , optional
- 1 teaspoon salt
- 1 cup (226 grams) unsalted butter , cold and cut into cubes
- ¼-½ cup (56-113 grams) ice cold water , as needed (see Notes)

Instructions
- Combine the flour, sugar (if using), and salt in a bowl. Add the cubed butter and toss to coat.
- Dump the mixture out onto a clean surface and use a rolling pin to roll the butter into thin sheets, combining it with the flour. Use a bench scraper to scrape the rolling pin and to bring the mixture back into a pile as necessary. Continue until all of the butter is incorporated into the flour. Mixture will be very flaky.
- Return mixture to the bowl and place in the freezer for 10 minutes to chill the butter.
- Remove from freezer and add ¼ cup of the ice cold water. Use a spoon and then your hands to stir the mixture until it comes together into a ball. If mixture is too dry, add additional water a tablespoon at a time. I usually end up needing slightly more than ¼ cup but it varies each time. It's okay if some dry bits remain, but you should be able to shape the dough together.
- Divide the dough in half and flatten into 2 disks. Wrap each disk in plastic wrap and chill in the fridge for at least 1 hour (2+ hours preferred) and up to 5 days.
- To freeze pie crust, wrap in double layers of plastic wrap and store in the freezer for up to 2 months. Let thaw overnight in the fridge before using.
Video
Notes
- Makes enough dough for one double crust 9-inch pie. Recipe can be cut in half for a single crust pie.
- You can find my buttermilk pie crust variation here. It’s my favorite for fruit pies! If you use buttermilk instead of water, know that you will need closer to ½ cup.
- If you’re looking to speed things up, check out my tutorial on how to make pie crust in a food processor here.


Hi Annalise! The oblivious non-American I am, I’ve never made a pie crust before, I’ve not even had a genuine pie whatsoever in my entire life yet. But also the blog-reading girl I am, I figured pie must be delicious, and I also figured with my mom’s birthday today and also my own coming up in ten days I needed to make a pie (also it’s almost Thanksgiving, and I always look for excuses to bake). With my own pie crust. I was pretty afraid of pie crusts since every single person who writes a blog about baking always goes “I used to be afraid to make my own pie crust from scratch” or “I still am afraid of doing that” – but also they always go “But then I discovered this special pie crust recipe, go try that, don’t be afraid of making your own pie crust from scratch”. So I tried yours because it seemed to be the least suspicious method to me and made an awesome Pecan Pie from that (Hello, lover). While it’s still cooling down, I’m a hundred percent sure that’s it’s going to be a huge success. The pie crust turned out to be perfect, not too wet, not too dry, overall awesome and this is definitely not going to be the last pie I’ve made. Thank you so so so much for the recipe!
Lots of love from Germany! =)
Thanks so much for the comment Jodie, I’m so glad you baked a pie! I bet it’s delicious. Enjoy!
Made this last night, turned out great! I was worried because my mixture seemed too dry to form a “ball” as shown in the picture (it wouldn’t hold together) despite adding 3+ tbsp of vodka. But the end product was flakey and wonderful!
This happens to me sometimes too, every batch of crust is different. But after chilling, even the crumbliest dough seems to roll out well and turn out flaky and delicious. So glad you had success!
Hello Annelise,I found you on Pinterest and i love the detailed instructions and photos.I look forward to making your recipes.Keep up the good work.
I am a seasoned cook but have never seen a pie crust this different. Pie is my one challenge that I have never mastered. Am so anxious to try this one.
Thanks for the great detail.
What a fantastic tutorial!
You’ve provided great detail and photos. I can’t wait to try it.
This will be my go to pie crust recipe from here on out. Thank you for years of deliciousness 🙂
Great tutorial. I’ll have to try your techniques.
Absolutely gorgeous, Annalise!! I was lucky enough to try this crust and it’s delicious. Flakey, buttery & almost sugar cookie like taste. It was scrumptious. I’m going to have to try the trick of rolling the butter in the flour! Thanks for the great tips!!
Hello Annalise!
I’ve never made a pie crust before so will try this out (minus the vodka). Hopefully it’s a keeper since I love pie! I was wondering though, is this pie crust recipe specifically for certain fillings: fruits such as apples / blueberries or is it good for creams such as pumpkin, banana cream / chocolate pudding? I wouldn’t want to make this and have the pumpkin ruin the crust.
Also, my husband’s family is part Mexican and sometimes they make something called an empanada during the holidays. I was wondering if you happened to know whether I could use this pie crust recipe to hold the fillings or if that’s a completely different recipe? Thanks in advance!
*If any other commenters happen to know the answers to my questions please feel free to let me know! Thank you!
Warmly,
Ashley
I use this crust for all recipes where a pie crust is required- fruit pies, cream pies, hand pies (like empanadas), etc. I haven’t ever had a problem using it in conjunction with various fillings. Use it if you like and come back and tell me what you think. Thanks for the comment, Ashley!
I came up with an idea to help with our annual HOA bake sale this year, I want to make fruit triangles with a sugar coating. Since the fruit filling is already cooked, do I still vent the dough?
Gary
Hi Gary! I would still recommend venting. That way the filling will have a place to bubble through without bursting through a seam. Hope this helps!
This is just what I needed for my pies. I’m never satisfied with the way my apple pie crust turns out but when I follow this post, I’m sure it will turn out perfect. Neat idea with the volka. Thank you.
First of all, I’m so intrigued because I’ve never seen a pie crust made like this before – I must try it!! I did try the vodka crust recipe from Cooks Illustrated a few years ago, and while it tasted good, it was so hard for me to work with and totally shrunk. But I think I need to give this a go!
Shrinking of piecrust while baking is caused by stretching the dough. When you are putting the dough in the pan resist the temptation to stretch it to fit. Instead, gently lift the sides of the dough and let it fall into the corners of the pan. Also, the piecrust needs to rest before baking. If I’m blind baking a crust for an open top pie, I usually freeze and put it in the oven frozen. That way my fancy fluting on the edge stays intact, and I never have the crust slump down on the sides.
You have just solved the world’s problems with this tutorial. Seriously. I’ve seen vodka used several times in recipes, but the buttermilk is new to me. Okay, I’ve found another new fave. LOVE you for this!
Wonderful tutorial! Gotta try it! xo
I’m stunned by how detailed you are for this great pie crust recipe! This makes preparing pie crust so much easier with all the visuals. What a great recipe, too – I’ve never heard of vodka used in pie crust and I love cooking/baking with alcohol so I’m excited about this idea! Will probably making a looooot of batches of this pie crust this fall and winter! 🙂
Hey try using apple brandy for your apple pies. Yummy
This pie certainly does look perfect! Great tutorial 🙂
It is by no means a fail proof recipe. I followed it to the tea and I bake a lot. Bs k to my tenderflake no fail recipe.. That one is truly a no fail recipe.
I followed this as I was making a single crust Lemon Pie for Easter. Terrible. The first one I put in the freezer before baking. Slid down the sides. The second was worse. I will never use this recipe again.
Hi Sheila, I’m so sorry to hear you had trouble with this recipe. When the pie crust slid down the sides, I’m guessing you were blind or par-baking the crust before adding the filling? I’ve had so much trouble over the years with par-baking pie crusts (and shed so many tears), but I’ve finally figured out how to do it successfully! It doesn’t really have anything to do with the recipe, so much as the method. You can see my full tutorial here (using this same pie crust recipe). I hope this will help you with future pie baking!