

Dry-Brined Roasted Turkey
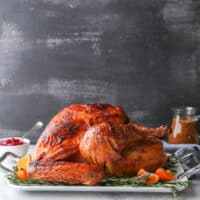
This dry-brined roasted turkey is the only turkey recipe you’ll ever need! It’s full of incredible flavor, it’s super moist and juicy, and it has the most beautiful crispy skin. It’s the perfect centerpiece for your next holiday meal.

Roasting a turkey for a major holiday or gathering is definitely a high stakes situation, but there’s no need to be scared or intimidated. With this recipe you can feel confident that your main dish won’t just taste amazing, but it’ll look amazing too!
This dry-brined turkey recipe is based on one I found in Bon Appetit years ago. It changed my life, and changed the way I do Thanksgiving turkey forever. It’s been tweaked here and there over the years, and I’m excited to finally share it with you. This is the BEST roasted turkey I’ve ever had!
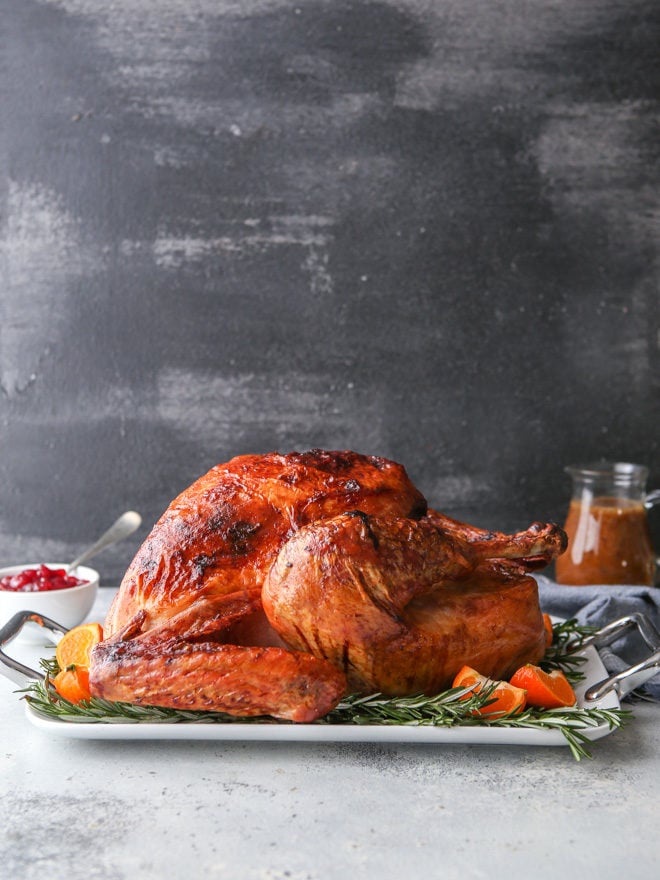
Why it’s the best roasted turkey
Not only is this turkey a gorgeous, show-stopping centerpiece, but it’s incredibly moist, juicy and flavorful too. Here’s how we’re making that BEST-EVER turkey:
- Start with a “dry brine” to get the flavor started.
- Let the turkey rest overnight so the flavors soak into the bird and work to tenderize the meat, and makes it more able to retain moisture during cooking.
- Leave it uncovered in the fridge to dry out the skin so it gets super crispy in the oven.
- Baste the turkey with a honey glaze as it roasts for even more flavor, and it’s how we get that beautiful shiny golden exterior.
It may seem like a lot of steps, but I promise this recipe is doable for just about anyone!
Dry brine vs wet brine
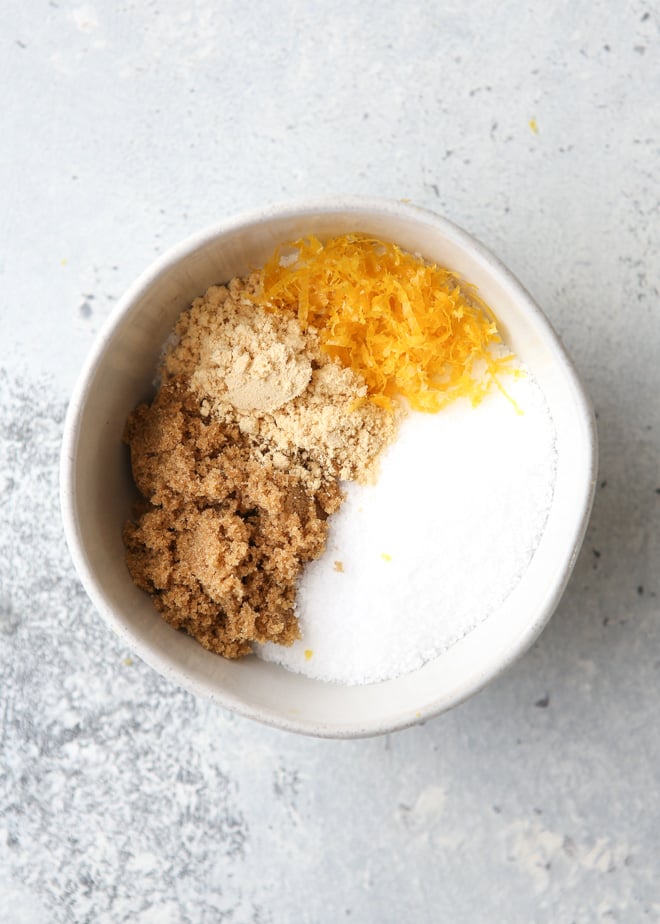
A dry brine is a simple salt, sugar and spice rub that’s applied to the turkey and left on for about a day before cooking. As the turkey sits with the dry brine, it absorbs all of the flavoring, and the salt works to redistribute the moisture throughout and breaks down the meat, making it more tender and juicy.
A dry brine is different from a wet brine, where turkey (or other meat) instead rests in liquid infused with salt, sugar and other aromatics. Here’s why you should be using a dry brine instead of a wet brine:
- It’s simpler! There’s no need to worry about finding a pot big enough for a wet brine, or how you’re going to fit it in the fridge.
- There’s less mess. Skip the drama of trying to dump out a wet brine full of raw juices in your kitchen sink.
- It makes for the crispiest skin. A wet brine leaves the turkey water logged and it can be hard to dry it out enough to get the skin golden and crispy. You definitely don’t have that problem with a dry brine.
- Just as much flavor and moisture. I promise your turkey will be just as as flavorful, moist and juicy, if not more so!
Ingredients you’ll need for this recipe
- 12-15lb turkey— Where you source it, and whether you use a fresh or frozen bird is up to you!
- Coarse salt— Diamond Crystal or Morton kosher salt are preferred. Not only are these brands higher in quality, but using coarse salt makes it easier to evenly distribute it over the turkey.
- Light or dark brown sugar— Sugar improves flavor, helps keep the turkey moist, and encourages browning.
- Lemon— Poultry and citrus are made for each other. We use lemon in the dry brine and in the turkey cavity.
- Mustard powder— More flavor! And it helps the dry brine adhere to the turkey too.
- Onion and fresh garlic— Both help to round out and enhance flavor.
- Fresh herbs, such as rosemary, thyme and sage— I like to use a combination of all 3, but just 1 or 2 will work too. But you must use fresh! Most grocery stores actually sell these herbs bundled together as “Poultry Herb Blend”.
- Salted butter— We use butter in both the basting glaze and to rub all over the turkey before roasting. It’s primary purpose is flavor.
- Honey— Provides flavor and color during basting.
- Red wine vinegar and Worcestershire sauce— Both add more depth of flavor and balance to the basting glaze.
Additional spices you can add to a dry brine: Add 1/2-1 teaspoon of garlic powder, onion powder, dried or fresh chopped herbs, paprika, and black pepper.
How to dry brine a turkey
- Thaw the turkey in the fridge if needed. You cannot dry brine a frozen turkey! A frozen turkey will take 24 hours per 4-5lbs to defrost in the fridge, which is about 2-3 days for this recipe. Plan ahead!
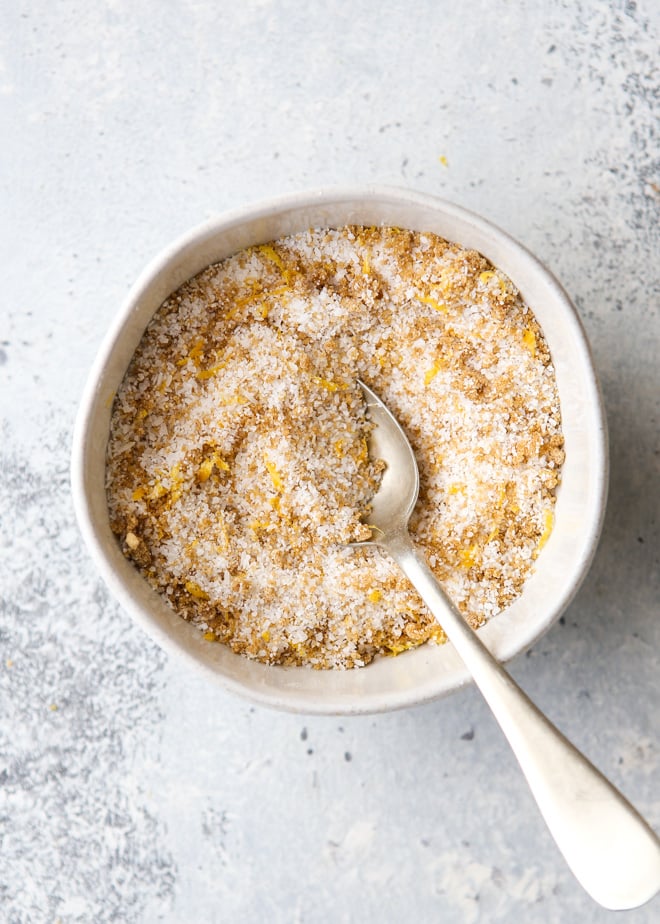
- Combine dry brine ingredients. In a small bowl combine coarse salt, brown sugar, ground mustard, and lemon zest.
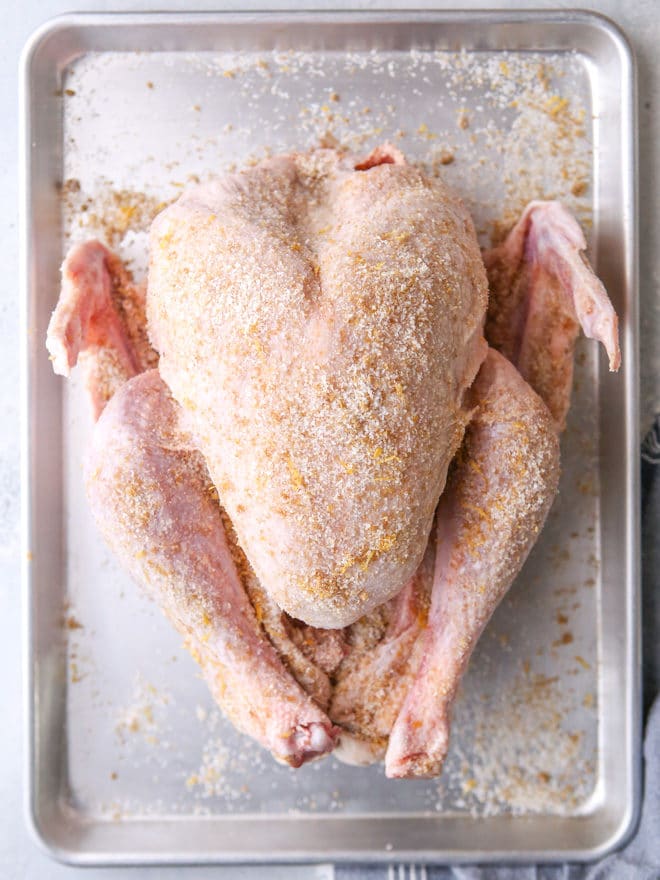
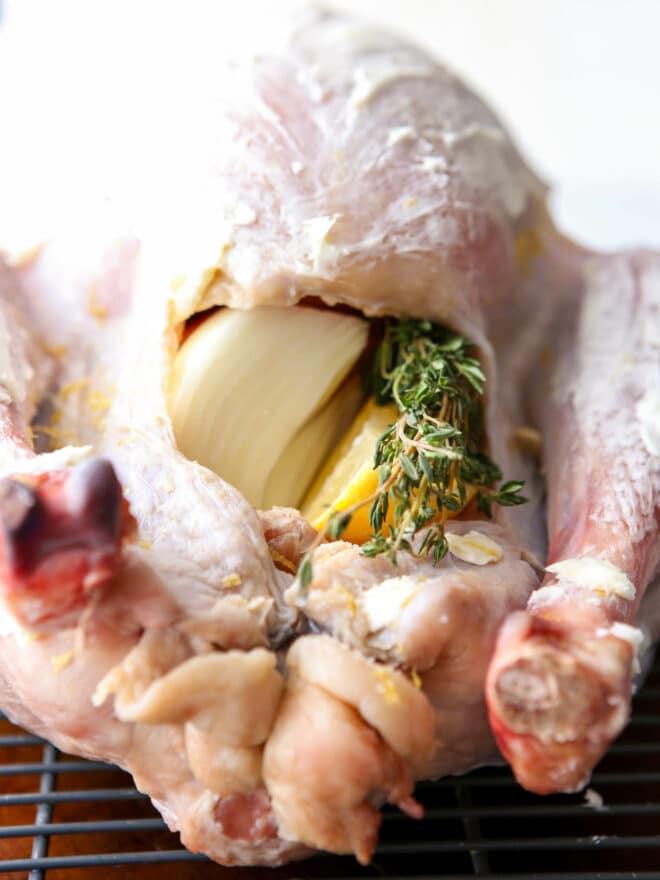
- Rub it all over the turkey. Place turkey on a rimmed baking sheet pan lined with a wire rack. This will allow air to circulate around the turkey and help to dry out the skin. Rub the dry brine salt mixture evenly all over the turkey.
- Refrigerate turkey uncovered for about 24 hours. Place the sheet pan with the turkey, uncovered, on the bottom shelf of your fridge. Putting it on the bottom shelf ensures it doesn’t contaminate any food underneath it. Leave the turkey for a minimum of 12 hours, but preferably about 24 hours. If your turkey is larger (around 15lbs) you can leave it for up to 36 hours.
The best way to roast a turkey
Dry brining your turkey is just the first step! Now that you’ve infused the turkey with flavor, it’s time to roast it in the oven. Follow these steps, for the best roasted turkey:
- Preheat the oven and pull the turkey out of the refrigerator. Let it sit at room temperature for 30-60 minutes to help remove some of the chill so the meat cooks more evenly.
- Rub turkey with butter and fill the cavity. Rub softened butter over the entire turkey and stuff the cavity with onion, lemon and fresh herbs. Tie the legs together with kitchen twine and tuck the wings underneath the bird.
- Roast at 450°F for 30 minutes. This helps the turkey skin start to brown.
- Reduce temperature to 325°F. And continue to cook the turkey.
- Make glaze. Combine melted butter, honey, red wine vinegar, garlic, Worcestershire sauce, and herbs in a small saucepan over low heat.
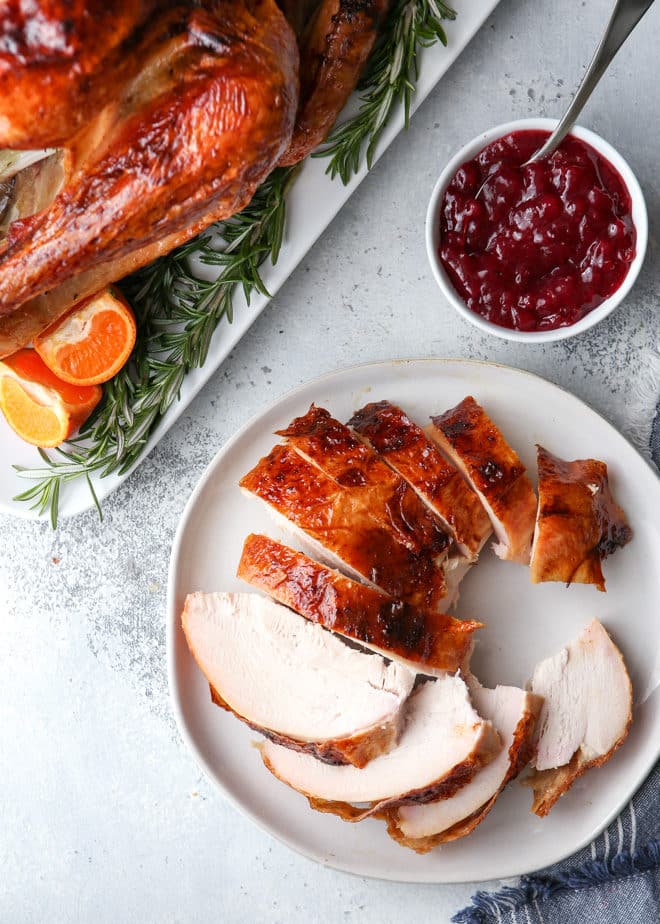
- Baste the turkey every 30 minutes. Make a simple glaze by While the turkey is roasting, brush it with the glaze every 30 minutes or so. This will provide even more flavor and really make the outer skin a beautiful golden brown.
- Turkey is done when when the internal temperature reaches 160ºF. (It will rise to the appropriate temp of 165º while it rests). Time depends on the size of your turkey, but 60-120 additional minutes.
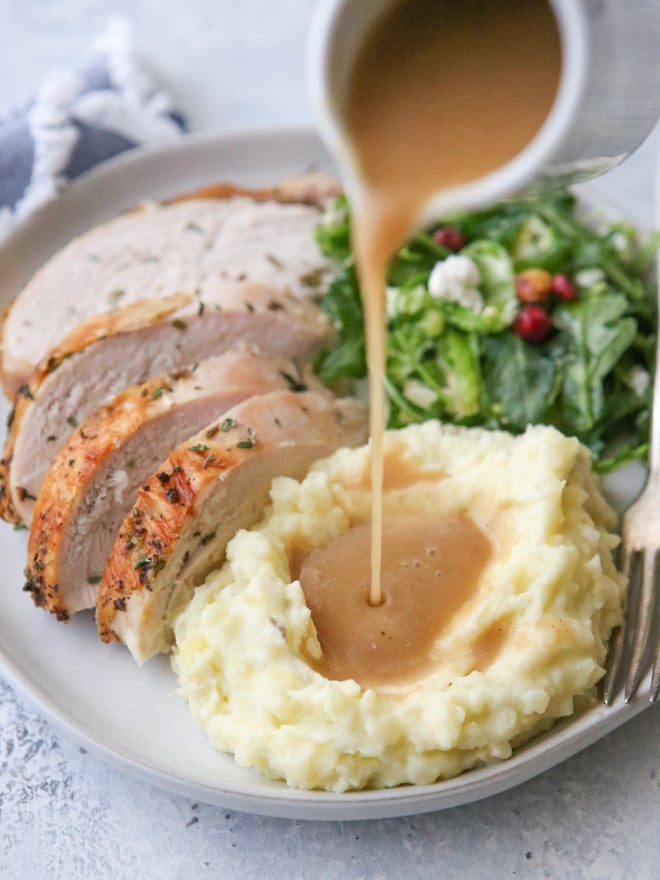
- Let the turkey rest for 30 minutes. This lets the juices settle comfortably within the meat. Cut it too soon and all the juices will leak out, leaving dry turkey slices behind. While the turkey rests, make this easy homemade turkey gravy from the drippings!
Then, serve and enjoy! While
FAQs for this recipe
Nope! Part of the magic of the dry brine is it gives the turkey skin time to dry out so it browns evenly in the oven. Rinsing the bird before baking would undo that.
No, I promise it won’t be! The salt covers a wide surface area evenly and penetrates all throughout the turkey, which prevents it from tasting to concentrated. If you want to learn more about the science behind dry brining, this article has a lot of great info.
Yes, absolutely! See recipe for instructions on making a turkey breast instead.
To thaw a turkey quickly, you can submerge it in cold water, changing the water every 30 minutes. For a 12-pound turkey, this will take about 2-3 hours. However, if you use this method it is not recommended to use a dry brine, as that only increases the risk for bacteria; the turkey should instead be cooked right away. Proceed straight to the steps for roasting the turkey in this recipe.
Leaving the dry brine on the turkey for longer than recommended can leave it overly salty, dry and mushy. Be aware of the proper brining time for your recipe and stick to it! For a 12-15lb, brine for a total of 12-24 hours, or a max of 36 hours if you have a larger bird.
If your turkey ends up dry, it may be because it was cooked for too long. To prevent this, make sure to use a thermometer to check the internal temperature of the turkey throughout the cooking process. Remove the turkey from the oven when it reaches 160°F, as it will continue to cook and reach the recommended 165°F while resting.
I have a separate recipe for how to make quick homemade turkey gravy. You can make it while the turkey rests!
The key to reheating turkey successfully is to add moisture, use low and slow heat, and avoid overcooking. To reheat turkey slices or pieces in the oven: place it in a baking dish, add a few tablespoons of gravy or broth, and cover with foil. Warm in a 325°F for about 20 minutes. To reheat in the microwave: place turkey in a microwave-safe dish, add gravy or broth, and cover with a damp paper towel. Microwave at 50% power in 1-minute intervals.
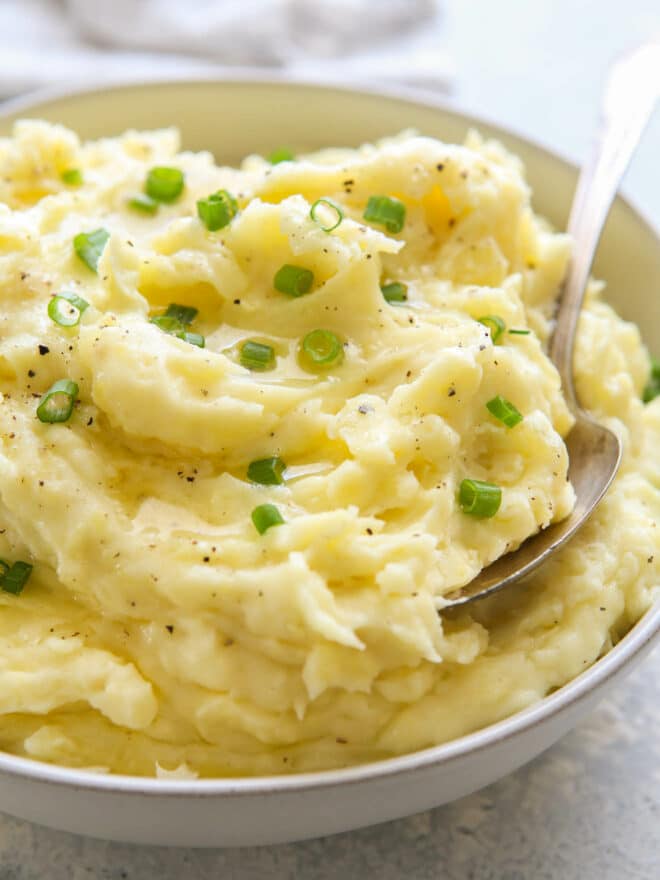
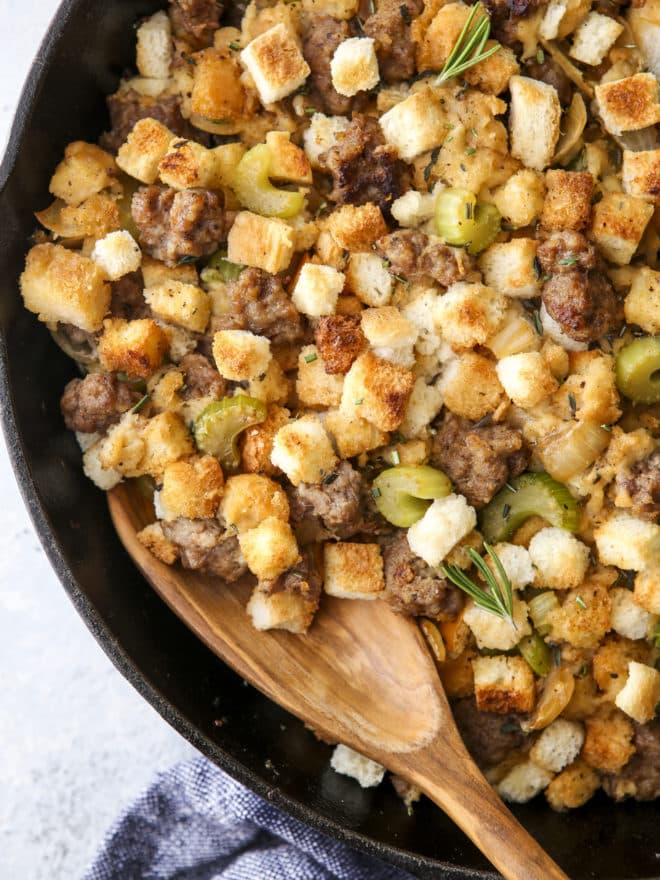
Complete your meal with these side dishes
- Buttery Garlic Green Beans
- Fall Apple Salad with Cheddar and Candied Pecans
- Easy No-Knead Fairy Crescent Rolls
- Sweet Potato Bites with Marshmallows and Pecans
Get the recipe
Dry-Brine Roasted Turkey
Ingredients
Dry Rub
- 6 tablespoons coarse salt , Diamond Crystal or Morton Kosher preferred
- 3 tablespoons light or dark brown sugar
- Zest of 1 lemon
- 1 teaspoon ground mustard
For the Turkey
- 12-15 lb turkey , neck and giblets removed
- 1 onion , peeled and quartered
- 1 lemon , halved
- 1 small bunch fresh herbs , such as rosemary, thyme and sage
- 6-8 tablespoons butter , as needed, softened to room temperature
Glaze
- ¼ cup butter
- 2 tablespoons honey
- ¼ cup red wine vinegar
- 1 tablespoon Worcestershire sauce
- 3 cloves garlic , minced
- A few herb stems , such as rosemary, thyme and sage
Instructions
To apply dry brine rub:
- Place turkey on a sheet pan lined with a wire rack and pat dry.
- Combine salt, brown sugar, lemon zest and ground mustard in a small bowl. Use your hands to apply rub all over the bird. There should be plenty, and it's okay if some of it falls off onto the pan.
- Place in the fridge uncovered for about 24 hours, 12 hours minimum. If your turkey is larger (around 15lbs) you can leave it for up to 36 hours.
To roast the turkey:
- Preheat oven to 450°F. Lower the center rack so that the turkey will fit and rest in the middle of the oven. Pull the turkey out of the fridge while the oven preheats so it comes to room temperature a bit.
- Leave the turkey on the wire rack and sheet pan. Do not rinse the rub off. Rub the butter all over the turkey, working it under the skin and on top. The amount of butter needed will depend on the size of your bird. Stuff the cavity with the onion, lemon, and herbs.
- Tie legs together with kitchen twine and tuck the wings under the breasts. Transfer the turkey to the oven and pour 1 cup of water into the pan to prevent the drippings from burning.
- Roast for 30 minutes, rotating the pan halfway through.
- Meanwhile, prepare the glaze. Add butter, honey, vinegar, Worcestershire sauce, garlic, and herbs to a saucepan. Cook over medium high heat for a few minutes until bubbling and thickened slightly. Keep warm.
- Reduce oven temperature to 325°F and continue to roast the turkey until a thermometer inserted into both the thickest part of the thigh and breast registers 160°F. (The temperature will continue to rise to 165°F as the bird rests.) This will take about 60-90 minutes. Skin should be golden brown, crisp, and shiny. If turkey browns too quickly and starts to burn, tent it with foil.
- While turkey is roasting, brush every 30 minutes all over with the glaze. Add more water to pan as needed to maintain an even level of water. If your turkey starts to brown too much, cover it loosely with foil to prevent burning. Continue to baste.
- When turkey has reached 160°F carefully remove it from the oven, making sure not to let the juices spill from the pan.
- Transfer turkey to a cutting board or serving platter and cover with foil. Let it rest for 30 minutes before carving.
- Make homemade turkey gravy from the drippings and serve!
Notes
- Make sure your turkey is not pre-salted! Such as for kosher turkeys or pre-brined turkeys. When in doubt, check the ingredient list on the packaging and make sure it does not include salt.
- To thaw turkey, place in fridge for 24 hours per 4-5lbs of turkey. Depending on the size of turkey you use, this could take 2-3 days. It’s okay if turkey is not completely thawed when you start the dry brine (sometimes mine is still frozen a bit inside), but it should be mostly defrosted.
- If you want to roast a smaller turkey or turkey breast, you can still follow this recipe. For a 6lb turkey breast you will need 1 Tbsp salt, 1 tsp brown sugar, 1 tsp lemon zest and 1/4 tsp ground mustard.
- Recipe gratefully adapted from Bon Appetit.

This recipe was originally published November 2019.

Planning to make this in a few days. Everything I’ve read said turkeys need to be cooked at 15 min per pound, yours is the only recipe I’ve come across that says 60-90 min for a whole 12 lb turkey! What am I missing?
It’s 60-90 minutes at 325°F after an initial 30 minutes at 450°F (so 90-120 minutes total). This first blast in high heat gets the turkey cooking faster so it doesn’t need as long as many recipes that don’t start this way. However, you should ALWAYS go by internal temperature, and your turkey may take slightly longer to get to 165°F internally. Next time I make this recipe, I’ll be sure to note the time to see if I should update any instructions here.
We made your dry brine turkey this year for Thanksgiving. It was the best turkey we have made yet! So much flavor. Thank you!
Made this for Thanksgiving. Best turkey ever. Followed recipe exactly and it turned out juicy and flavorful.
Hi
I’m confused, there is no mention of butter in the ingredient’s list for the turkey, only for the glaze.
My apologies Jackie! The recipe has been corrected.
Recipe ingredients sound great, but the time is off. Possibly an hour for a 12-15 lb. turkey?
There was typo in the recipe instructions, thanks for catching it! But it’s been fixed now. I’d start checking internal temperature for a 12 lb turkey around 90 minutes, it often cooks faster than you’d think! A 15 lb turkey will take 2 hours or more.