

Yellow Cake with Chocolate Frosting
Few desserts have as much nostalgic appeal as classic yellow cake with chocolate frosting. This incredible homemade cake recipe is perfect for birthdays and celebrations of all kinds, and it’s a favorite with everyone!

Why you’ll love this yellow cake recipe
- It’s super soft, light, and moist.
- It has great buttery vanilla flavor.
- It’s completely homemade (no box mix here), but still easy enough for anyone to make.
- It pairs great with just about any topping, but especially with my famous chocolate buttercream frosting.
Summarize & save this content on:
You could say I’ve been developing this cake recipe for almost as long as I’ve had this website, over 15 years! I first shared a yellow cake with chocolate frosting when my oldest son turned one in 2013, but recently I’ve wanted to revisit the recipe and make it even better.
Because homemade vanilla cake is notoriously difficult to get just right, as it has a tendency to be too dry or bland, or both. I’ve baked more than a dozen versions of this cake during the last few years, and I’m proud to say I’ve finally nailed it! This is the BEST yellow cake recipe I’ve ever made. It has amazing texture, delicious flavor, and I just love it so much.
And if you love nostalgic homemade birthday cakes, my cherry chip cake recipe is another longtime favorite inspired by the boxed cakes I grew up with!

So how do you get both great flavor and texture? The secret is to use both butter and oil. Oil keeps the cake layers soft and moist, as it’s a liquid at room temperature. But butter has so much more flavor! So we use a combination for the best of both words.
Ingredients you’ll need
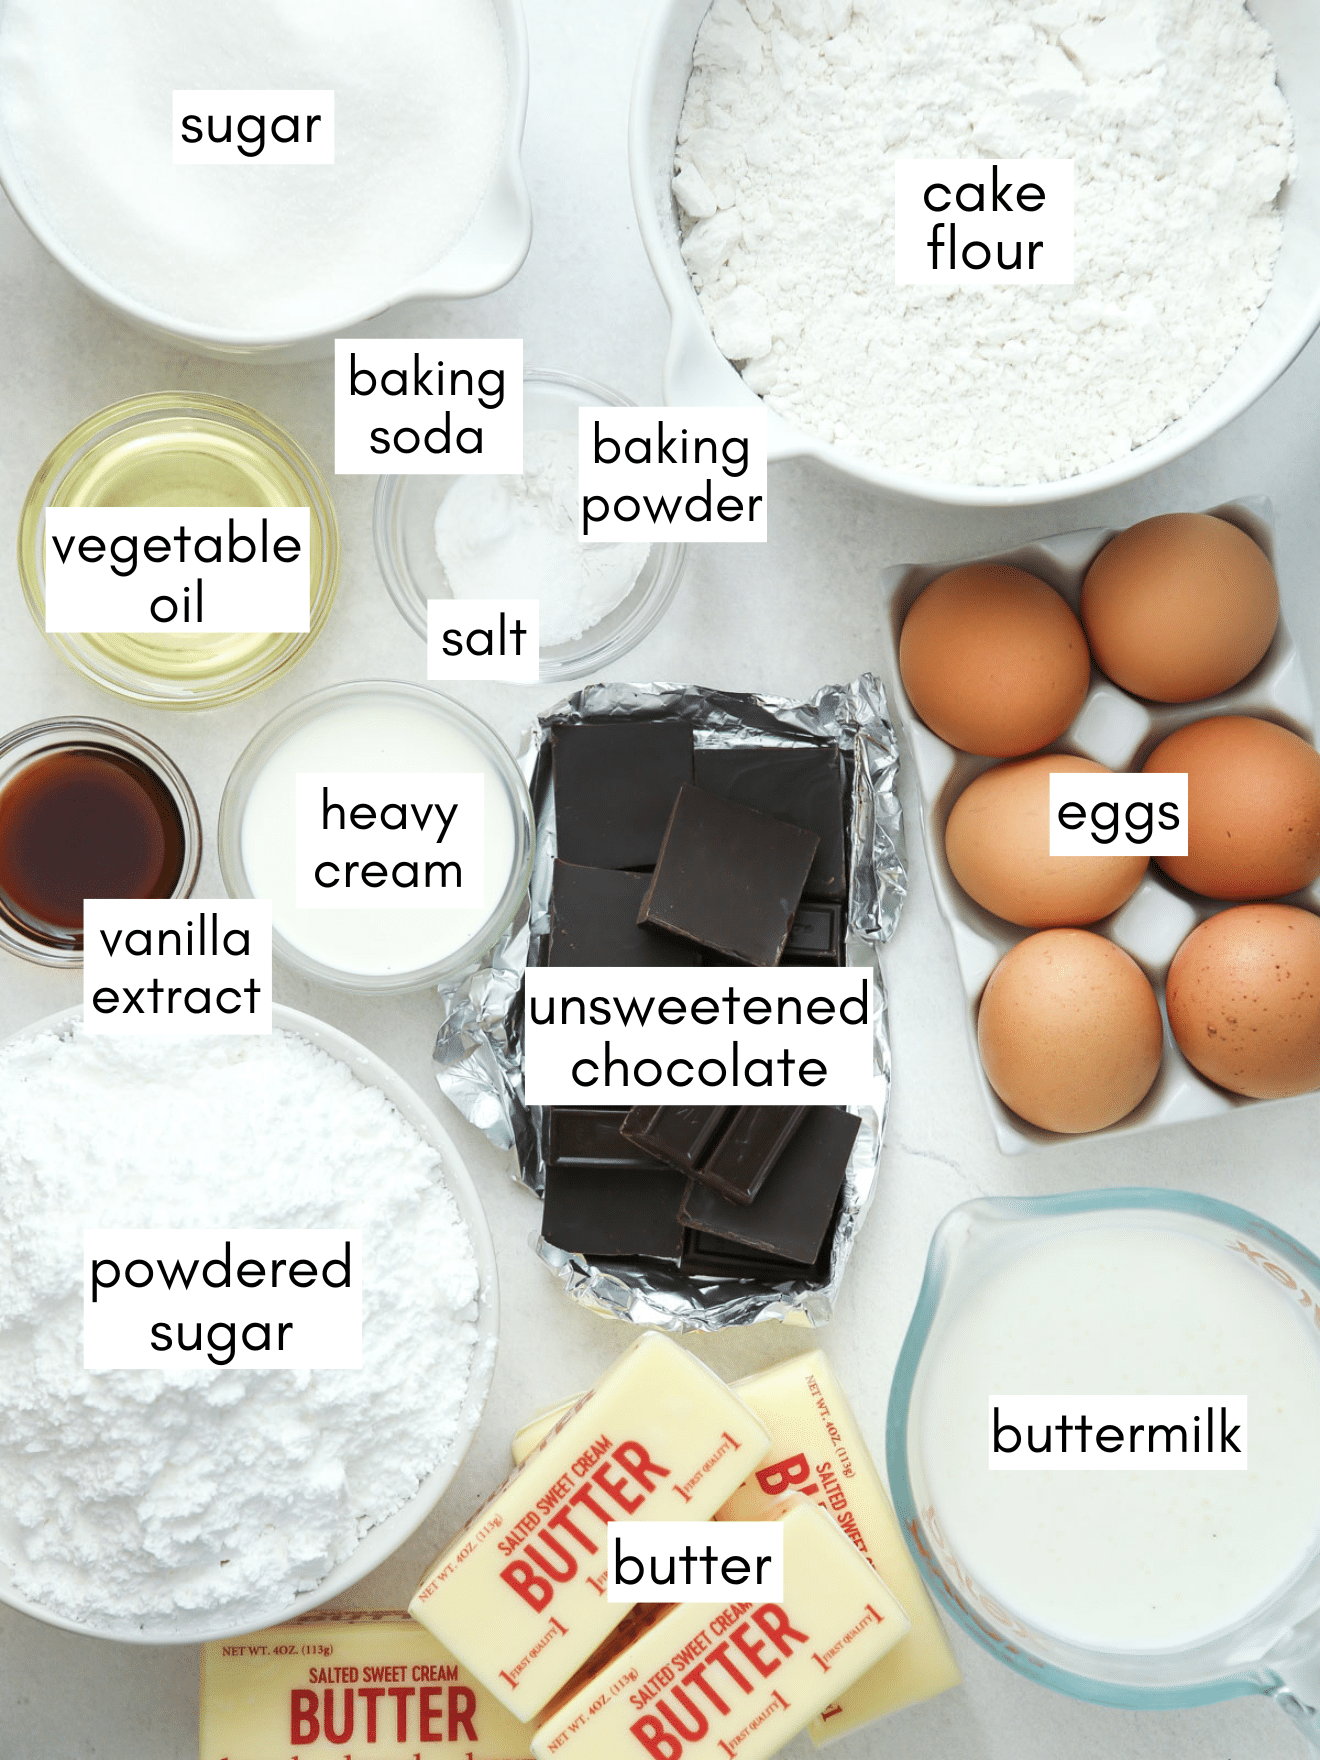
- Cake flour— Necessary for the best texture. Thankfully you can get it in most grocery stores!
- Granulated sugar
- Baking powder and baking soda
- Salted butter— Starting with salted butter boosts the flavor so much. Want to know how to make sure a dessert isn’t too sweet? Balance it out with salt!
- Vegetable oil— Or any neutral-flavored cooking oil like canola oil or grapeseed oil. We’ll only use a little bit!
- Whole eggs and egg yolks— using a combination adds richness, color and flavor.
- Buttermilk— Not only does it add flavor, but it also works to tenderize the cake.
- Vanilla extract
- Unsweetened chocolate— Ensures the frosting isn’t too sweet, though semi-sweet chocolate will work too (sometimes I forget to buy unsweetened chocolate so I make this swap a lot).
- Powdered sugar
- Heavy cream
- Salt
Step by step instructions
- Use the reverse creaming method to make the cake batter. It’s a little different than you may be use to, but it’s easy! And it helps keep the cake fluffy without drying out. First, you beat the dry ingredients with butter and some buttermilk, and then you slowly mix in the remaining wet ingredients.

- Bake cake layers. Divide the cake batter equally between two prepped 8 or 9-inch cake pans and bake in a 350°F oven until the cakes are puffed and slightly golden on the top, 32-35 minutes.
- Prepare frosting. Use an electric mixer to beat melted chocolate with butter, powdered sugar, vanilla and heavy cream to make a thick and fluffy frosting.
- Assemble the cake. Add a cake layer to a cake stand or plate and cover with 1-2 cups of frosting. Top with the second cake layer and cover with the remaining chocolate frosting. This cake is meant to be a bit casual, so don’t stress too much about what it looks like, though I do have some frosting tips here.
- Slice and enjoy! Serve this cake right away, or whenever you’re ready, though the cake will be at its best within 2 days of assembly. No need to store it in the fridge (unless chilling it will make it easier to serve outside, or your kitchen is very warm).


Tips for baking and assembling a perfect cake
- Always start with room temperature dairy and eggs. Pull the butter, buttermilk and eggs from the fridge 30-60 minutes before you plan to bake. This helps cakes have the best rise and softest texture (more info on why room temperature ingredients matter here).
- A digital kitchen scale is your best friend. Not only will you get the most accurate measurements for your ingredients, but it also reduces dirty dishes, and makes it simple to ensure your cake pans get the same amount of batter (meaning your cake layers are the same size!).
- Hoping for a deeply natural yellow color? The butter and eggs you use makes a difference! Use European-style butter like Kerrygold and super fresh eggs from a local market or neighbor, both of which naturally have more intense color than cheaper generic options.
- I prefer 8-inch cake pans for this recipe. Use 2 or 3 pans, depending on the look you want. You can use 9-inch pans, but know the cake layers will be much thinner.
- Top with a different frosting, if you want. Whipped vanilla buttercream frosting, chantilly cream frosting and cream cheese frosting would all be delicious flavor variations.
- Looking to use up the extra egg whites? Coconut macaroons, pavlova, white cake, and angel food cake are all recipes that require only egg whites. Egg whites will keep in the fridge for up to 1 week, or they can be frozen for several months and thawed when needed.
baking tip:How to prevent cake from sticking to the pan
- Line the bottoms of cake pans with parchment paper. You can trace and cut circles from sheets of parchment, or use pre-cut rounds.
- Grease with a baking-specific nonstick spray that contains flour (such as Baker’s Joy) OR grease pan completely with butter, then dust with flour.
- While I don’t like non-stick pans for traditional cakes (they tend to over-brown the edges), non-stick pans are great for other recipes like bundt cakes, cupcakes, loaf cakes, etc.

Make-ahead options
It’s easy to prep this cake in advance if you want! I often will split making a cake like this over 2 days, baking cakes on one day and then assembling the next. (And you can even prep farther in advance too.)
Prep cake layers in advance and keep in plastic wrap in the fridge for up to 2 days, and in the freezer (double wrapped) for up to 3 months. Assemble cake layers while cold from the fridge, and thaw frozen cakes in the fridge overnight still in their plastic wrap before using. See my tutorial on how to store cake layers for more detailed info.
Prep the frosting in advance and store at room temperature for several days, in the fridge for 1-2 weeks, or in the freezer for several months. For best results, beat frosting until smooth before using, adding a bit more cream if needed to get the right texture.
Get the recipe

Yellow Cake with Chocolate Frosting
Ingredients
For the yellow cake:
- 3 cups (375 grams) cake flour
- 2 cups (400 grams) granulated sugar
- 2 ½ teaspoons baking powder
- 1 teaspoon salt
- ¼ teaspoon baking soda
- ¾ cup (170 grams) salted butter , softened to room temperature
- ¼ cup (56 grams) vegetable oil (or other neutral-flavored oil)
- 1 ¼ cups (300 grams) buttermilk , at room temperature, divided
- 2 large whole eggs , at room temperature
- 4 large egg yolks , at room temperature
- 2 teaspoons pure vanilla extract
For the chocolate frosting:
- 6 oz (180 grams) unsweetened chocolate , chopped (semi-sweet chocolate will work too)
- 4 ½ cups (565 grams) powdered sugar
- 1 ½ cups (340 grams) butter , softened at room temperature
- 6 tablespoons (85 grams) half and half or heavy cream
- 1 teaspoon vanilla extract
- ¼ teaspoon salt

Instructions
To make the cake:
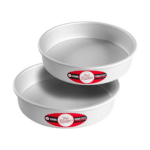
- Preheat oven to 350°F. Grease two 8 or 9-inch cake pans with nonstick baking spray or butter and flour, and line with parchment paper.
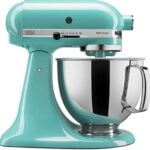
- In the bowl of a stand mixer fitted with a paddle attachment, combine the cake flour, sugar, baking powder, salt and baking soda. Add the butter, vegetable oil, and 1 cup of the buttermilk. Mix on low speed until moistened, then increase the speed to medium high and beat until light and creamy, about 4 minutes total. Stop and scrape the bowl down at least once.
- Whisk together the eggs, egg yolks, remaining ¼ cup of the buttermilk, and the vanilla extract in a bowl or liquid measuring cup.
- Add the egg mixture to the mixer in 3 additions, mixing only until incorporated and scraping the bowl down between each addition.
- Divide the batter between the prepared pans, about 1lb 8 oz/680 grams of batter in each pan. Bake for 32-35 minutes, or until tops are golden and slightly domed. When gently pressed with a finger, the tops of the cake should bounce back. Let cool in the pan for 5 minutes, then turn out onto a wire rack to cool completely.
To make the frosting:
- You can melt the chocolate in double boiler or in the microwave in 30 second bursts. Heat just until a few bits of chocolate remain, then whisk until smooth. Cool mostly to room temperature before using.
- Add powdered sugar, butter, cooled melted chocolate, cream/half and half, vanilla and salt in the bowl of an electric mixer and beat on medium high speed until combined and super creamy. You'll need to scrape down the bowl a few times to make sure it's smooth and uniform. If needed, add cream/half and half a little at a time to get the consistency you want.
- To assemble the cake, place one layer (flat side up) on a plate or cake stand. Cover with 1-2 cups of the chocolate frosting. Top with second cake layer and cover the top and sides of the cake with the frosting.
- Serve immediately or as desired, though the cake will be its best within 2 days of assembly.
Video
Notes
- Prep cake layers in advance and store wrapped in plastic wrap in the fridge for up to 2 days and in the freezer (double wrapped) for up to 3 months. Assemble cake layers while cold from the fridge, and thaw frozen cakes in the fridge overnight still in their plastic wrap before using. See my tutorial on how to store cake layers for more detailed info.
- Prep the frosting in advance and store at room temperature for several days, in the fridge for 1-2 weeks, or in the freezer for several months. For best results, beat frosting until smooth before using, adding a bit more cream if needed to get the right texture.

Note: A version of this recipe was originally published in April 2013. In May 2025 the recipe was significantly improved and updated. This recipe is completely my own creation, though I was influenced by yellow cake recipes from Bake from Scratch magazine and Sky High Cakes cookbook.

Do you ever make recipes that are egg free? My 2 year old has severe allergy (anaphylactic shock). This cake with choco frosting looks absolutely delicious.
Your cake looks amazing! I was wondering if I could use ‘cake and pastry’ flour instead of all purpose flour for your recipe?
Sure, you should be able to substitute cake/pastry flour just fine. Enjoy!
If you’re still looking for the perfect yellow cake, I have a wonderful recipe from the Kitchen Klatter Cookbook:
Juliana’s Scrumptious Yellow Cake
2/3 cup butter
1 3/4 cup sugar
2 eggs
1 1/2 tsp. vanilla
3 cups cake flour
2 1/2 tsp. baking powder
1 tsp. salt
1 1/4 cups milk
Cream together butter and sugar until like whipped cream. Add eggs and flavoring and beat vigorously. Sift flour with baking powder and salt 3 times and stir in alternately with the milk. Turn into 2 9-inch layer cake pans, well greased and floured, and bake in a 350F oven for 30-35 minutes.
This is a moist, tender and extremely rich cake. Tastes great frosted with sweetened whipped cream.
–Mary
If you are looking for yellow cake. In Lebanese cooking was have a Semolina Cake. Its delicious. It’s called sfouf. https://mideastfood.about.com/od/dessertssweetspastries/r/sfoufrecipe.htm
This recipe looks really interesting. I happen to have semolina flour for pasta making, but haven’t actually made pasta with it yet. Perhaps I’ll have to try this cake instead.
https://delectabledelightswithrebecca.blogspot.com/2011/06/yellow-cake.html this is my fave! I have a daughter Annalise! 🙂
Beautiful cake! I'm also on the hunt for the perfect yellow cake and the best candidate I've found is from Smitten Kitchen (https://smittenkitchen.com/2009/07/best-birthday-cake/) Give it a try!
Ooh, I love, love this combination. You know, I have a buttermilk cake recipe that I use for the kid's birthday cakes that I think is pretty delicious. You are definitely welcome to it.
That cake is so gorgeous it makes me want to cry tears of joy!!! I love your blog and have been following it for quite some time. Please feel free to visit my blog if ever..Jackie
Wow, Annalise, this cake is heavenly! It just looks so soft and so flavorful. Yellow cake and chocolate are simply my favorite flavor combination, no doubts about it. You did such a beautiful job on this cake!
The frosting looks heavenly delicious!
yellow cake with chocolate frosting is always my favorite. hope all is well over there…summer is on it's way (i keep telling myself) which we can always look forward to 🙂
Gorgeous, gorgeous cake! I too bake to as a form of feeling better….it's like my therapy! 🙂
I'm delighted that I have discovered your blog!
Oh my gosh, this cake turned out beautifully! You did a great job with the frosting. I don't think I could ever get mine to look as smooth as yours. This cake looks delicious… Mmm… I could totally go for some cake right now.
This looks beautiful! But I understand your continued search for the perfect yellow cake, as I'm on a similar hunt. The one I've found that looks most promising and sounds like what you're looking for also is from Bakewise by Shirley Corriher. It uses both butter and oil as well as whipped cream in the batter and is even titled "magificently moist." Here is a link to where a blogger has posted it online: https://pieceofcakeblog.blogspot.com/2009/06/and-please-call-me-shirley.html I'm planning to try it for my boyfriend's birthday caramel cake in March. Hope you like it!
Your cake looks perfect! Very nice job!