

Peanut Butter Mousse Pie with Marshmallow Whipped Cream
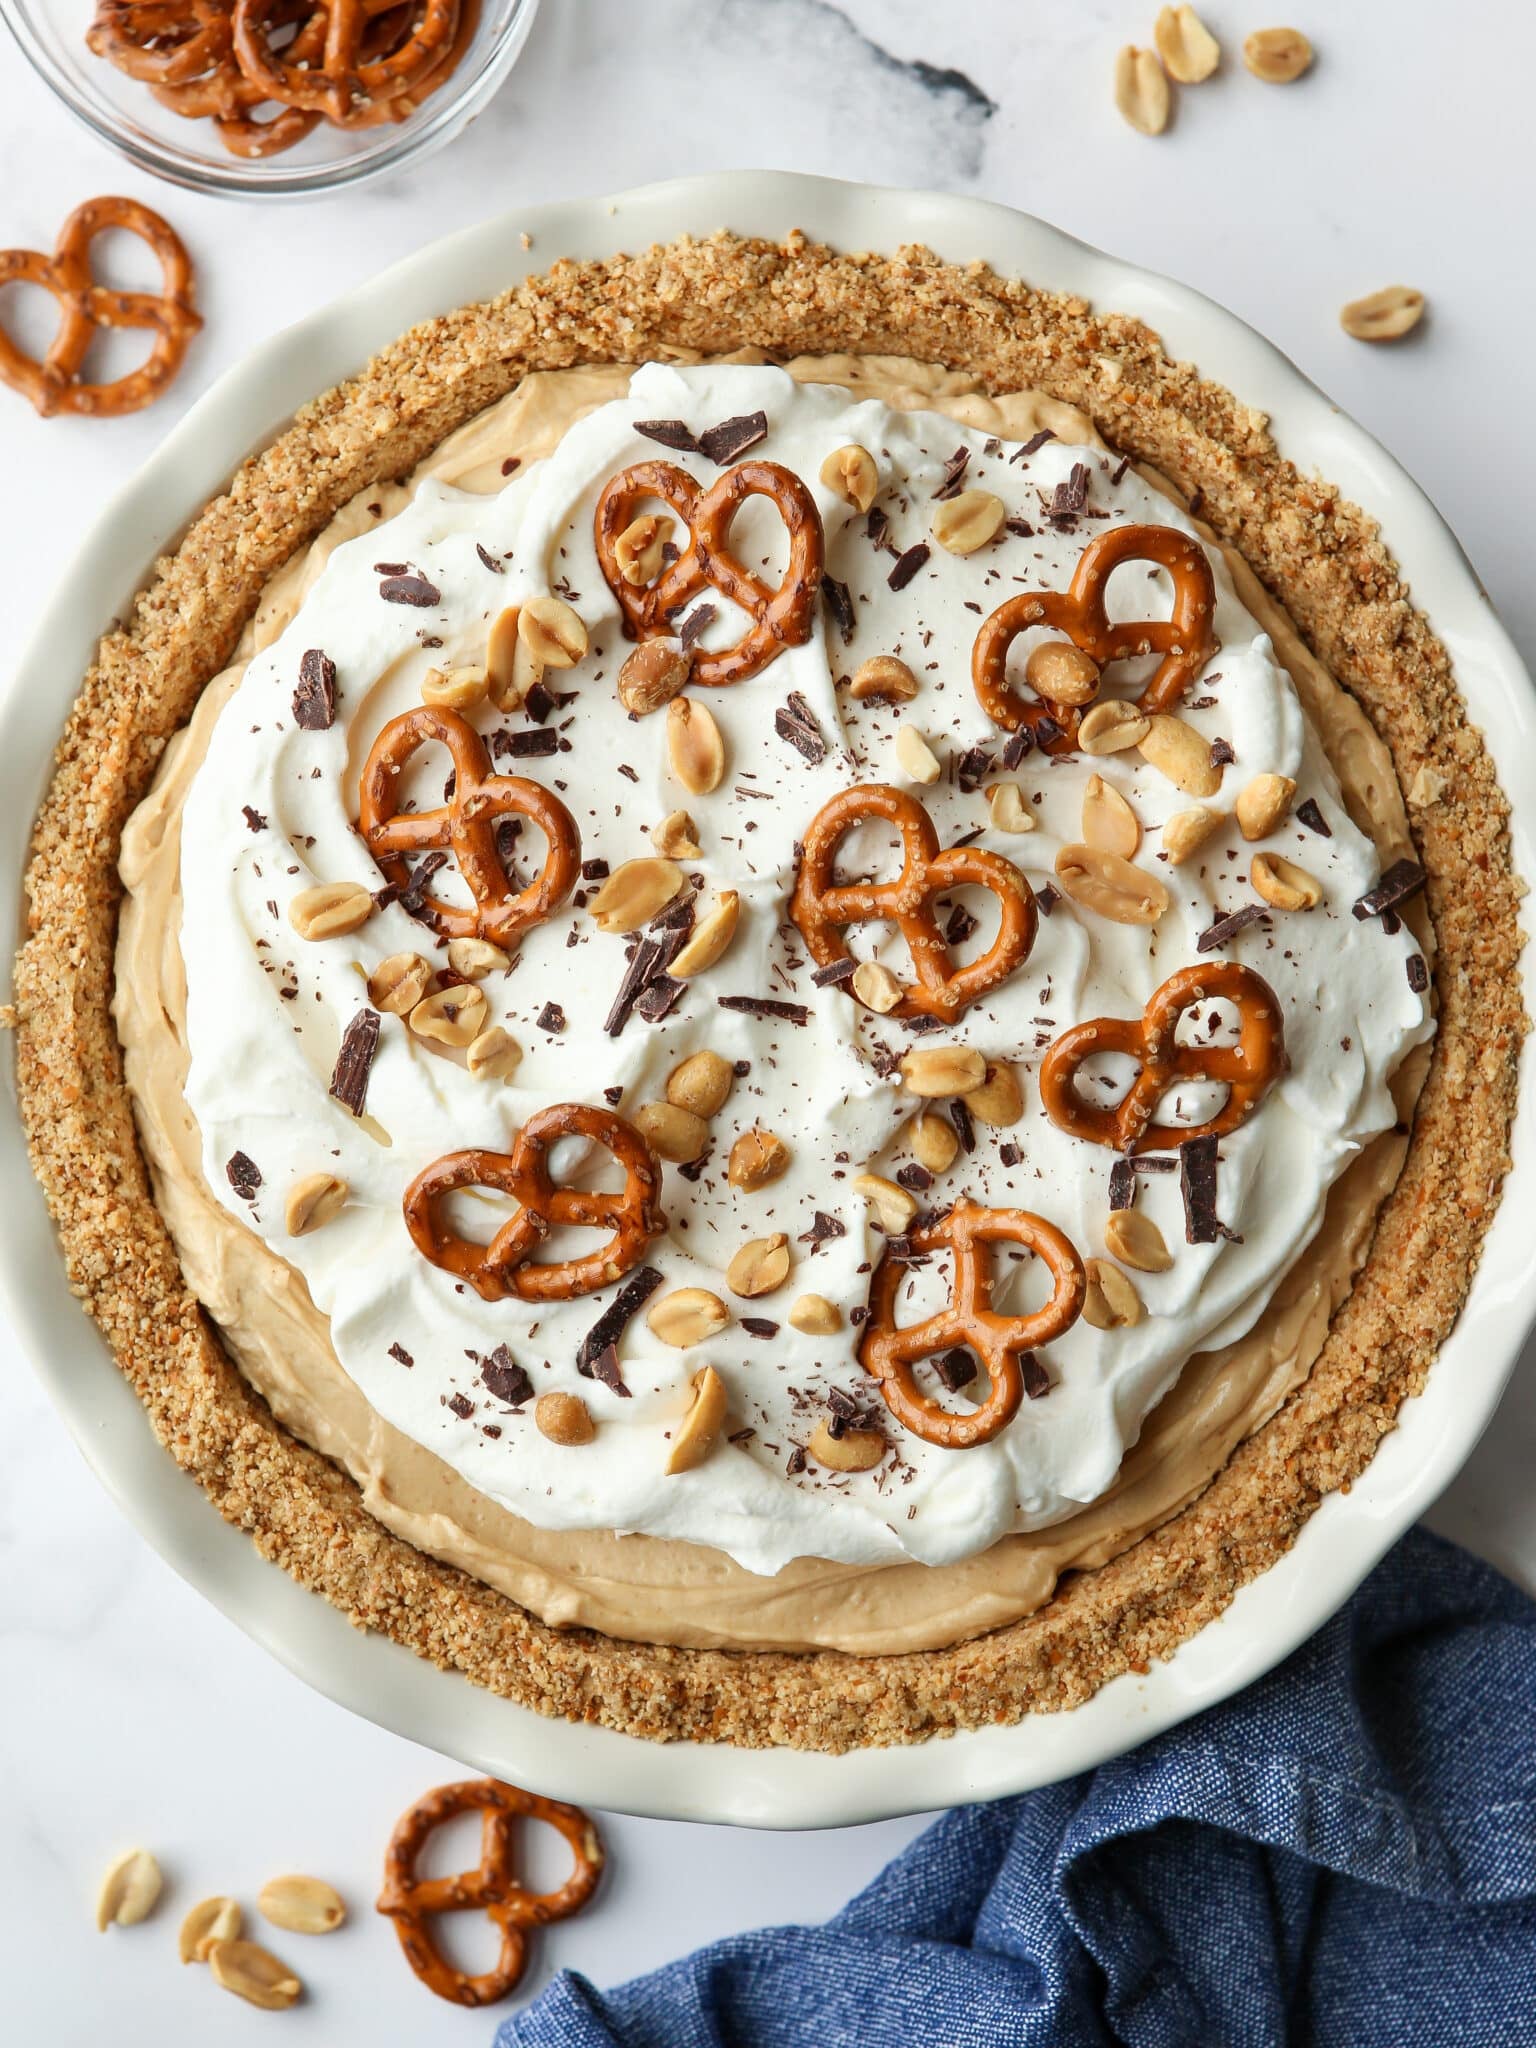
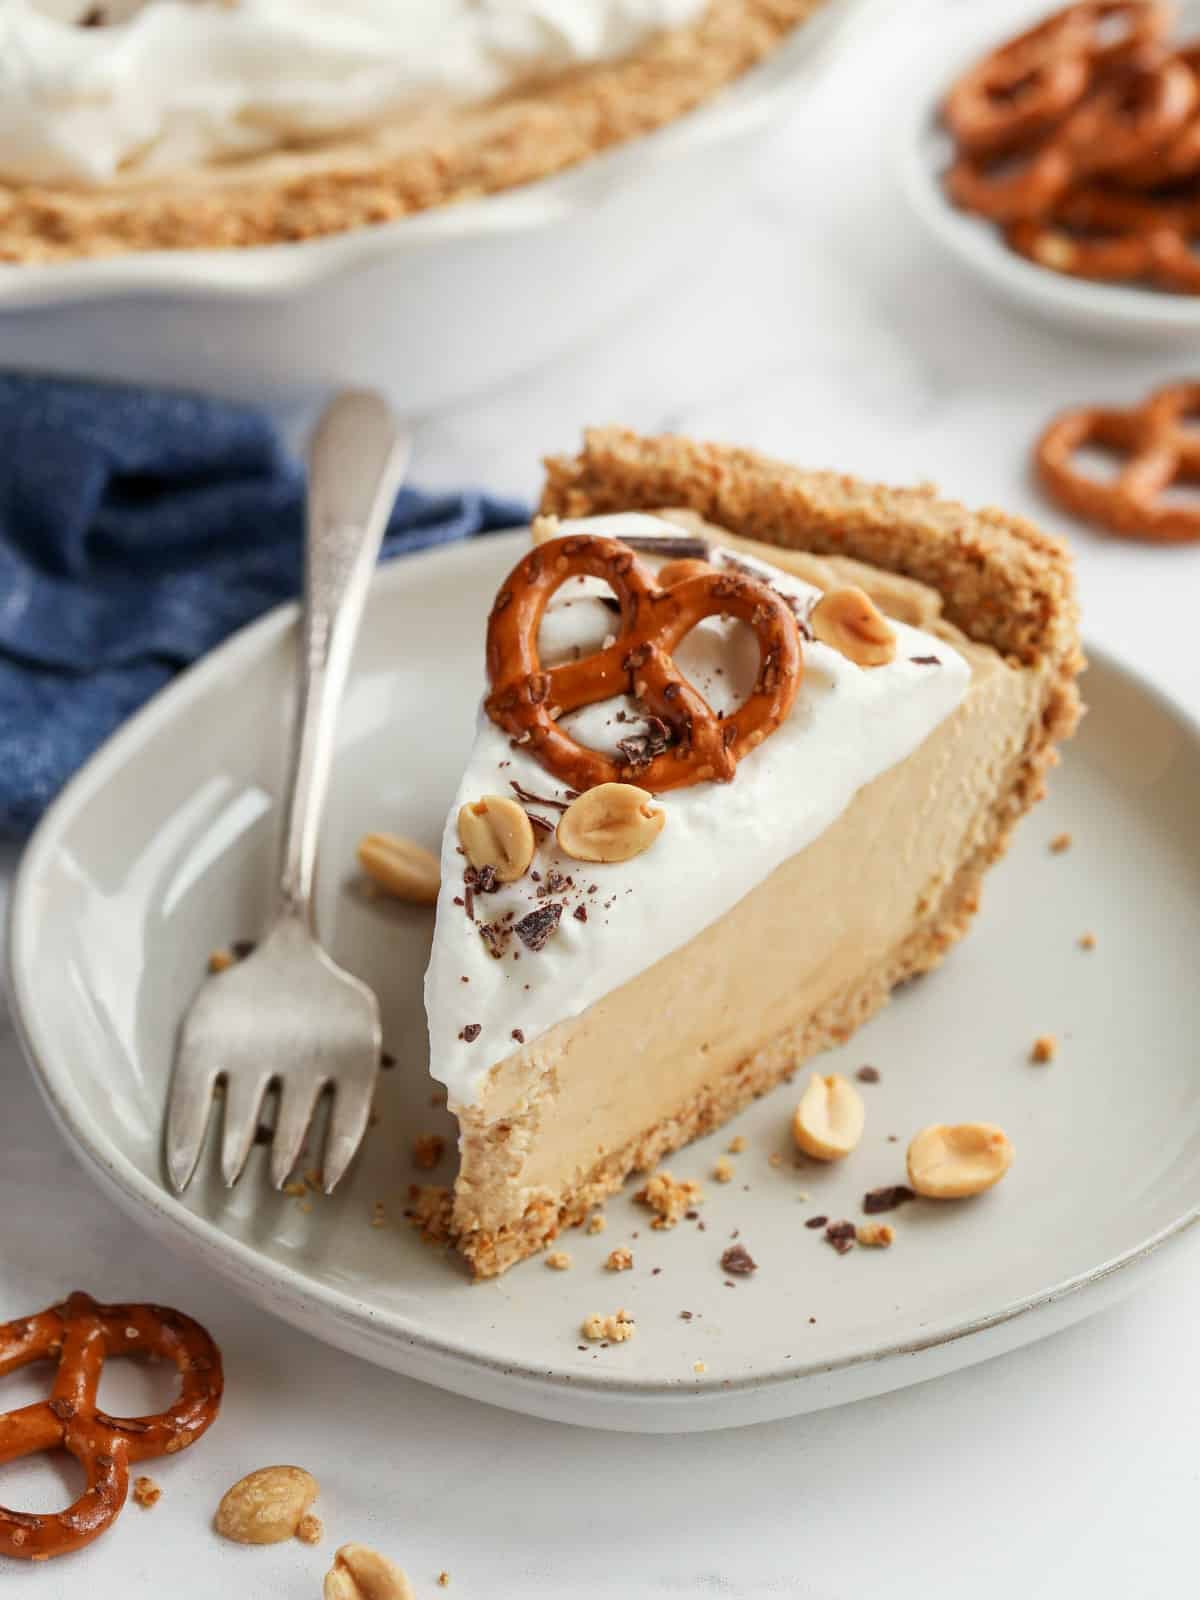
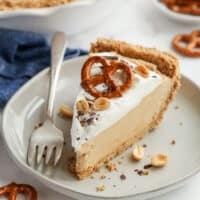
This no-bake peanut butter marshmallow pie is the ultimate sweet and salty dessert! It starts with a buttery pretzel and peanut crust, followed by a light and creamy peanut butter mousse filling, and a big layer of fluffy marshmallow whipped cream.
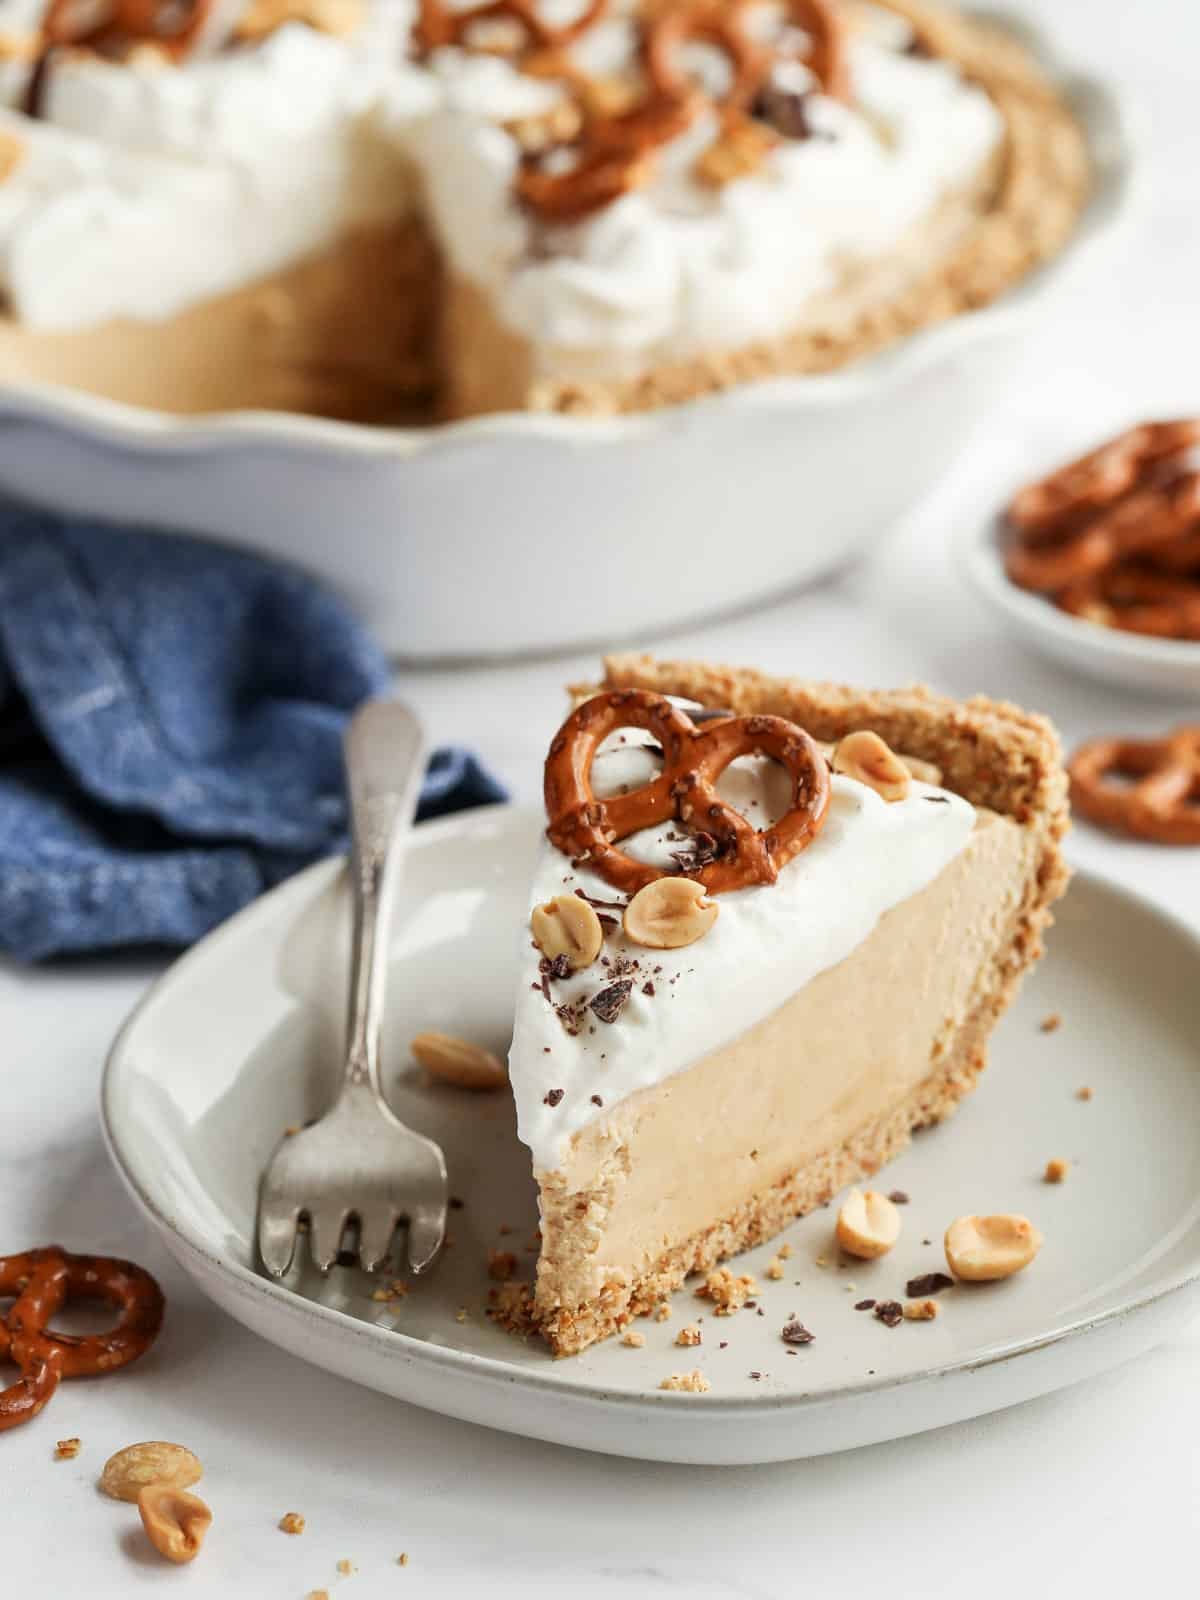
Recipe overview: Peanut Butter Marshmallow Pie
- The crust: Crushed salty pretzels and roasted peanuts mixed with butter and powdered sugar.
- The filling: A light peanut butter mousse made with cream cheese, creamy peanut butter, powdered sugar, and freshly whipped cream.
- The topping: Homemade whipped cream mixed with marshmallow fluff, then finished with extra pretzels, peanuts, and dark chocolate.
- Make-ahead: This no-bake pie needs at least 2 hours in the refrigerator before slicing, and can be assembled up to 2 days ahead.
I first made this pie from my friend Andie Mitchell’s 2016 cookbook Eating in the Middle, and I immediately fell in love with the combination. The salty crust, creamy peanut butter filling, and sweet marshmallow topping are so good together!
Fast forward ten years and this peanut butter marshmallow pie is a new favorite all over again. I’ve made it a few times for the holidays, and it’s always the first pie gone. Everyone LOVES this pie, and I know you will too!
The combination of crunchy pretzels, salty peanuts, and creamy peanut butter in this pie reminds me of my homemade Take 5 candy bars. If you love sweet and salty desserts, you’ll love both!
“Love this recipe and have made it multiple times.⭐⭐⭐⭐⭐” —from reader Isabelle
Ingredients you’ll need
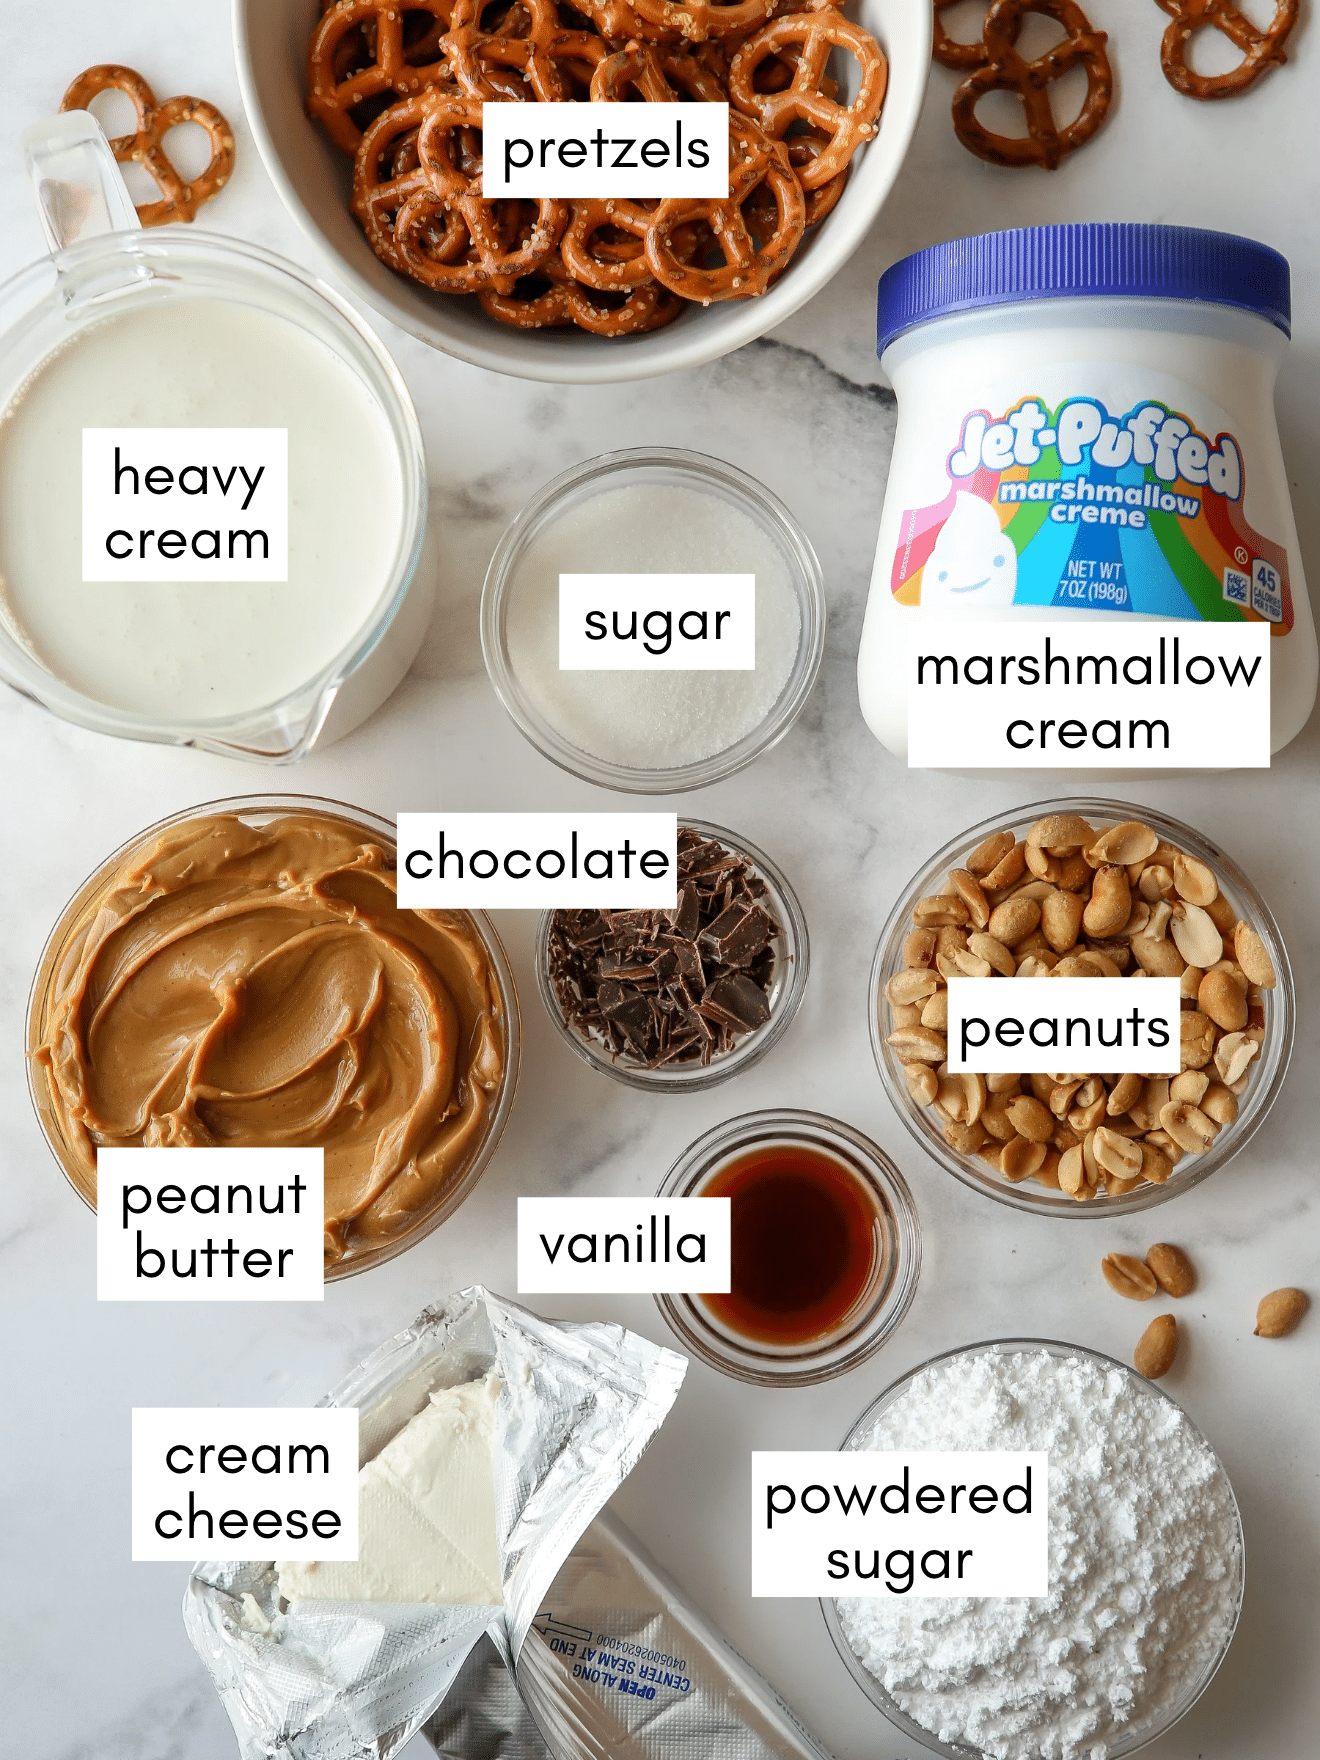
- Pretzels: Give the crust its salty flavor and crunch. I use regular mini pretzels.
- Roasted peanuts: Add nutty flavor to the crust. I recommend dry-roasted unsalted peanuts since the pretzels are already plenty salty.
- Creamy peanut butter: Conventional creamy peanut butter is preferred over natural-style peanut butter for the best texture.
- Cream cheese: Use brick-style full fat cream cheese.
- Heavy whipping cream: Used in both the peanut butter mousse filling and marshmallow topping.
- Marshmallow fluff: You’ll need one 7-ounce jar for the whipped marshmallow topping. It’s one of my favorite parts of this pie! I also use it in my s’mores icebox cake, another creamy dessert that’s perfect for making ahead.
How to make peanut butter marshmallow pie
My tips for the best peanut butter pie
- Use room-temperature cream cheese so it blends smoothly with the peanut butter. Take it out of the fridge 30-60 minutes ahead of time, or see my tips for how to quickly bring cream cheese to room temperature.
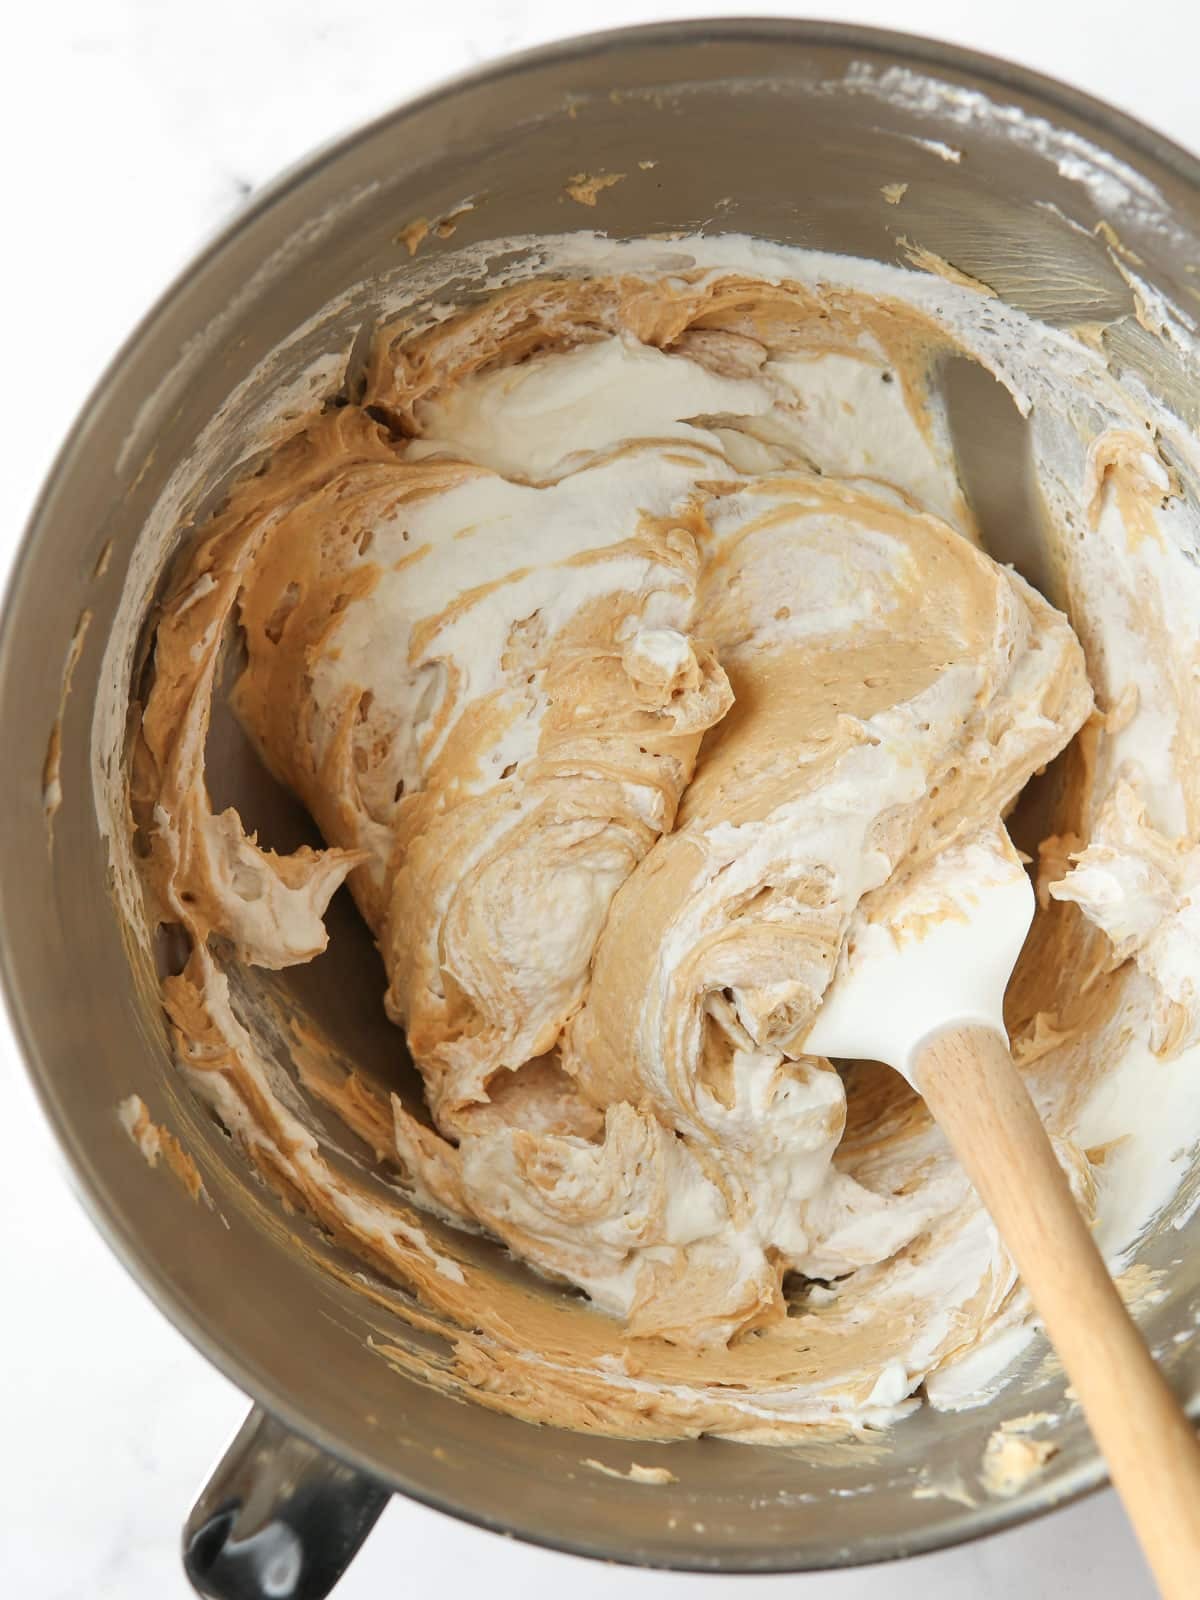
- Fold the whipped cream gently into the peanut butter filling. You want to preserve its light, airy volume and texture, instead of crushing out the air bubbles. Here’s a helpful video to show you how to easily fold two ingredients together.
- I have not tested this recipe with natural-style peanut butter. Conventional peanut butter (like Jif or Skip) are great for baking because its added stabilizers, emulsifiers, and oils create a smooth, uniform texture that blends seamlessly into batters without separating.
- Use the freezer in between assembly steps. This quickly chills the crust and then the filling, speeding up the overall chill time required for this pie. If you’re short on 2-hour final chill time required, put the finished pie in the freezer for 30 minutes, then transfer it to the fridge for the rest of the time you have.
- For the cleanest slices: Wipe a sharp knife with a wet towel in between cuts.
- Make ahead instructions: This peanut butter marshmallow pie keeps really well, and you can make it up to 48 hours ahead of time and store it in the fridge (but wait to add final garnish toppings till closer to serving so pretzels don’t get soggy).
More peanut butter desserts
- No-Bake Chocolate Peanut Butter Bars
- Salted Caramel Peanut Bars
- Reese’s Chocolate Peanut Butter Icebox Cake
- Peanut Butter Chocolate Chip Cookies
Have you tried this recipe? I’d love to hear about it! Leave a rating and review below, or take a photo and tag it on Instagram @completelydelicious.
Peanut Butter Mousse Pie with Marshmallow Whipped Cream
Ingredients
For the pretzel crust:
- 4 cups (165 grams) mini pretzels
- ½ cup (75 grams) dry-roasted unsalted peanuts
- ¼ cup (30 grams) powdered sugar
- ½ cup (113 grams) unsalted butter , melted
For the peanut butter mousse:
- 1¼ cup (285 grams) heavy whipping cream
- 8 ounces (227 grams) cream cheese , at room temperature (227 grams)
- 1 cup (260 grams) creamy peanut butter , not natural-style (270 grams)
- ¾ cup (85 grams) powdered sugar (90 grams)
- 1 teaspoon vanilla extract
For the marshmallow whipped cream:
- 1 cup (227 grams) heavy whipping cream
- ¼ cup (50 grams) granulated sugar
- 1 teaspoon vanilla extract
- 7 oz (198 grams) jar marshmallow creme
For topping:
- Additional peanuts
- Additional mini pretzels
- 1-2 ounces (28-56 grams) dark chocolate , coarsely shaved
Instructions
To make the crust:
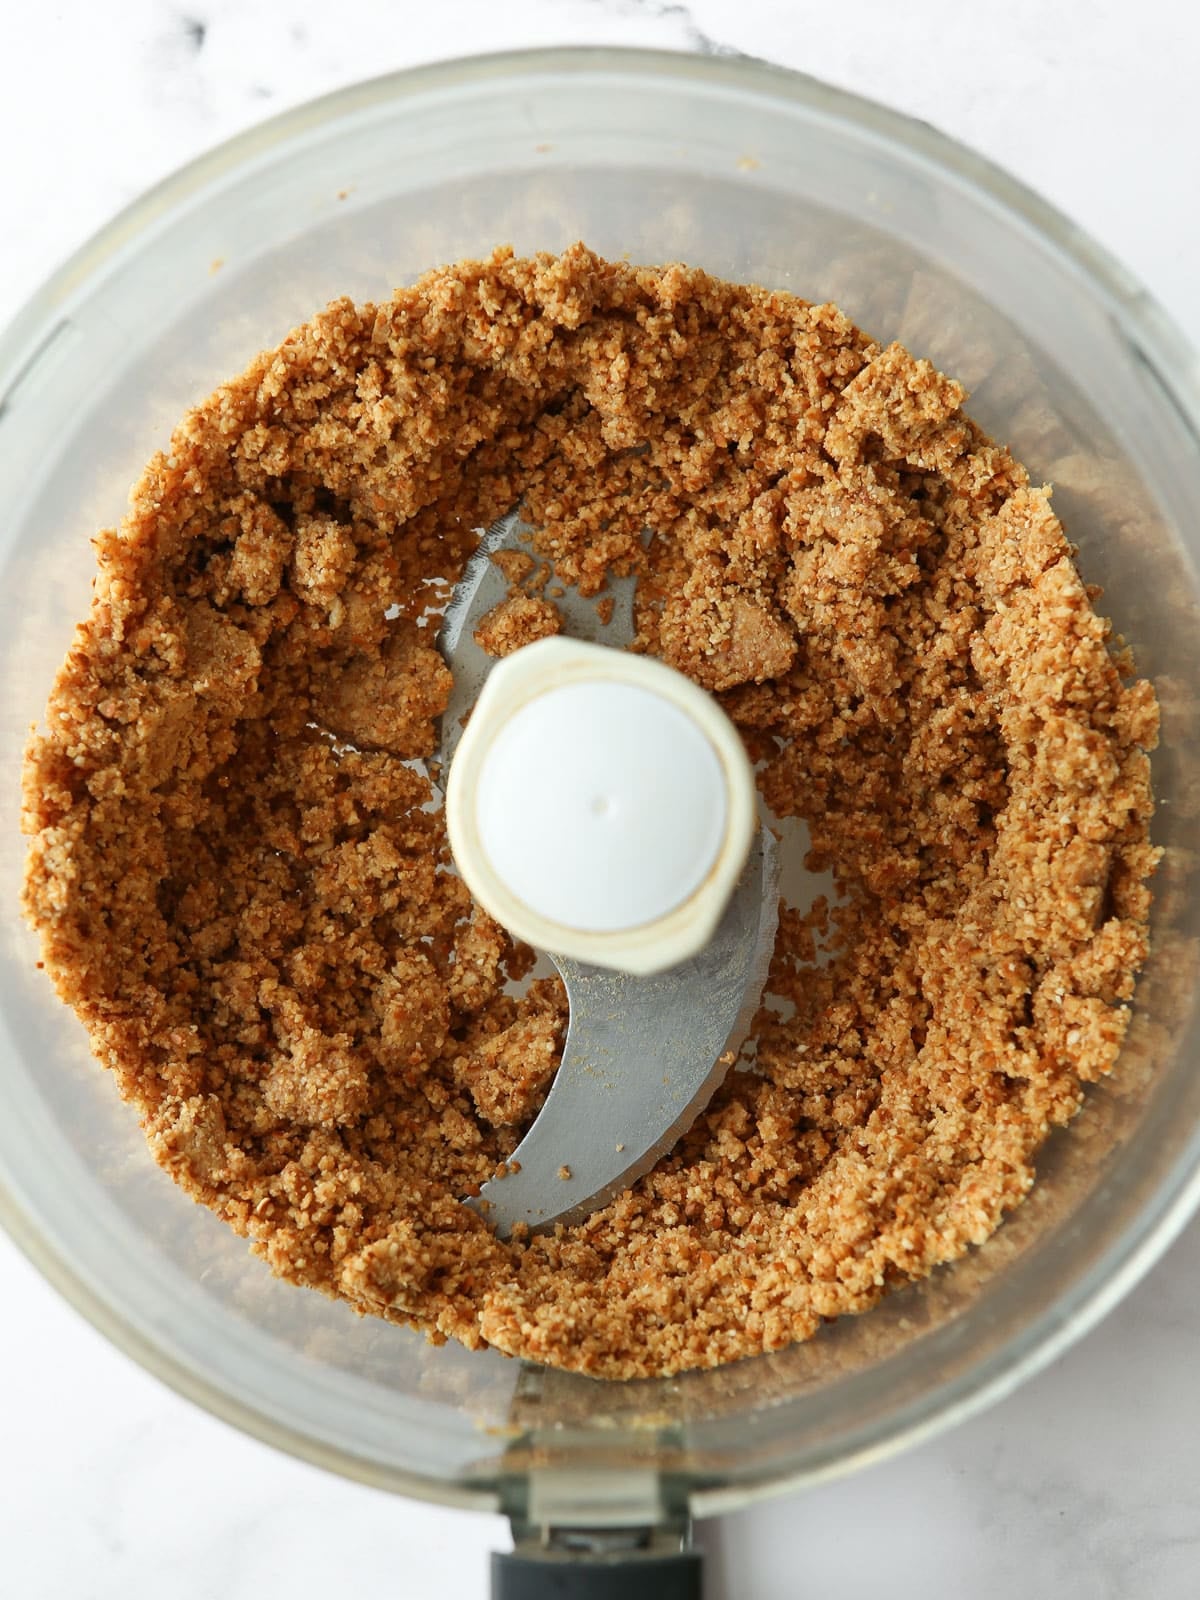
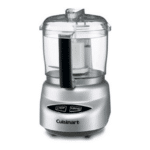
- In a food processor, pulse the pretzels and peanuts until finely ground. If you don't have a food processor, you can crush pretzels with a rolling pin in a ziplock bag and finely chop peanuts. Note that the crust will be more chunky without being able to finely grind ingredients.4 cups (165 grams) mini pretzels, ½ cup (75 grams) dry-roasted unsalted peanuts
- Stir in powdered sugar and melted butter.¼ cup (30 grams) powdered sugar, ½ cup (113 grams) unsalted butter
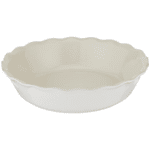
- Press mixture into the bottom and sides of a 9-10 inch pie dish. Put in the freezer while you prepare the filling.
To make the filling:
- With an electric mixer beat heavy cream on medium-high speed to stiff peaks, about 3-4 minutes. Transfer to another bowl and set aside.1¼ cup (285 grams) heavy whipping cream
- In the same mixer bowl (no need to wash it) beat the cream cheese, peanut butter, powdered sugar and vanilla extract on medium-high speed until smooth. Scrape down the bowl as needed.8 ounces (227 grams) cream cheese, 1 cup (260 grams) creamy peanut butter, ¾ cup (85 grams) powdered sugar, 1 teaspoon vanilla extract
- Using a rubber spatula, gently fold the whipped cream into the peanut butter mixture in 3 additions. Spread the mixture into the pretzel crust and return to the freezer.
To make the whipped cream:
- With an electric mixer beat heavy cream, sugar, and vanilla on medium-high speed to stiff peaks, about 3-4 minutes. 1 cup (227 grams) heavy whipping cream, ¼ cup (50 grams) granulated sugar, 1 teaspoon vanilla extract
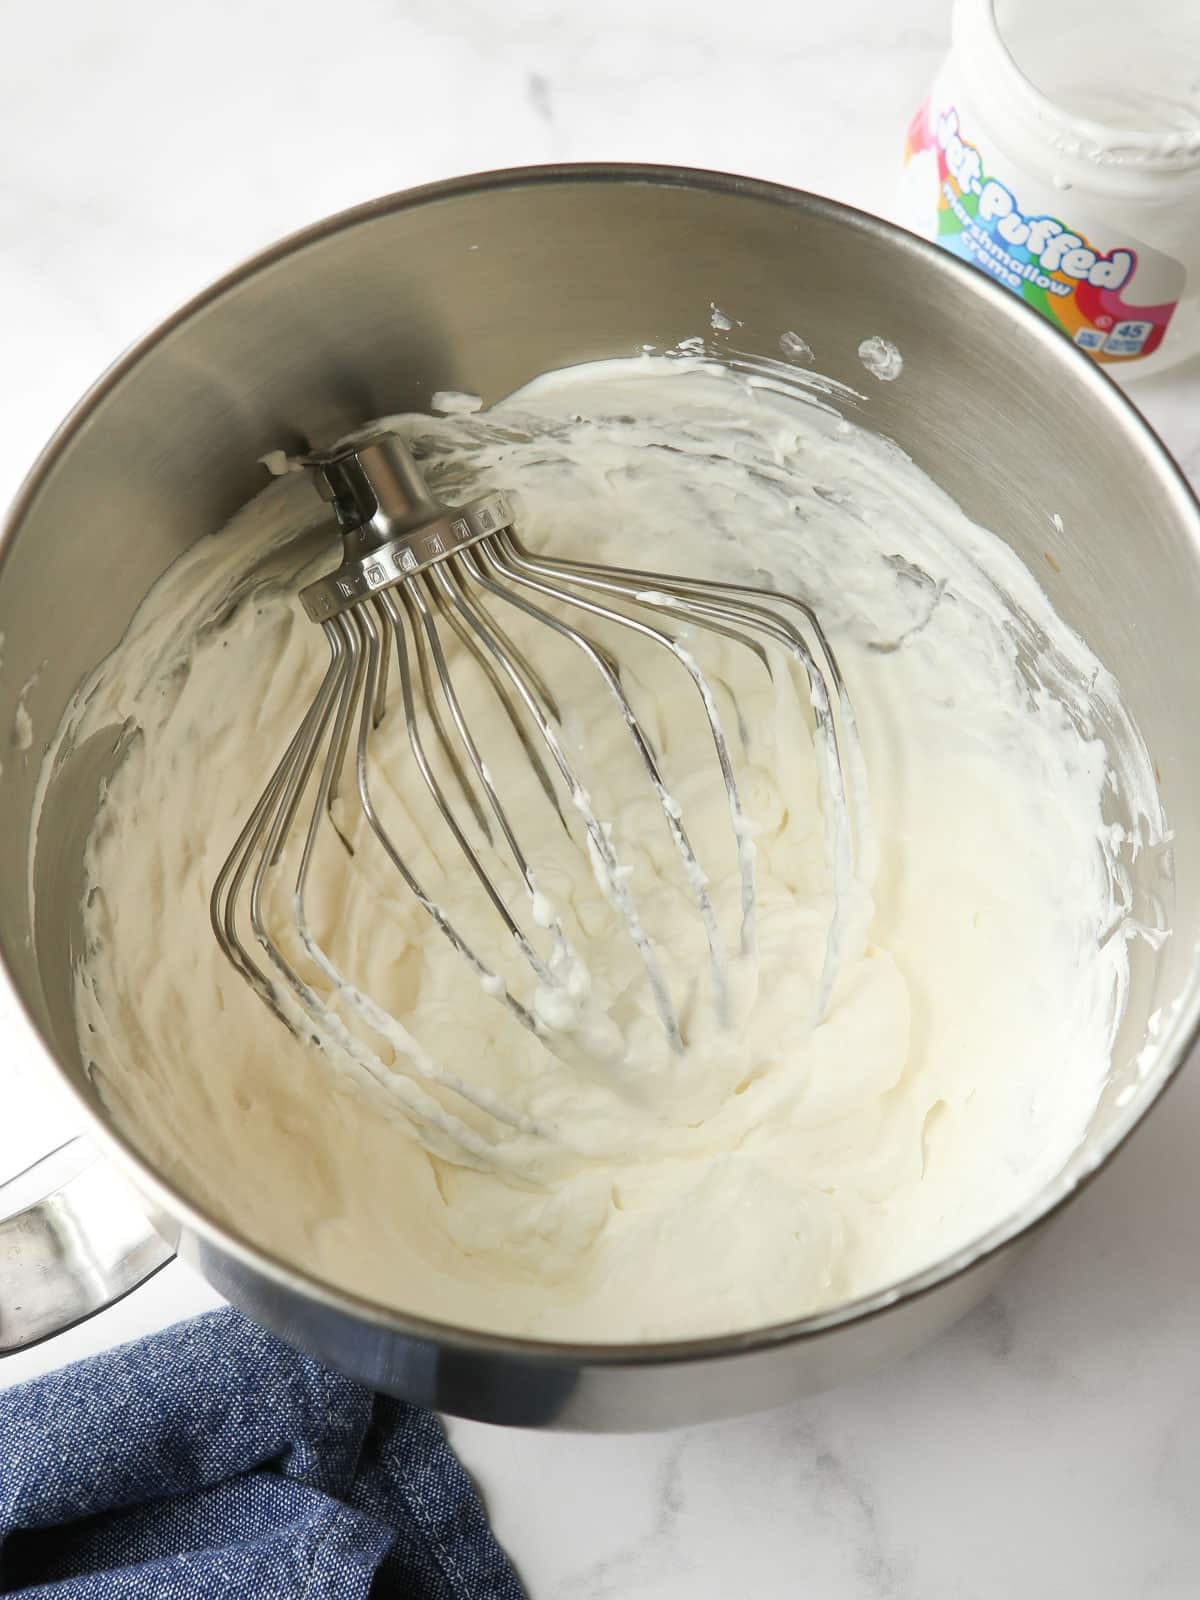
- Add the marshmallow fluff in 2 additions, beating after each until fully incorporated. The mixture will deflate a bit and appear lumpy, but keep mixing until smooth and fluffy again.7 oz (198 grams) jar marshmallow creme
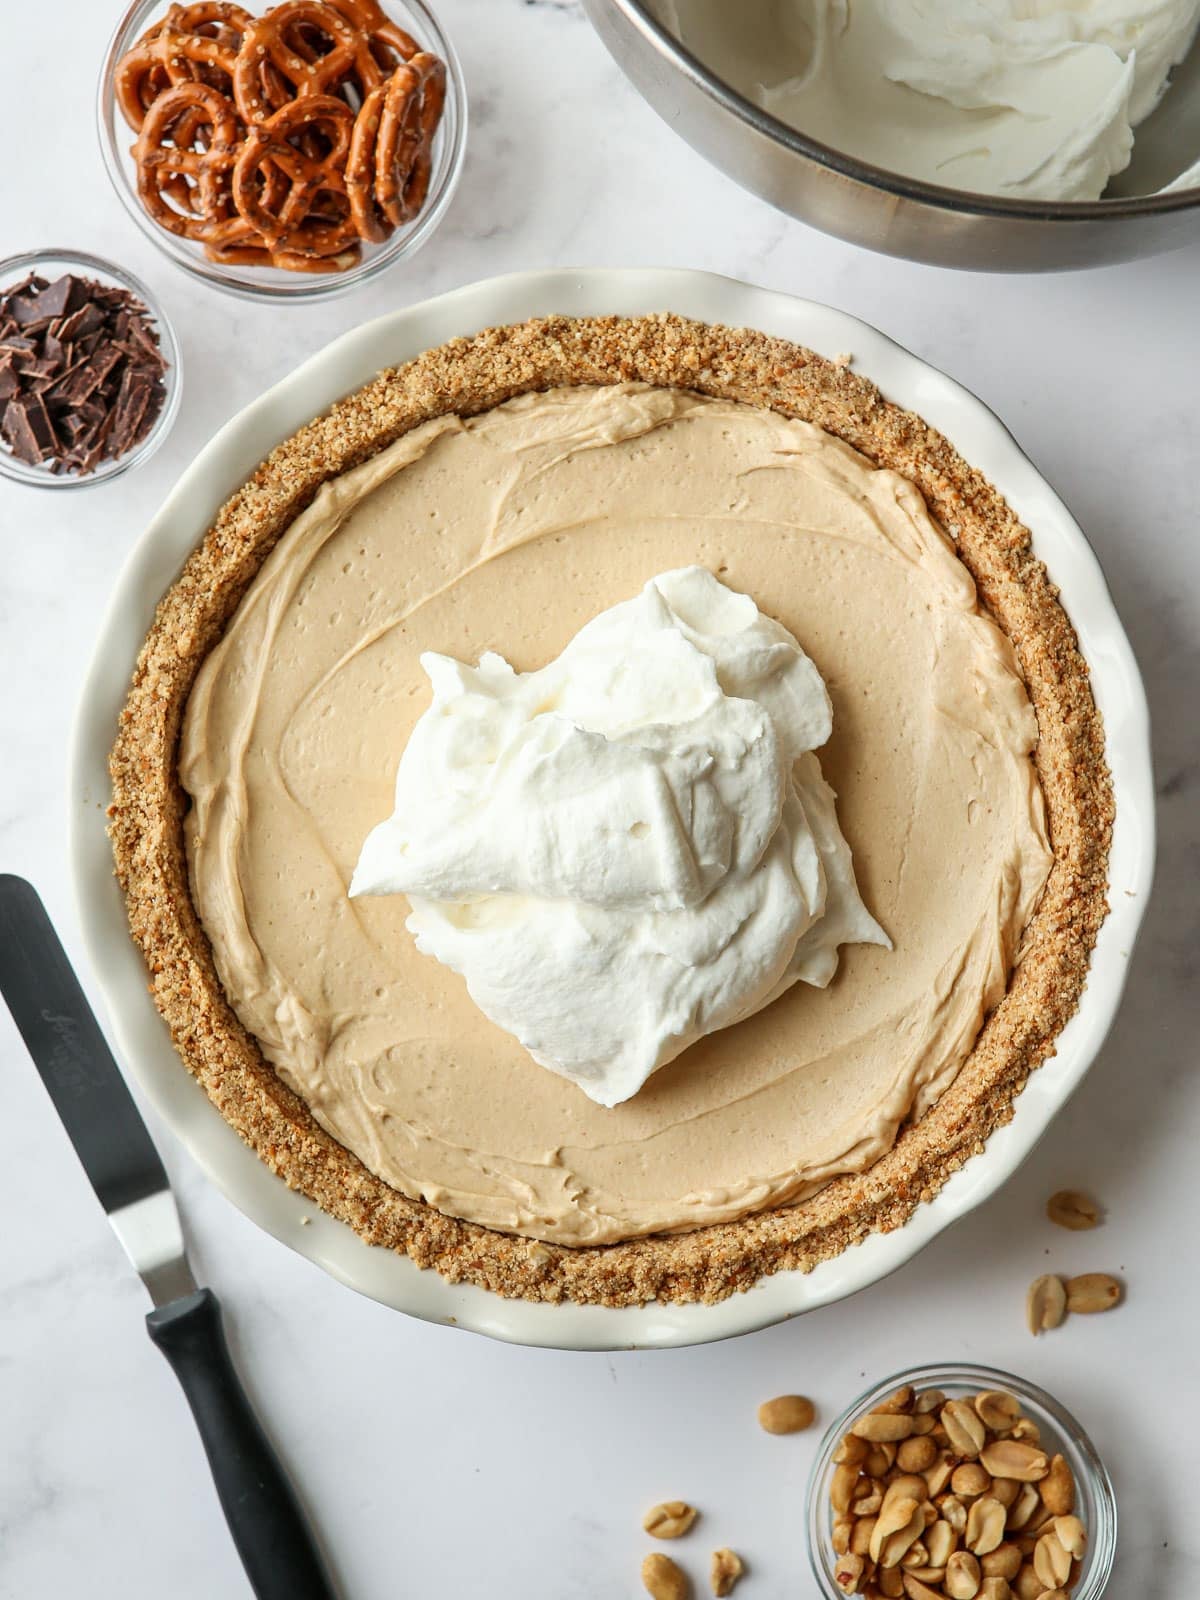
- Spread whipped cream on top of pie. Sprinkle with peanuts, pretzels and chocolate shavings (If making farther that a few hours in advance of serving, wait to do this so pretzels don't get soggy).
- Chill for at least 2 hours before serving and up to 48 hours for best results. Leftovers will keep in the fridge for up to 5 days.
Notes
- Peanuts: Using dry-roasted unsalted peanuts ensures maximum nutty flavor without too much salt.
- Marshmallow creme: I have exclusively used Jet-Puffed Marshmallow Creme in this recipe because it’s what’s available in my area. You should be able to use similar products such as Marshmallow Fluff if you prefer, but the Creme has stabilizers that Fluff doesn’t, so your topping will likely be softer and may wilt over the sides of the sliced pie.
- Pie dish size: Pie dishes can range from 9 inches to 11 inches wide. The pie dish in these photos is 9.5 inches wide. A wider dish will yield a shallower pie, and a smaller dish will yield a taller pie.

Recipe history: This recipe was originally published in 2016. I’ve made minimal changes to the instructions and method to make things more clear and produce a better pie. For example, earlier versions called for baking the pretzel pie crust, but I’ve found the chilling it individually while you make the filling accomplishes the same thing. And now this recipe is completely no-bake!
Everyone I know loves this pie! I make it for parties, the holidays, and basically whenever I have an excuse to.
Love this recipe and have made it multiple times. Would love to take it to my in laws, but it’s an 4 hours drive, any suggestions on how to make it ahead of time and freeze it?
I have not tested freezing this recipe, but it should travel well as-is if you can keep it cold (or at least cool). If it were me, I would place the pie within a larger dish on top of ice packs (the kind you get for school lunches or coolers). Then put it in the fridge when you get there. I hope this helps!
Made this using gluten free pretzels – absolutely delicious!!
So happy to hear that Kris! Thanks for the comment.
A slice of this pie would be hard to pass up! Thanks for sharing this recipe.