

How to Build a Layered Cake
From prepping your cake pans to applying frosting, I’ll show you everything you need to know to build a beautiful layer cake!
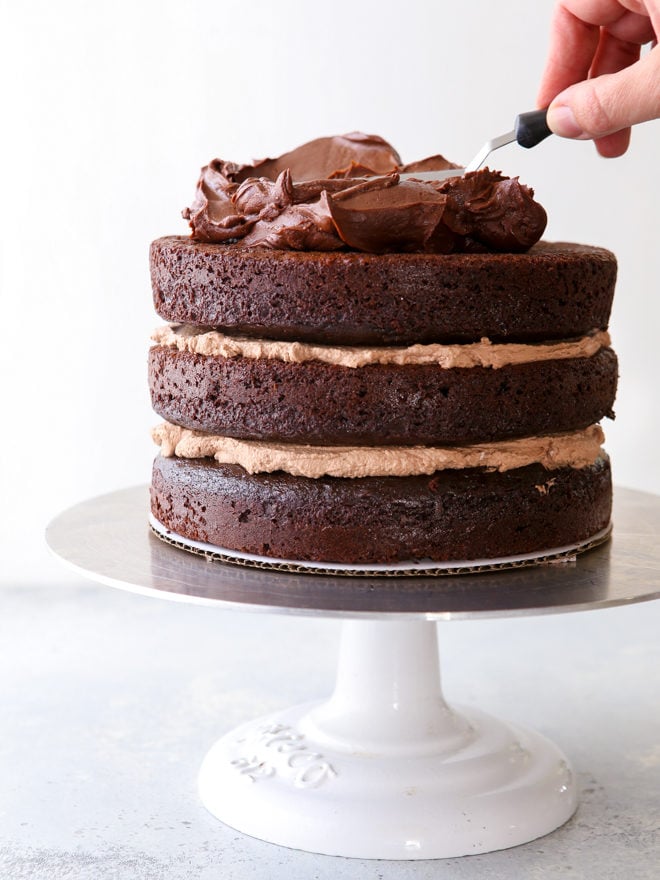
Let me confess that I haven’t always known what I was doing, or even what I was supposed to be doing when it came to making a layer cake. Oh no, I’ve had my fair share of cake disasters! I’ve learned through lots of practice and tips I’ve picked up from other bakers and bloggers. All of it paid off and I feel like I can safely say that I know how to build a layer cake.
I like to use the word “build” because in my opinion, there’s so much more that goes into a cake besides knowing how to frost it. Today I want to show you how I do it, from start to finish. I’m sure it’s not the only way, it’s just my way, and it has worked really well for me.
This tutorial has been on my blog since 2011 and since then I’ve broken up each piece into its own post. What once was an unbearably long-winded post is now hopefully a little easier to navigate. But don’t worry, I’ll link you over to the other tutorials so you won’t miss a thing. Ready? Let’s get started!
(Disclosure: affiliate links below.)
Prep your cake pans
The first thing you need to do is prep your cake pans. Nothing stops a layer cake in its tracks like layers that stick or break apart as you remove them from the pan. Here are 2 steps to prepare your cake pans to make sure the cake comes out perfectly every time.
1) Use parchment paper
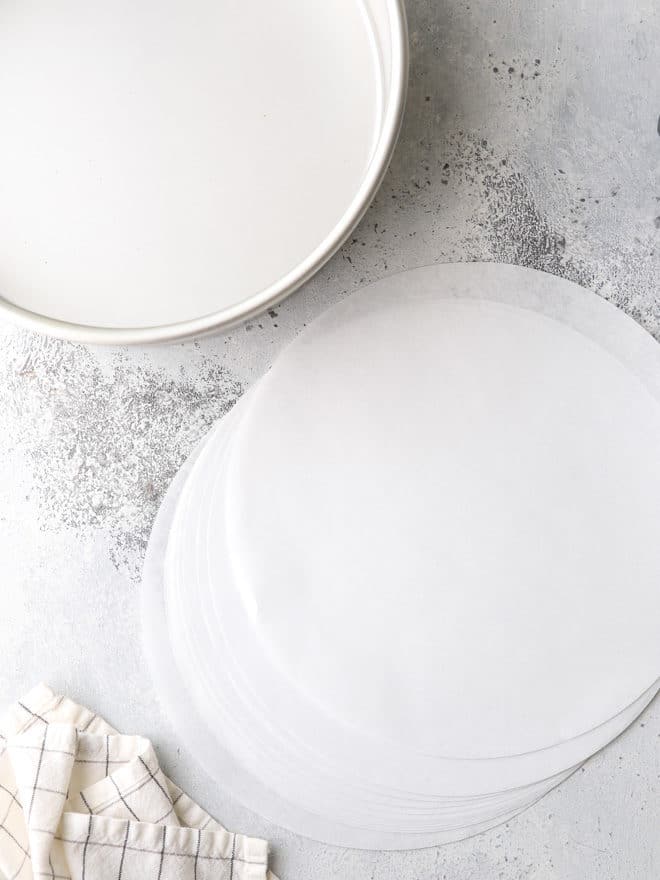
The most important preparation you can make when baking a cake is to line the pan(s) with parchment paper. This ensures that the bottom of the cake will not stick to the pan, and that it will all come out in one piece. I never bake a cake without parchment paper! You can trace and cut full sheets of parchment paper to fit your cake pans, or you purchase rounds of parchment paper.
2) Grease with butter + flour OR nonstick baking spray
Creating a barrier between your cake batter and pans ensure nothing sticks as it bakes. You can either coat parchment paper lined cake pans with a layer of butter (or margarine or shortening) and then dust with flour to create a barrier, or you can use a nonstick spray. Bakers Joy is a cheap option that you can find at almost any grocery store, but you can also find more heavy duty products at restaurant or baking supply stores or online.
Looking for more help + step-by-step photos? See my complete guide on how to keep cake from sticking to the pan.

Bake flat even cake layers
Once you’ve prepped your pans and made your cake batter, the next step is to bake! Of course, you can just pour the cake batter into the pans, but two simple tricks will ensure all of your cake layers will be the same size and have a flat top, which makes assembly a whole lot easier.
1) Use a digital scale to measure and distribute your cake batter
Weighing your cake pans as you fill them ensures each layer will be exactly the same size. I love my digital scale for this purpose.
2) Reduce baking temperature
There are several ways to bake a cake with a flat top, but this is my favorite. It requires no extra tools! Simply reduce the temperature by 25 degrees and increase baking time by one half. The lower temperature slows the oven spring as the cake bakes, preventing a dome from forming. Here’s how to do it:
The recipe says to bake at 350 degrees for 30 min → Instead, bake at 325 degrees for 30 min + 15 min, or 45 minutes total. I usually take a quick peek once I’ve reached the original baking time and then every 5 minutes after that just to be sure I don’t over bake it, but this adjustment is usually pretty accurate.
Looking for more help + step-by-step photos? See my complete guide on how to bake flat cake layers.
Prep and store cake layers in advance
Building a layer cake is typically a 2 day process for me. I like to bake the cake layers and let them chill in the fridge overnight. This way they are cold and firm when I work with them, and less likely to move around or crack. Sometimes it’s helpful to plan even farther ahead, and so here are two ways to store cake layers in advance.
1) In the fridge
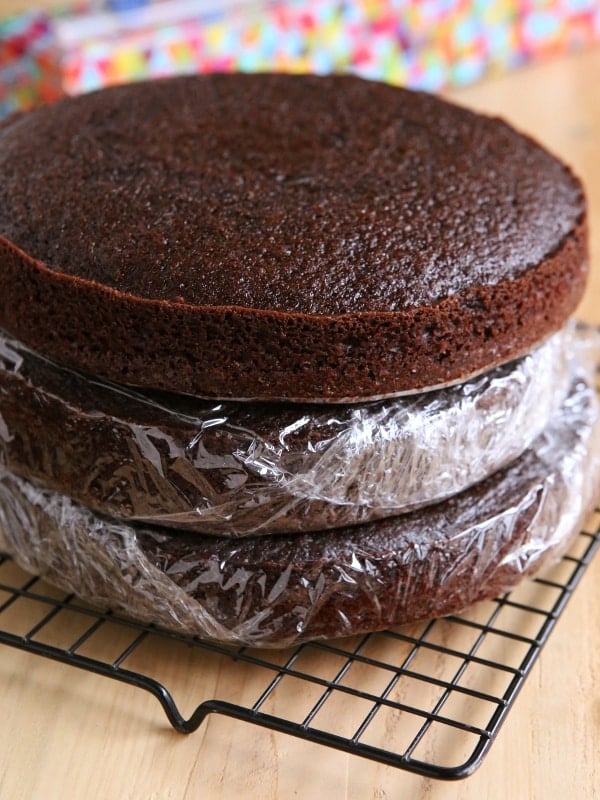
The fridge is a great place to store individual cake layers short term. Cover with plastic wrap and store in the fridge for 3-5 days.
2) In the freezer
Cake layers freeze very well and the freezer is a great option if you need to store them for more than a few days. Double wrap with plastic wrap and freeze for up to 1 month, or possibly longer. To thaw, let them sit at room temperature side-by-side (not stacked) in their wrappings for several hours and up to overnight.
Looking for more help + step-by-step photos? See my complete guide on how to store cake layers.

Assemble layer cake
While not necessary, I like to use a turntable and cardboard cake rounds when assembling a layer cake. Cardboard cake rounds make it easy to transport the cake back and forth from the fridge and to your cake stand, and a turntable makes frosting the cake so much simpler!
1) To assemble, first place a cooled/chilled cake layer top side-down on a cardboard round, or directly onto you cake stand or plate. This way you’ll have a smooth surface to work with.
2) Top with a layer of frosting or filling, about 1 cup for an 8 or 9-inch cake. If you’re using a softer filling like lemon curd or preserves, first make a “dam” of frosting around the perimeter of your cake round. This will keep the filling from leaking out. You can use a piping bag and tip, or just use a spatula.
3) Repeat with remaining layers. If you’d like to split your cake layers horizontally to create more layers (2 layers become 4, for example), use a knife to first score the cake layer all way around. Then use a large serrated knife to cut the layer in half, using the scored line as a guide. For more help with splitting cakes + step-by-step photos, see my complete guide on how to cut a cake into even cake layers.

Frost layer cake
The most important part of frosting a cake is the crumb coat, and it’s the best way to take your layers cakes to the next level. A crumb coat is a thin coating of frosting spread over the whole cake to smooth out the shape of the cake and seal in crumbs. It doesn’t need to be a thick coat and it’s okay if it’s a little mess. The “naked cake” look that is so popular right now is often just a simple crumb coat.
1) Apply crumb coat
Starting at the top and working your way down, apply the crumb coat, filling in any gaps or uneven surfaces. If your frosting is pretty thick, you may want to thin is out with a tablespoon or two of milk. Then, chill in the fridge for about 30 minutes.
2) Apply final coat
Finish the cake with a thicker coat of frosting, again starting at the top and working your way down. You can use an offset spatula or bench scraper to even out the sides and top. Using a turntable and long gentle strokes is the best way to get a smooth finish. Chill in the fridge for at least 30 minutes to set the frosting.
Looking for more help + step-by-step photos? See my complete guide on how to frost a layer cake.
Storing and transporting your cake
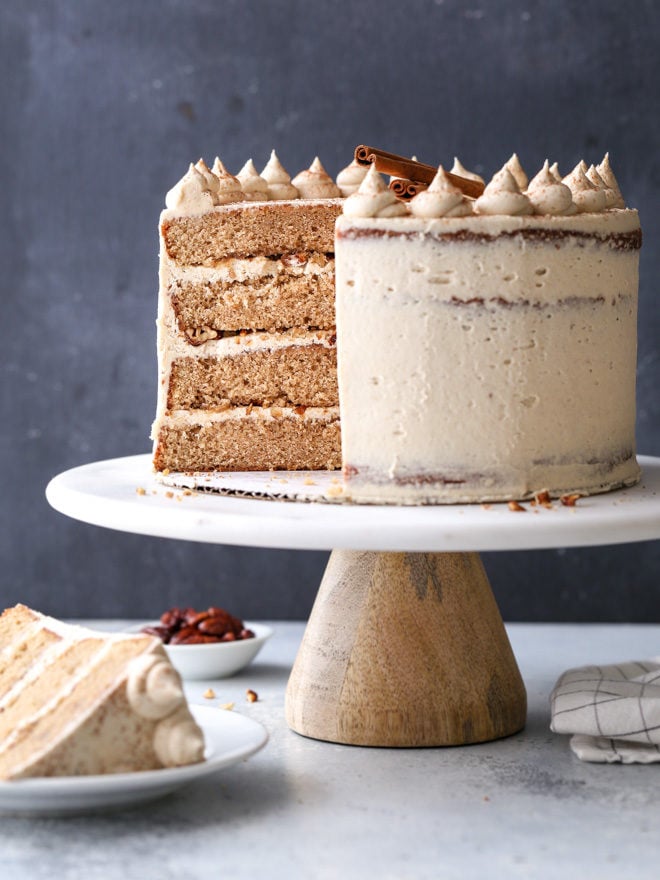
I like to store my finished cakes in the fridge to keep them cold and firm, and also to keep them protected from accidents and curious fingers. They’ll keep for up to several days. Once cut, cover with plastic wrap to keep the cake from drying out.
If you’re planning to transport your cake, chill it for at least 1 hour after assembly to make sure it’s really solid and only remove it from the fridge just before transportation. Consider putting it in a box or cake keeper to protect it. If it’s a larger cake, you may also consider inserting dowels into the cake to hold it in place (I only do this for stacked cakes or cakes larger than 10 inches).
Enjoy!
And that’s it! You’ve successfully built a layer cake! I hope you’ve found this tutorial helpful. If you have any tips of your own, please feel free to share them in the comments!
This post was originally published February 2011. Photos and content have been updated.

i like that cake its soooooooo amazing
Thank you for your wonderful help. I have layers cooling right now and have never felt so confident. Well done!
The cake looks sinfully delicious. I’d love to pair it with a fruit-flavored yogurt. Yeah, weird, but really great.
Thank you so much for the tips, very helpful to me. I am learning how to make perfect cakes because I want to have my own cake business. I love how to also included photos because it gives me a clear picture on what to do and how it should look like.
I have been making cakes for years. As the Dad and official baker in the family, I found your directions very easy to follow and the tips are excellent. I always got so tired of cakes breaking up out of the pan and the paper on the bottom will solve that problem. Also, the way you cool the cake down first. Just a great way to make a layer cakes. Thanks for helping us mediocre cake bakers who want to do it better!
Thanks my b-day cake will look awesome.
Annalise, this tutorial is fantastic. I had already read tips on cutting baking temps to 325 degrees but may have to try the 300 degree temp you use. Only thing you might add is how to do the “dam” on layers to prevent fillings from oozing out. I knew exactly what you meant having taken cake decorating classes, and it is a wonderful trick. Thanks for your time and tips! I think it is one of the most satisfying things to produce a beautiful layer cake, and I think people will be able to do so using this tutorial!
hi, um any tips for a foil tray? you see i’m on short notice so i did not have time to go to store.thanks a bunch.
I’m not sure what you mean by a foil tray?
Annalise,
I don’t have any wire racks for cooling. Do you recommend me storing the cake cooked still in the pan in the fridge?
Thanks!
I would at least loosen them from the pan before putting them in the fridge. I’d hate for them to get stuck as they cool. You can also cool and store on a sheet pan or plate.
Hey Annalise – just curious – should the increased bake time/decreased temp work okay with a carrot cake?
I’ve never tried it with a carrot cake (personally not a fan), but I have applied these principles with every variety of cake that I have baked with the same result. Hope that helps!
Thank you for the thoughts…fortunately for me, “THE cake” isn’t until April – so I’ll have opportunity to experiment before then; I’ll let you know how things turn out!
Awesome tips – I really appreciate it!
Thanks again!!
I just came across your blog because I want to make a cake for my daughter’s baby shower….but the FIRST thing I noticed was your name! My daughter’s name is ANNALISE 🙂 I don’t know too many with that unique and beautiful name so I was pleasantly surprised! <3
How fun! I don’t meet many Annalise’s with the same spelling. 🙂
This is amazing! Thank you for all these wonderful tips! Quick question, does lowering the oven temperature and increasing the baking time of the cake layers alter the finished product’s texture? Thank you so much!
I haven’t ever had a problem with the texture changing. The tops don’t brown as much, but that doesn’t seem to affect anything. Hope this helps!
This is a beautiful and handy blog clearly sent from the heavens for handicapped bakers like me. Thank you so much! Can’t wait to have another, now more educated, go at a layer cake. 🙂
Practice makes perfect! Thanks for sharing your tips on building a layered cake! I’m looking forward to the next family birthday so I can try this recipe out.
Hi! I am so excited to make the yellow cake with chocolate buttercream but the link keeps taking me to a vanilla layer cake with fudge frosting. Help!
That’s the right recipe! The photos have been updated and the recipe slightly improved. You’ll love it, I promise!