

How to Bake Flat Cake Layers
No more trimming and leveling, and no special tools needed! Come learn how to easily bake flat, even cake layers every time.
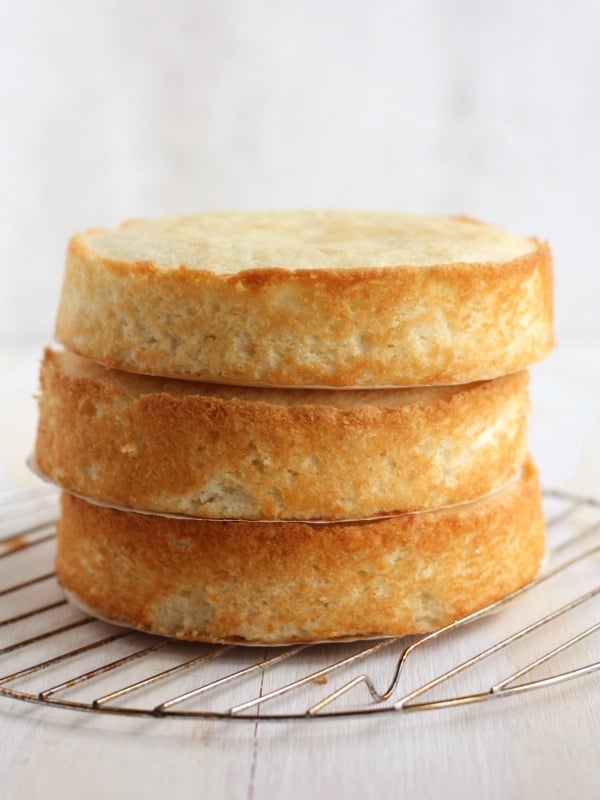
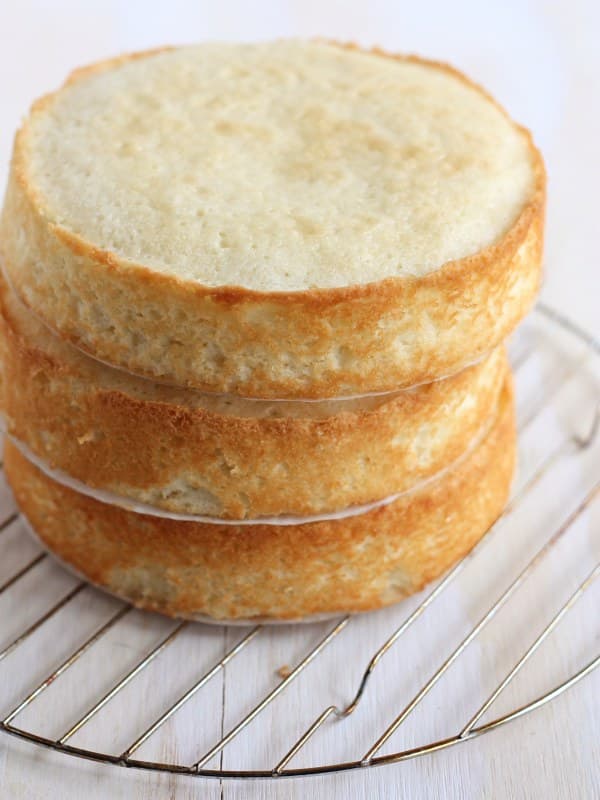
Leveling cakes is super frustrating, right? First off, it’s hard to get it perfectly even without a specific cake leveler tool, and secondly, you waste cake. I like snacking on trimmings as much as the next gal, but I like fuller, taller cakes more. So come learn my little secret trick to getting flat cake layers right out of the pan!
No special equipment needed!
A lot of baking advice says to use cake strips to achieve flat cakes with no domes, but I’ve actually never used them. If you like them, then go ahead and use them! I hear they can work quite well
But, let me show you how you can get the same results without needing to use a separate tool. (Does anyone else despise single-use kitchen gadgets?)
How to bake flat, even cake layers
Here they are in just 3 simple steps, we’ll dive more into each in just a moment.
- Divide cake batter evenly between your cake pans.
- Reduce the baking temperature.
- Bake in the middle rack only.
Divide batter evenly between cake pans
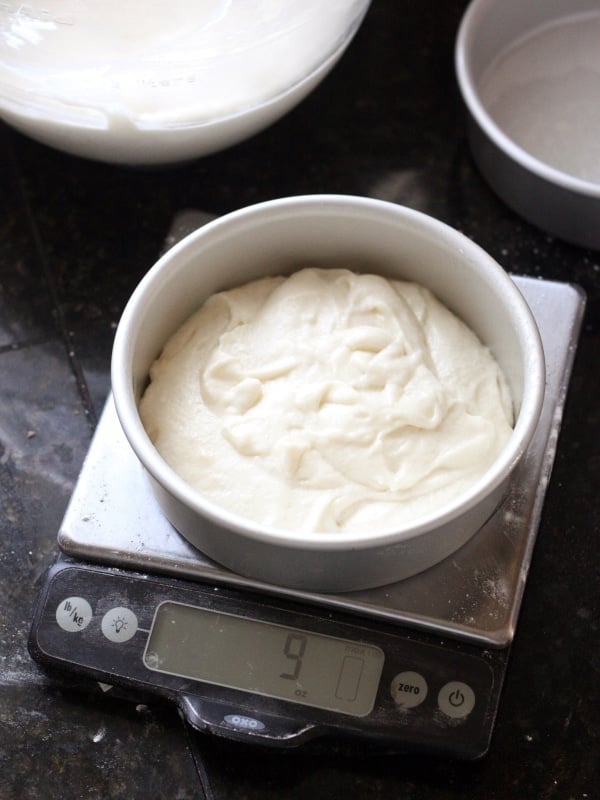
Flat, even cake layers begin with equal amounts of batter in each cake pan. The best way to do that is with a digital scale. Simply place the cake pans on the scale one at a time and pour equal amounts into each.
If you don’t have a kitchen scale, you can also find the total volume of the batter and divide it equally between the pans. However, this method can be less accurate (and dirties more dishes).
Reduce the baking temperature
Baking at a lower temperature slows the spring in the leavening, which prevents a dome from forming on your cake. Most cakes bake at 350°F. Reducing the temperature to 325°F is all you need to do to get a flat-topped cake.
Since you’ve lowered the oven temperature, your cake will now take a little longer to bake. Reducing oven temp by 25 degrees will require you to increase baking time by approximately 1/2. Here’s an example: Bake at 350°F for 30 min → Bake at 325°F for 30 min + 15 min = 45 minutes total.
I usually take a quick peek once I’ve reached the original baking time and then every 5 minutes after that just to be sure I don’t over bake it, but the adjustment above is usually pretty accurate.
Once the center of the cake(s) is set and don’t jiggle when pans are lightly shaken, test for doneness by gently tapping the center. If it bounces back, it’s done. You can also insert a toothpick into the center, and if it comes out with just a few moist crumbs, your cake is done. Note: Always remember that cakes are delicate, so minimize how often you open the oven door.
Bake in the middle rack only
For best results, cakes should always be baked in a single layer on an oven rack placed in the middle of the oven. Trying to bake cakes on multiple racks at the same time usually results in lopsided cakes, and cakes that have browned too much either on the tops or the bottoms.
If I’m baking more than 2 cake layers, I will bake the first 2 together on the same rack in the middle of the oven, and then any subsequent layers after those are out of the oven.
FAQs
A kitchen scale makes things easy, but it’s not necessary. Simply measure the total volume of your batter and divide it by the number of cake pans you’re using/cake layers you’re baking.
Reducing the temperature to 325°F really slows down the baking process. The patience is worth it in the end! And once you’ve baked cakes this way a few times, it becomes much more natural, and you’ll be able to tell easily when the cakes are done.
Leave the oven door closed and check through the window to see that the cake appears set and is not longer moist on top. Then, quickly and carefully open the oven door and press gently with your finger. If it bounces back, then your cake is done! However, if you try to test a cake too soon, pressing the tops may cause it to collapse. If the cake appears to not actually be set once you open the oven door, quickly close it again and try again in a few minutes.
Yes, you can still bake cakes at 350°F or per your recipe’s instructions. The cakes will be evenly thick, but may have a domed top. Once cool, use a serrated knife to carefully cut the dome off.
A few favorite cake recipes
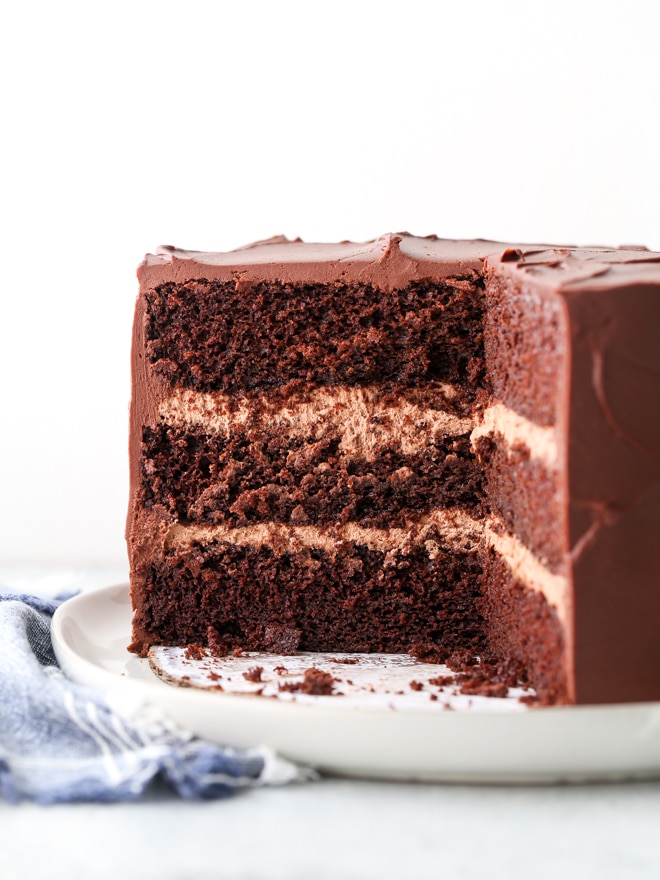
Now that you know how to bake flat cake layers, making a layer cake is easy! Here are a few of my favorites:


What would be the time for a 6 inch pan?
BTW love your website and the simple to understand tutorials!
This is so, so much helpful….thank you!! You explain this all the complex process in easiest way.
Wonderful! So happy you found this helpful.
Another way to reduce or eliminate doming of your cakes is to wrap your pans with a damp towel that you’ve secured with a safety pin.
This helps to keep the outside of the pan a slightly lower temperature, allowing the cake to rise evenly.
Yes, I’ve heard a lot about this trick! I just prefer to skip extra equipment whenever possible so I choose to lower the temp and increase the time. 🙂
I’ve just tried Shirley’s tip and applied light pressure to the top of my 12 inch square cake that domed despite the homemade baking strips. It worked!
Yay! Thanks so much for the feedback!
Hi. I didn’t see any comments on how you prepared the pan? Traditional grease and flour? Cooking spray?
Thanks!
I usually use a baking spray, but you can read more about about how to prep cake layers here.
I made a large cake (2 cake mixes in each pan). I turned the oven to 325 degrees and also added a little more time like you mentioned. I also put a damp, not wet, tea towel on top of cake and gently push for 10 seconds to desired level, then slam the cake minus the tea towel upside down onto my counter that was covered in cling wrap then wrap very loosely because it will shrink to fit cake. Let it cool completely…overnight. Freeze as is until needed. It keeps cake moist. I did this for a big graduation party and it was delicious. I forgot to mention that I line my pan bottoms with parchment paper. Sounds scary, but it works great!
Hi Annalise
Do you think this will work well on eggless cakes too? And do you recommend freezing eggless cakes as well?
I don’t see why you couldn’t bake your egg-free cake with this tip, or why you couldn’t freeze egg-free cakes, but I don’t think I’ve ever specifically tried it!
I worked in a bakery for several years, and here are a few secrets.
ALWAYS line your pans with parchment rounds; after cooling for ten minutes, turn the cake out onto a cake round…Now the perfectly flat bottom is the top and the weight of the cake will flatten what was the top to make the new bottom. Got it ? Okay. Last hint…if you have to torte the layer, do it after chilling, and cut a tiny “V” at the edge of the layer before you torte it. Even if you cut at an angle, when you line up the “V” after icing or filling , the layers will still be flat. I wish I could draw you a picture…but think about it, it will make sense…works every time.
Just found your blog, but I’ll be back! Great info!
Will this work for a 13 x 9 cake? I have to make the cake level as possible because two more layers of cream have to go on top.
The same principle should apply, yes, though I haven’t tried it myself to give you any tips on time, etc. Keep an eye on it, but try to limit how often you open the oven door to prevent the cake from falling. Good luck!
I’ve used a large ice cream scoop to fill the pans evenly. Start with 4 or 5 scoops in each pan for a 2 layer cake, then divide the remainder between the pans.
This whole concept is interesting, I’ve thought about measuring cake batter for even layers but never tried it….how about just measuring the actual cake batter using measuring cups as you scoop it into the pans, might work also, great post though:)….
Amazing! Such simple tricks! I really wanted to “striped” cake (not frosting the sides to see the layers) but was dreading splitting the 2 layers! Now I can just bake in 4 pans with your tricks! THANK YOU!!
Hi,
How long do you normally leave your cake to cool in the pan before inverting it on a wire rack to cool completely?
Hi Emily! I usually leave the cake in the pan for about 15 minutes, but sometimes longer if I’m lazy.
I’mI always put a tray of cold water in bottom of oven, this stop any dome forming and keeps top flat, it also keeps cake moist
Do you have a trick for cutting the layers in half evenly? Like if you’re turning two layers into four.
You know, Chelsea, I don’t. I usually eyeball it as best as I can with a very large serrated knife. Or I’ll put a few toothpicks in place to act as a guide. But most often I just take the extra time to bake the 4 cake layers instead of 2 so that I don’t have to worry about halving it. I wish I was more help, sorry!
I actually just made a comment about that – I haven’t tried it yet, how do you adjust the baking time when doing 4 layers instead of 2? Thanks! (I’m not a baker, but throwing a baby shower for a friend!) 🙂
If you want to bake 4 layers at the same time I would place 2 on each oven rack, spacing the oven racks evenly in the top and bottom thirds of the oven. You may need to rotate the pans halfway through so they bake evenly, but the total baking time may not be that different. Just keep an eye on them. Hope this helps!
Hi, there, I’ve heard of people using dental floss to slice a cake for thinner layers. I haven’t tried it yet but plan on it soon. Also the same technique is said to work to slice the dome off. For me that sounds easier since I don’t have a scale and only about 1/4 the counter of normal kitchens and very little storage. Anyway I hope this helps.