Home Canning Tips and Resources
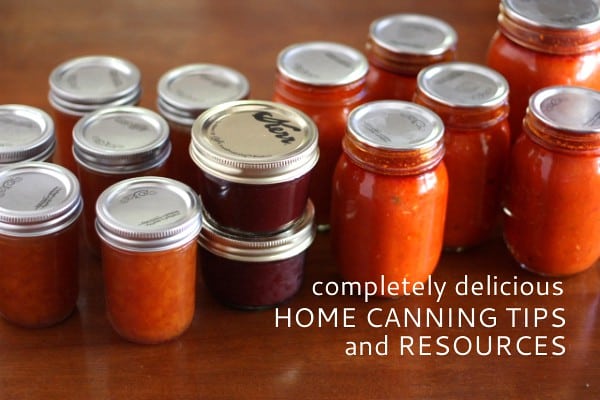
This time of year I love the abundance of fresh fruit and produce. Peaches, plums, apples, corn, raspberries, etc.— I just can’t get enough! I’ve recently fallen in love and I love that it allows me to enjoy fresh produce year round.
Canning can be a little intimidating at first (I’ve been there), but armed with a little bit of knowledge and a nudge in the right direction, you’re on your way to canning at home successfully! Let’s learn how…
Getting Started— What You’ll Need
I’ve got a post of my favorite canning tools coming up later this week, but to get you started, here’s the basics of what you’ll need:
- Jars
- Lids and rings
- Jar lifter
- Jar funnel
- Boiling water canner or large pot
A book on canning can also be a good resource. I refer to my copy of Joy of Cooking: All About Canning & Preserving often if I have questions. You can find more books in my amazon store.
Finally, you’ll need some recipes! You can find a few jam recipes in my recipe index. I also have a Pinterest board dedicated to food preservation filled with links to recipes and tips.
The Canning Process
Do the canning instructions in recipes confuse you? Here’s a quick how-to that will hopefully demystify the process of water bath canning.

Step 1: Wash and sterilize the jars and lids in boiling water. Remove from the water and set aside until you need them.
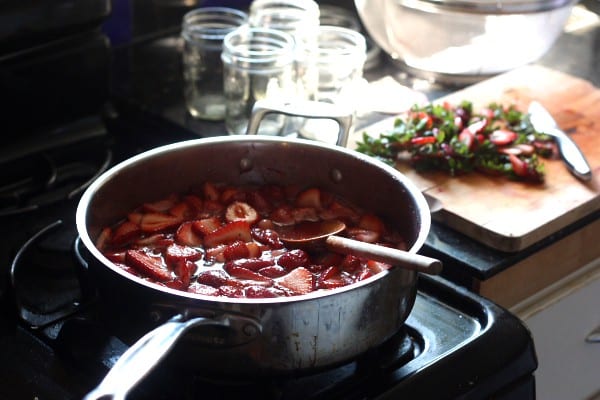
Step 2: Prepare your food for canning. Make sure to read through the recipe completely before you begin and follow the recipe precisely. Canning is a science, and successful preservation of food and improvisation do not mix!
Why recipes call for bottled lemon juice
Sugar’s role in home preserved food and canning without sugar
Why acidity levels are important when canning foods
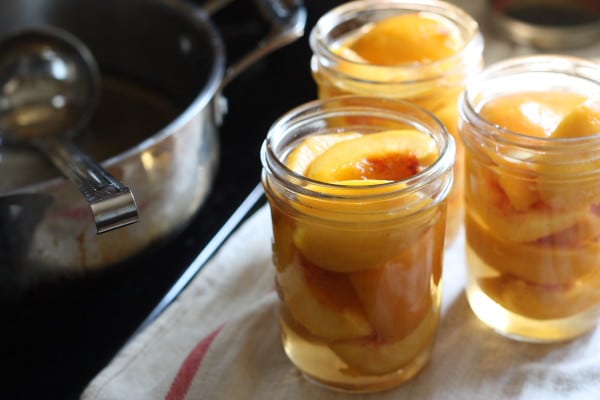
Step 3: Pour hot food into hot jars. If the jars are too cool, the dramatic change in temperature when you add the hot food could cause the glass the break.
Follow the headspace (the amount of air between the lid and the top of the food inside the jar) recommendations in each recipe. This allows space for the expansion of food during processing and creates a vacuum once the food has cooled. Find more information on headspace here.
Wipe the rims clean of any food or liquid with a wet paper towel. Top with lids and screw on the rings.
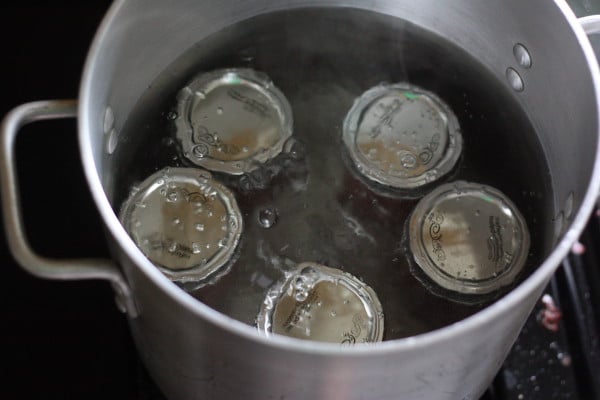
Step 4: Process jars in boiling water according to the recipe instructions. During this time any microorganisms that can spoil the food are destroyed.
Processing times vary depending on the density of the food, how it is packed, the shape and size of the jars and the altitude of your kitchen. Recipes indicate processing time at sea level. If you life at a higher altitude you will need to adjust your processing time. Find more information on canning at high altitudes here.
Be sure to start the timer only when the water returns to a full rolling boil and make sure the jars are completely submerged the entire time. When the processing time is up, remove jars from the water immediately.
Step 5: Let cool and store in a cool, dark place like a pantry. Before storing, check the seals by pressing down into the center of each lid. It should not move. If the lids pops, then it wasn’t sealed correctly. Store in the fridge and consume within a week.
Canned goods should be consumed within one year. If your food shows any sign of spoilage such as leaking, rising bubbles, visible mold, or discoloration, discard immediately.
Additional Canning Resources
40 Preserving Links: Beginner Tips, Pro Tricks from Simple Bites
Canning 101 from Food in Jars
All About Home Canning from Pick Your Own
USDA Complete Guide to Home Canning from National Center for Home Preservation
Canning Definitions and Signs of Spoilage from Tipnut
Canning Basics: Tutorials, Recipes and More from The Kitchn
Disclosure: This post contains affiliate links. I make a small percentage of purchases made after following these links. As always, all opinions are my own.

I am new to this site, but I know I am loving it already. Thanks for the tips and recipes. All the recipes are very clear.
Thanks for this guide Annelies, it’s so clear! I must admit I am a bit nervous about the whole process of canning, but I think I better just do it.
Yes! It’s best just to get in there and try, and then you’ll discover how doable it really is. That’s what I did a few years ago and haven’t looked back.!
Oh, also, your list of Amazon books is excellent. My very favorite canning book, the one I use exclusively, is called Tart and Sweet. But I have been wanting to have a look at Food in Jars as well. Don’t you love all the choices we have available to us now?
Marvelous! I just got started with canning a few years ago and love it. I always wanted to try making jam, but hated the huge amounts of sugar required in all the recipes. When I found out you don’t really need that much I was away and running! I spent the weekend turning backyard fruit into pear butter, (Flame) grape jam and raspberry jam. It is a very interesting subject and I’ve been glad to see your series of canning posts. I love seeing how other people go about the process.
We need to plan another canning day!
Thanks for this interesting post! I’ve always wanted to try and canning something but the whole process sounded way too complicated to me. So I can’t way for your next posts to come and I hope I’ll know everything about canning after these lessons!
xo, Elisa
Fabulous canning and preserving tutorial, Annalise! I’m so impressed with how thorough you were with all the helpful links. I love that Pick Your Own site, too. You even provided a link for the high altitude peeps. You ROCK, m’lady! Thanks ever so much for sharing. I look forward to your next posts in this wonderful series!