

Buttermilk Pie Crust
This buttery flaky pie crust has an extra boost of delicious flavor from buttermilk! Once you’ve tried this pie crust variation, you’ll never go back to any other recipe, I guarantee it.
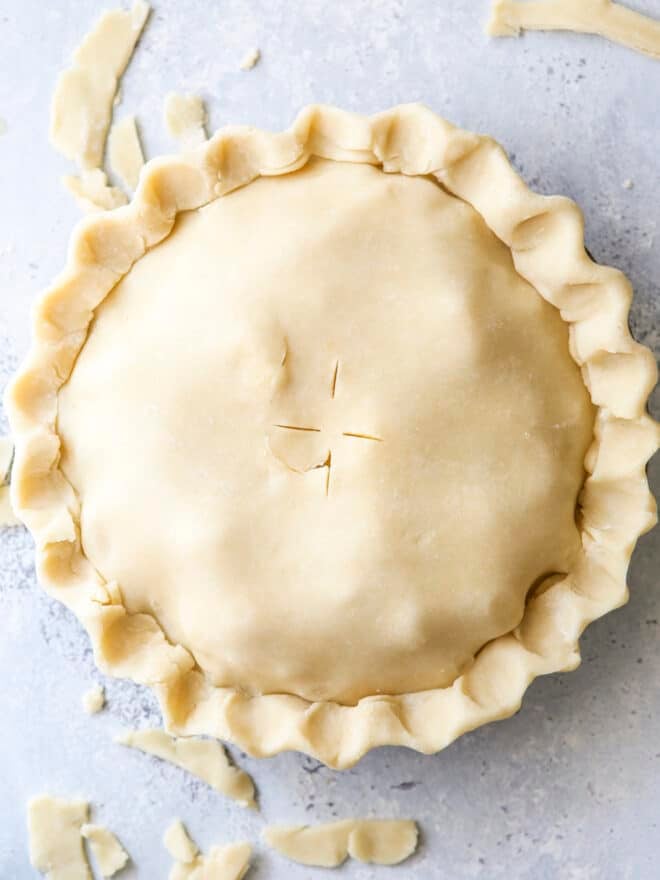
This buttermilk pie crust is my most favorite pie crust recipe! If you’d never substituted buttermilk for water in your pie crust, then you are missing out on an opportunity to add SO MUCH FLAVOR to your pie.
Swap out water for buttermilk and the result is a crust that is tender and flaky, with incredible rich flavor all on its own. And it’s no longer a supporting character, but a co-star, and this buttermilk pie crust makes my pies shine every time.
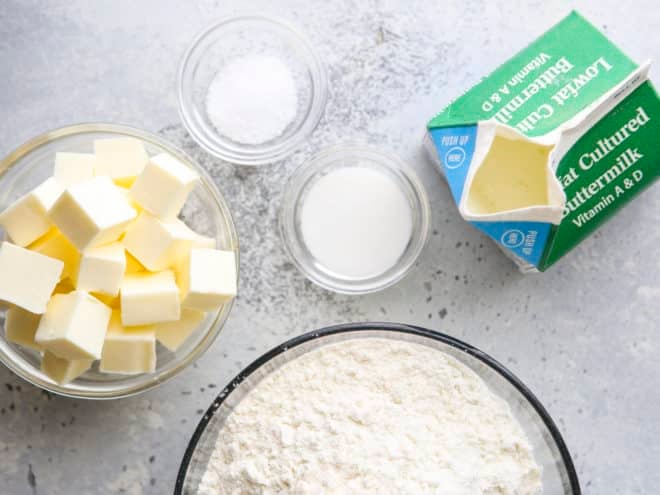
Ingredients you’ll need
- All-purpose flour
- Cold unsalted butter
- Granulated sugar (optional, but I always add for dessert pies)
- Coarse salt
- Cold buttermilk
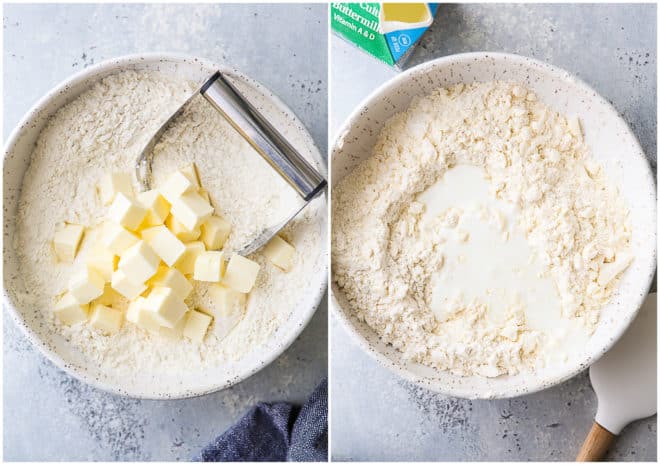
How to make buttermilk pie crust
You can prepare this pie crust however you like—in a bowl with a pastry blender (shown here), using my foolproof flaky crust method, or even in your food processor. No matter how you do it, they all follow these basic steps.
- Combine dry ingredients. Combine flour, salt, and sugar (if using).
- Cut in butter. Add cubed cold butter and cut into dry ingredients using pastry blender (or other method) until butter is the size of peas.
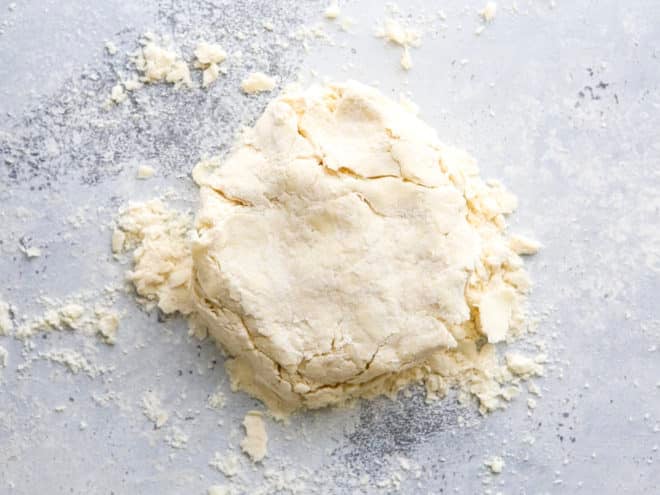
- Add buttermilk. Add buttermilk and stir with a spatula or spoon until it starts to come together. Dump mixture out onto a clean surface and mix with your hands until it holds its shape.
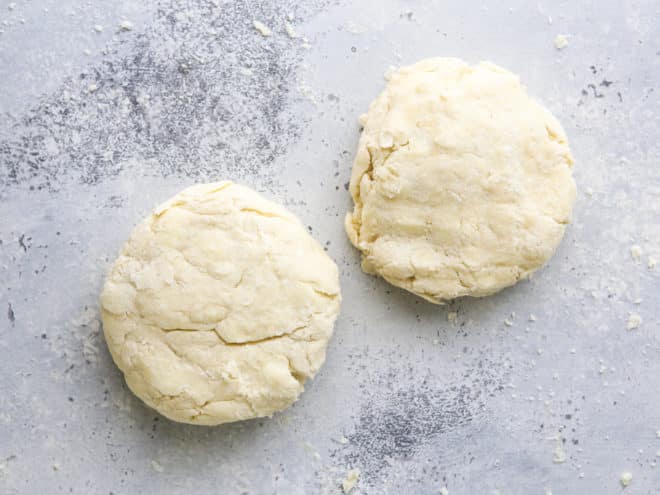
- Shape into disks. Divide and shape into two disks and wrap in plastic wrap.
- Chill completely. Chill in the fridge for at least 1 hour before using.
Tips for this pie crust recipe
- Always start with cold butter and buttermilk. This ensures the butter stays separate from the flour, rather than incorporating into it, so the little pockets of butter create rise and flakiness as the pie bakes.
- The reason you add much more buttermilk to this recipe than you would water is because buttermilk is a lot thicker than water, and so you’ll need more of it.
- I exclusively use “cultured buttermilk” in all of my baking recipes, as real buttermilk is difficult to find. (Read more about the differences here)
- If you don’t have buttermilk, you can make your own by adding ½ tablespoon lemon juice to a liquid measuring cup and adding regular milk to the ½ cup mark. It doesn’t taste exactly the same, but it can work in a pinch.
How to make pie crust ahead of time
Pie crust freezes really well! Make a big batch and refrigerate or freeze to use at another time.
- How to store pie crust in the freezer— Double wrap in plastic wrap and store pie crust in the freezer for up to 2 months. When ready to use, defrost in the fridge overnight.
- How to store pie crust in the fridge— Wrap in plastic wrap and store pie crust in the fridge for up to about 5 days. If wanting to store for longer, use the freezer.
Pies to bake with this recipe
These are some of my favorite recipes to make with this buttermilk pie crust. They have such delicious flavor and are always a huge hit!
Get the recipe
Buttermilk Pie Crust
Ingredients
- 2 ½ cups all-purpose flour (300 grams)
- 1 tablespoon granulated sugar , optional
- 1 teaspoon salt
- 1 cup unsalted butter , cold and cut into cubes (226 grams)
- ½ cup cold buttermilk (120 ml)
Instructions
- Combine the flour, sugar (if using), and salt in a bowl. Add the cubed butter and toss to coat.
- Use a pastry blender or two knives to cut the butter into the dry ingredients until butter is the size of peas.
- Add buttermilk and use a spoon and then your hands to stir the mixture until it comes together into a ball. If mixture is too dry, add additional buttermilk a teaspoon at a time.
- Divide the dough in two and flatten into disks. Wrap each disk in plastic wrap and chill in the fridge for at least 1 hour and up to 5 days. Dough can also be frozen (double-wrapped) for up to 2 months.
- When ready to roll out, let the dough rest at room temperature for five minutes. On a lightly floured surface, use a rolling pin to roll out the dough into a rough 13 inch circle. Dough should be about 1/4 inch thick. Transfer dough to 9-inch pie dish. Fill pie with desired filling.
- Repeat with the second disk of dough. Cut dough and make a lattice over the filling, or leave the circle intact and cover the filling completely, cutting a few vents with a sharp knife.
- Fold the edges of the top and bottom crusts together and use your index fingers and thumb to pinch into a pattern. Brush with egg wash and sprinkle with sanding sugar, if desired.
- Bake pie according to the instructions in your specific pie recipe. Different fillings will require different temperatures and time.
Notes
NOTES
- Makes enough dough for one 9-inch double pie crust.

This recipe was originally published October 2015.

Can I use lard instead of butter?
I haven’t tested this recipe with lard, but I imagine it will work fine.
Like to add 5 tablespoons of chia seeds, for extra fiber. Been using for Chicken pot pie with wild rice, mushrooms, green pigeon peas, carrots, potatoes, celery, green onions, shallots, Really great recipe, Thanks!!
I’m not sure what I did wrong…making the crust went well, and rolling it out. My recipe called for pre-baking, so I put in a parchment paper round and some lie weights. When I took it out of the oven, it was asoggy mess. It looked like all the butter had just melted and leaked out of the crust.