

Basic Homemade Pizza Dough
This basic homemade pizza dough is easy to make, really delicious and flavorful, and ideal for pizzas baked at home in the oven.
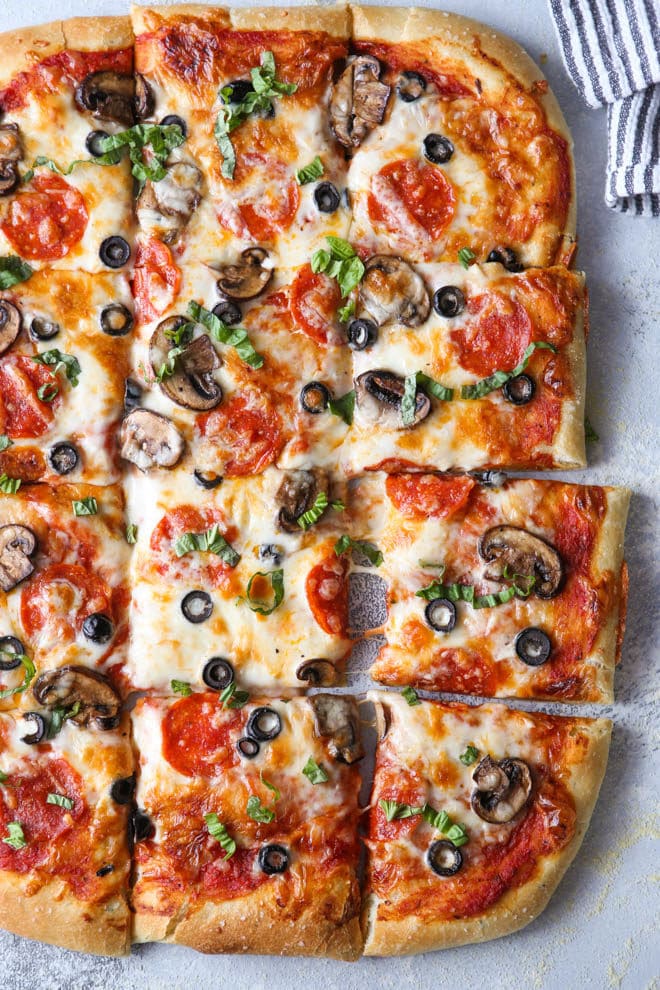
Friday night is pizza night at our house, and this is the pizza crust recipe I’ve used for many, many years. It just makes really great pizza!
It’s light and crispy on the outside while staying chewy on the inside. And adding honey, herbs and garlic guarantees great flavor regardless of whatever toppings you choose to pile on top.
2026 update: I originally developed this basic pizza crust recipe in 2013, and while it’s still a great recipe, I now prefer my easy no-knead pizza dough. It has a higher hydration (ratio of water to flour) and works better for the kind of pizzas I make these days. But this is a great beginners recipe!
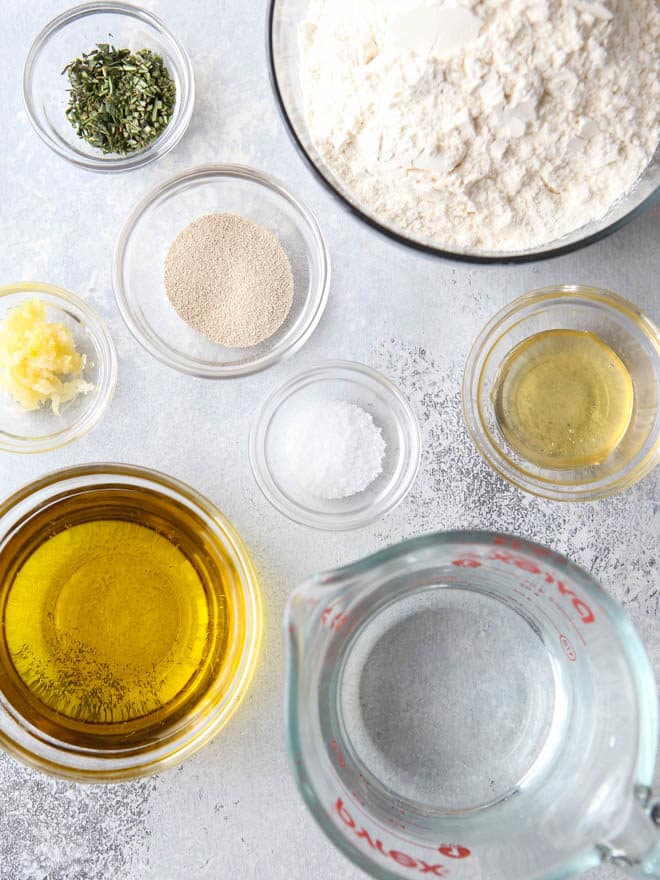
Ingredients you’ll need
- All-purpose flour
- Yeast: You can use active-dry yeast or instant/quick-cooking yeast.
- Olive oil
- Salt
- Water
- Herbs: I like to use fresh rosemary, thyme, oregano or basil (or a combination). Dried herbs will work too.
- Honey
- Fresh garlic: Or garlic powder.
The herbs, garlic, and honey are technically optional, but highly recommended. Pizza crust isn’t just a vehicle for yummy toppings, it should have great flavor all on its own!
How to make this basic pizza dough
If making pizza at home from scratch intimidates you, I’m here to tell you: you got this! Read the recipe through a few times, take a deep breath, and then give it a go. After a few pizza nights you’ll be baking like a pro, promise.
- Heat water, olive oil and honey. This helps activate the yeast, just make sure it’s not too hot (temps above 140°F will kill your yeast!)
- Add to some of the flour, salt, yeast, herbs and garlic. We’ll start with just 2 cups of the flour.
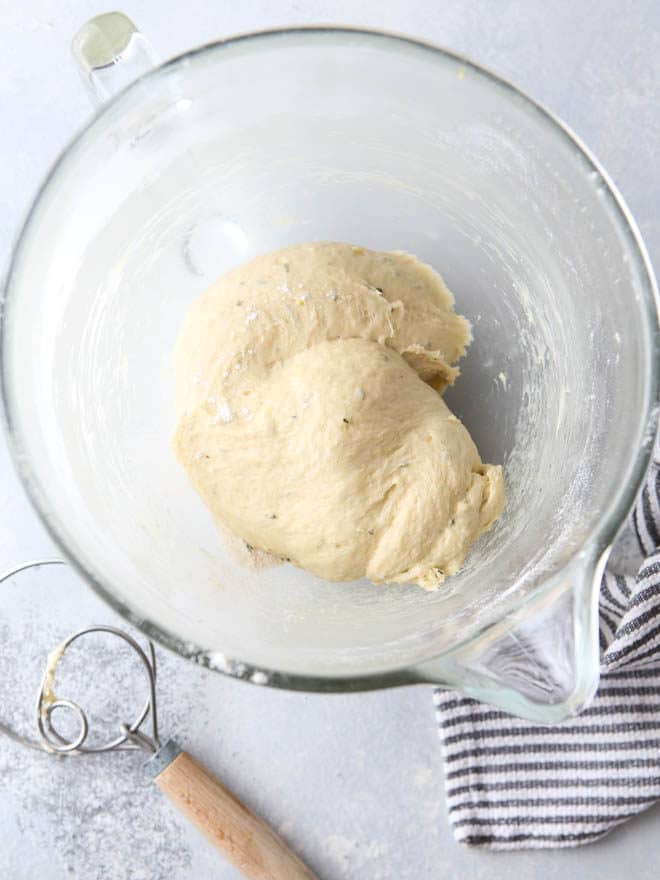
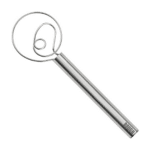
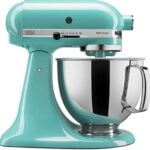
- Mix to make a wet dough. Use a dough whisk or your mixer; dough will be very wet and sticky.
- Add more flour and mix. With your mixer on low, add more flour 1/4 cup at a time, waiting till its incorporated to add more.
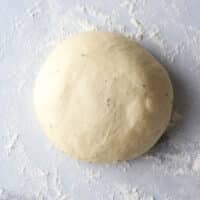
- Stop when dough is smooth and clears the bowl. It should still feel soft and tacky, but holds together. The exact amount of flour you’ll need varies!
- Let it rise. Cover and rise about 1 hour till doubled (less if using instant yeast).
- Punch down and shape. Roll or press it out into a 12-inch circle, or press into a sheet pan.
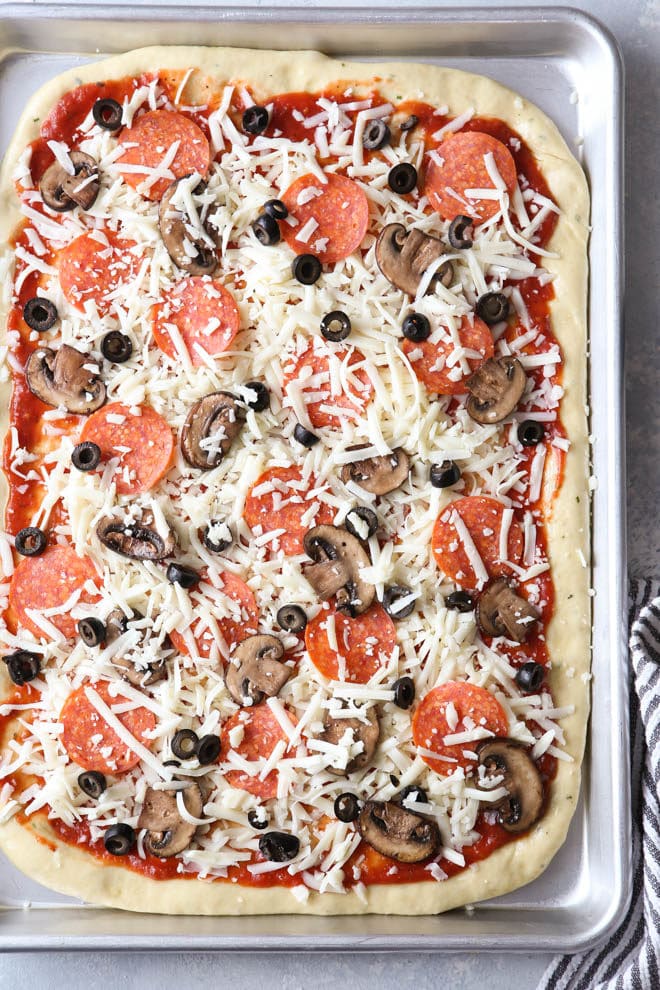
- Add toppings. Use what you like!
- Bake. Bake in your kitchen oven at 450-500° (the hotter the better) until crust is golden and cheese is melted, about 10 minutes.
Why the amount of flour you’ll need for this recipe varies
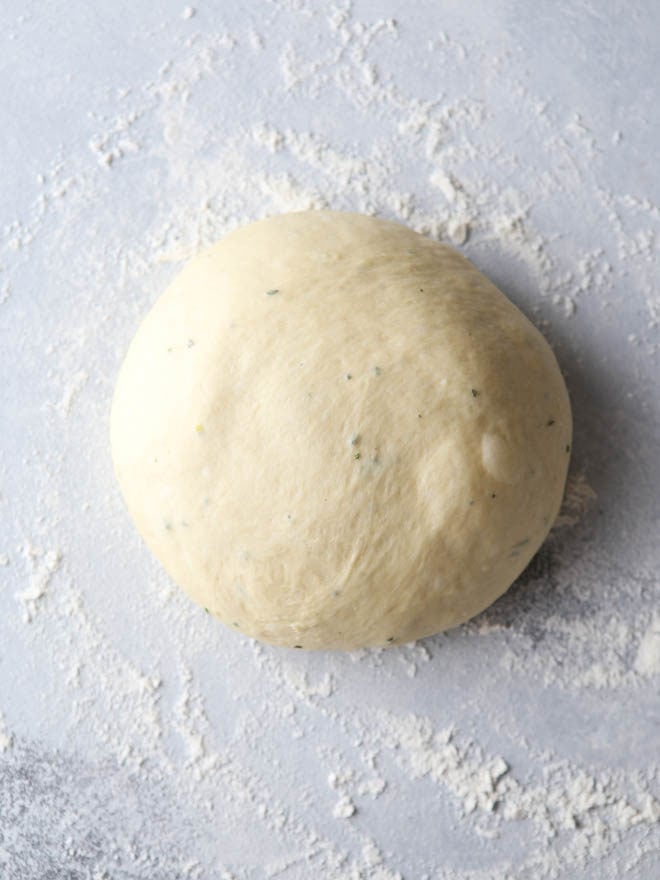
Home bakers often get nervous when they see a range amount for an ingredient, instead of a specific amount (like for this recipe, you’ll need about 3-4 cups of flour). And this is because flour is a very dynamic ingredient and the exact amount you’ll need will depend on the humidity in your environment, the brand of flour you use, and how you measure flour.
For this recipe you’ll add a base amount of flour, then mix in more gradually to achieve a dough that’s soft and tacky, but not so soft that it’s a wet, sticky mess. If you add too much flour, you’ll end up with a dry crust that’s hard to work with.
Pro tip: Look for when the dough starts to clear the sides of your mixer bowl, but still sticks on the very bottom. This means you’re just about there!
When to use this pizza dough
This pizza is ideal for pizzas cooked in the oven, as it has a lower hydration and will cook very well at 500°F in about 10 minutes.
I recommend using a pizza steel and preheating your oven (with the pizza steel inside) for 1 hour. Yes, 1 hour! This ensures the oven is as hot as it can be, which will cook the pizza quickly, with the best rise and a nice golden color.
If you have a wood or gas-fired pizza oven that can reach higher temps such as 700-900°F to produce super quick Neapolitan-style pizzas, I recommend using my Easy No-Knead Pizza Dough recipe instead.
baking tip:How to help your dough rise faster
- Oven: Heat your oven to its lowest setting for a few minutes, then turn it off. Place the covered dough on the center rack and close the door.
- Microwave: Heat 1 cup of water in your microwave for 2 minutes. Remove water and place the covered dough in the microwave and close the door.
- Other: I’ve also risen bread on top of a warm oven, running dryer machine, and even on a chair set over a heater vent.
More pizza resources
- How to Make Pizza at Home: Your Ultimate Guide (lots more pizza making tips!)
- My Favorite Pizza Tools
- How to Freeze Homemade Pizza
Basic Pizza Dough
Ingredients
- 3-4 cups (375-500 grams) all-purpose flour , as needed (see Notes)
- 2 ¼ teaspoon (7 grams) active-dry yeast (1 envelope)
- 1 teaspoon coarse salt
- 1 tablespoon fresh herbs ,finely chopped or 1 teaspoon dried herbs (optional)
- 1 clove of garlic , minced or 1 teaspoon garlic powder (optional)
- 1 cup (227 grams) water
- ⅓ cup (66 grams) olive oil
- 1 tablespoon (21 grams) honey
Equipment
Instructions
Prep pizza dough:
- In the bowl of a stand mixer fitted with a dough hook (or in a large bowl if mixing and kneading by hand), combine 2 cups (250 grams) flour, yeast, salt, herbs, and garlic.
- Heat the water, olive oil, and honey in a small saucepan until barely steaming. Remove from heat and let sit for 5 minutes, or until temperature is between 120-130°F (no hotter or you will kill the yeast).
- Add the water mixture to your dry ingredients and mix on low until combined to make a wet dough (You can also use a dough whisk or spatula for this step, it will combine the ingredients faster).
- With the mixer on medium low, add the remaining flour a ¼ cup (about 30 grams) at a time, mixing until incorporated between each addition. Continue adding flour until the dough clears the bowl but is still soft and tacky to the touch.
- Once enough flour has been added, continue to knead with a dough hook or by hand for a few more minutes until smooth and elastic.
Let it rise:
- Shape dough into a ball and cover with plastic wrap. Put in a warm place and let rise until doubled, about 1 hour.
Shape and bake:
- Preheat oven to 500°F.
- Gently push down on the center of the dough to release the gases and knead by hand on a clean surface a few times. Divide dough into 2 and reshape into rounds. Then let them rest for 10 minutes, covering with plastic wrap so they don't dry out. (This rest relaxes the gluten, making it easier to roll out and shape).
- Working with one pizza round at a time, roll out or stretch dough into a rough 10-inch circle. Or shape into a rough rectangle and press into a well-greased baking sheet pan.
- Top dough with desired toppings and bake until crust is golden, about 10 minutes. Serve immediately.
Notes
- I like to use fresh herbs like rosemary, sage, thyme. If I use dried herbs I use Italian seasoning.
- You can substitute 1 tablespoon granulated sugar for the honey if desired. Add with the dry ingredients.
- Why the amount of flour you’ll need varies: There are a lot of factors when it comes to making yeast dough, such as the humidity level where you are, the brand of flour you use, or how it’s measured. Go by touch and feel, not by the amount. The dough has enough flour when it’s bulky enough to clear the sides of your mixer bowl, but still feels very soft and tacky to the touch.
- Storing pizza dough: You can let the pizza dough rise in the fridge slowly if you’d like to prepare it ahead of time. Dough it best if used within 24 hours. You can also freeze the dough, tightly wrapped for up to 1-2 months. Let thaw to room temperature and double in size before using.
- Nutrition facts are for one baked pizza crust without toppings.

This recipe was originally published May 2013.

was a great recipe for our first homemade pizza crust. i used lavender salt and fresh sage in the crust and olive oil, caramelized onion, pear, gorgonzola, mozzarella and blueberries as toppings. it was so good and am grateful for a homemade recipe, not some food.com recipe!
Wow, that pizza sounds incredible. So glad you enjoyed the recipe!
Hi,
I just recently found your Web site and I love it. The recipes, photography and your style of writing. One question. Do you know the weight of your pizza dough? I was thinking of making the pizza rolls with store bought dough, which weighs one pound.
Thanks!
I’m afraid I don’t know the answer to that question, but I’m confident you can use store-bought dough for this recipe without any issues. Good luck, and enjoy!
Perfect timing! I’ve been wanting to grill a pizza for a long time! Everything looks so good. Thanks for the recipe Annalise!
That is a GORGEOUS pizza. We love homemade, too, and always say we should make it more often. I always make the dough the night before, just cutting back the yeast a bit, then throw it in the fridge so we can bang it out fast when we get home from work the next day. While restaurant pizza is always good (I mean, it’s pizza!) there really is a lot to be said for being the boss of your own toppings and amounts when you make it yourself. I’ll have to give your dough recipe a bash soon. Thanks!
I love to cook and bake but so afraid of pizza dough. After reading how easy and yummy this sounds, I’m determined to try it. What have I got to lose? Your pictures are so gorgeous. Thank you.
Tried it and loved it……Thank you!
I love homemade pizza, and can’t wait to try your recipe! The herbs and garlic are a nice touch.
That pizza dough looks amazing! Pizza night is a regular fixture in our house, as well, but we usually buy the dough at the Bakery’s…maybe it’s time to make it ourselves…this totally looks worth all the effort!
xo, Elisa
Hello!
I’ve been wanting to write you something, but I do not have much time left. Doing great things and I really like your site.
I’ve done some your buns and they were magnificent.
Wait for the weekend to come and make this a great pizza!
Greetings from Bulgaria far!
Oh that was silly of me, I just saw the bottom of the recipe that says you can refrigerate it.
Yes! Since the dough makes enough for two pizzas I usually refrigerate half of it for pizza another night. Works great!
This looks SOOO good!! Definitely must try it 🙂 Is it possible to make the dough ahead of time and refrigerate it? Or would the dough not be as soft/crispy? I’m not very experienced with bread making
I am totally trying the garlic add-in next time! And I love the in process shots with you in them! You’ll have to give me your secrets of the shots 🙂
You want to know my secrets? Oh Heidi, I’m so flattered. For these I just used the timer on my camera and whole lot of takes! 🙂
I’ve love to try this on the grill!
I was totally the same with pizza, I actually thought it made me ill after just having delivered pizzas!! So glad I started making my own, I LOVE PIZZA haha!! I always go absolutely crazy with toppings and I love trying new pizza bases, so I’ll be having a pizza night soon to try your recipe! 🙂
I feel a grilled pizza with Sangria night on the deck coming soon …