

Baking Essentials: The Creaming Method
Learn what “the creaming method” is, how it’s used in baking recipes like cookies and cakes, and some tips for success. The more you know about the science of baking, the better baker you’ll be, and the more delicious treats you can enjoy!
What is the “creaming method”?
Simply put, the creaming method is one way of mixing batter or dough. Any time a recipe asks you to beat or “cream” softened butter and sugar together, you’re using the creaming method. While the two are mixed together, the sugar crystals cut into the butter (or other fat), creating little pockets of air. In the oven, those air pockets affect rise, texture and structure of what you’re baking.
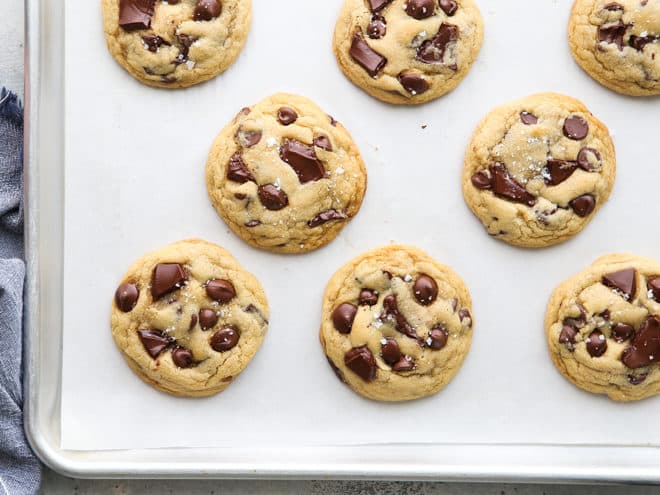
You’ll see the creaming method most often in cookies and cakes, and it’s maybe the most important step in the whole recipe. If fat and sugar are creamed together correctly, cakes will be light and fluffy, and cookies will hold their shape and not spread too much.
So let’s talk about how to do it right!
Ingredients and tools needed
If the recipe you’re following uses the creaming method, here’s what you need to know about the ingredients you’ll be working with and the equipment required:
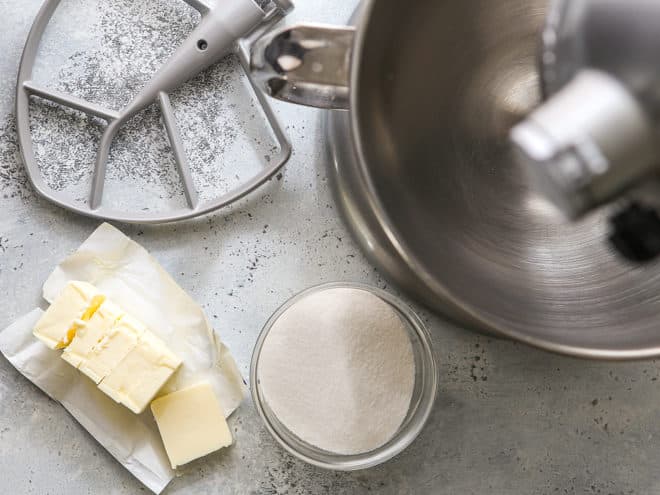
- Fat— Usually butter or shortening, but other non-liquid fats like coconut oil will work too. Butter should be slightly softened to a cool room temperature (about 65°F), but it should not be at all melted or look shiny. (Learn more about why butter temperature matters!)
- Sugar— Such as granulated sugar, brown sugar, powdered sugar, etc. Non-traditional sugar substitutes that are granular, like coconut sugar, will also work. But liquid substitutes like honey or maple syrup will not (that doesn’t mean you can’t use them, you will just be using a different mixing method if you do).
- Electric mixer— you can use a stand mixer or hand mixer, but a stand mixer fitted with a paddle attachment is the most efficient choice for best results. (Yes, you can also do this by hand, but be prepared to use a lot of elbow grease!)
How to use the creaming method
- Place the sugar and butter in the bowl of your stand mixer, or another bowl if using a hand-held mixer.

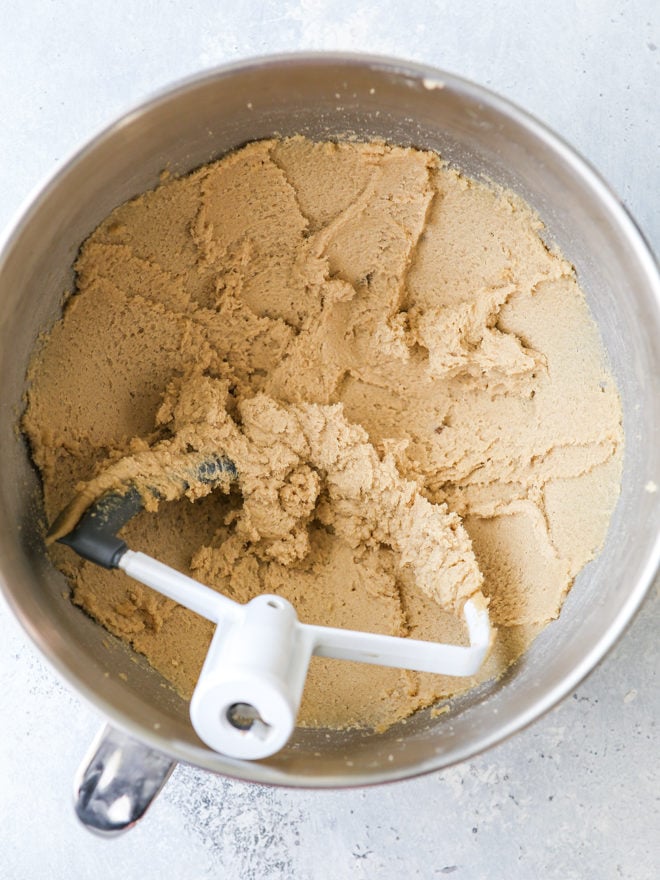
- Begin mixing on medium high speed, stopping the mixer and scraping down the beater and bowl once or twice until incorporated. The photo below shows the butter and sugars beaten just until combined, less than 1 minute of mixing.
- Keep beating! What happens during this time is the sugar granules are cutting tiny holes into the butter, which incorporates air, and causes the butter to soften and increase in volume. You’ll notice the batter change drastically in color and texture. The photo above is around 2 minutes of beating. The mixture has lightened in texture and started to stick to the sides, but it’s still not quite there.
- Follow recipe instructions to know when to stop beating. Every recipe will be a little different as far as how long you should beat the butter and sugar and what it will look like, depending on the desired end result, so follow your recipe. The below photos is after 3-4 minutes of mixing at medium-high speed.


When to stop mixing
The exact time will vary based on factors such as the tools you’re using, mixer speed, etc. so be sure to follow your recipe. Typically your mixture is properly creamed when:
- It appears very light in both color and texture
- It has almost doubled in volume
- Sugar granules are no longer visible, but you can still feel them if you rub a little of the batter between your fingers
Don’t over-mix or under-mix! Under-beaten butter and sugar will be thick and dark in color. It won’t have enough air incorporated so cakes and cookies may be flat and dense. Over-beaten butter and sugar will have incorporated too too many air bubbles, which can deflate during baking or cooling, or you’ll have cakes with big holes or tunnels through it.
Finish combining your batter or dough
Once you’ve properly creamed the butter and sugar together, you can proceed with the rest of your recipe.
If you’re making a cake:
- Add eggs one at a time, mixing after each. You’re creating an emulsion of the liquid in the eggs with the fat in your creamed mixture, and adding the eggs gradually will help them incorporate better.
- Add combined dry ingredients (flour, salt, leavening, spices) in separate additions, alternating with wet ingredients. This is so you don’t overwhelm the batter, and adding ingredients gradually ensures everything mixes evenly.
- Mix only until cake batter is combined and no streaks of dry ingredients remain. Do not overmix or you will create a tougher end product.
If you’re making cookies:
- Add eggs one at a time, mixing after each.
- Mix in vanilla or any other flavorings.
- Add combined ingredients all at once.
- Mix until dough is mostly combined, but a few streaks of dry ingredients remain.
- Add any mix-ins like chocolate chips and mix just until incorporated.
Though cakes and cookies are the most common recipes that use this method, you may also see the creaming method in frostings, quick breads, etc.
Tips for success
- Follow your recipe! This article is a general guide to help you understand the creaming method and its role in recipes, you should always default to the specific instructions of the recipe you are using.
- Always use a paddle attachment with a stand mixer if you can. The wire whisk attachment will not produce the same results, and using a hand-held mixer will take a bit longer.
- Scrape down the bowl occasionally. Stop mixing and scrape down the bowl with a spatula at least once. This ensures your entire mixture will be uniform.
- Use room temperature dairy and eggs for cakes. This will produce the best rise and texture as they’ll be able to more efficiently combine into the batter.
The “reverse creaming method”
Some recipes use a variation called the reverse creaming method, which means all the dry ingredients are beaten together with the butter before the eggs and liquids are added at the end. This allows the butter to coat the flour particles and prevent gluten development, resulting in a very fine and tender crumb with a sturdy structure.
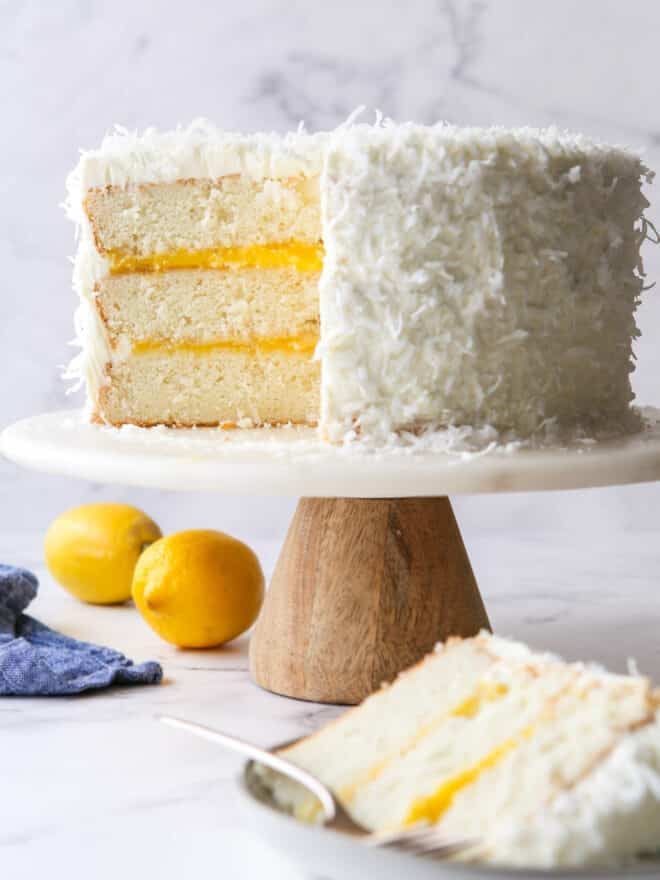
Many of my cakes use this variation, like my coconut cake or brown sugar cinnamon cake. I’ve found that cakes made with the reverse creaming method are very light and velvety, and many bakers prefer it to the traditional creaming method.
Recipes that use the creaming method


Hi, my cookie dough turns out greasy which results in my baked cookie being greasy as well… what could be the problem with this? Is it the temperature of the butter or something else?
I would guess butter temperature, and/or that the butter and sugars mixture wasn’t beaten long enough. Butter should be soft enough that your finger will leave an indent when pressed, but not so soft that your finger is able to press all the way through the butter. If the butter is shiny or melty at all, it’s too warm and your cookies will spread and be greasy. Hope this helps!
Yes, sincerely appreciate the information is elaborate to the point. All said, we surely need the right tools for a perfect job.
Paddle attachments may work well, but I think they’re highly overrated – exquisite baking was produced for centuries before there were stand mixers with paddle attachments, although presumably with more elbow grease. My stand mixer doesn’t have a paddle attachment, but I produce perfectly lovely baked goods with it using the large beaters.
To cream sugar and butter in a stand mixer using regular, not paddle, beaters, I can’t seem to get it to a creamy consistency. How long should I beat it at medium speed to get it creamy ?
Thank you.
Really many thanks for this post! The method is extremely well explained and it has been very useful for me! Thanks a lot!
Agnese
Hi I enjoyed this blog post. Keep on posting
what are the different cake types example; rubbing in, creaming
Hi there, just wanted to mention, I enjoyed this blog post. It was inspiring. Keep on posting
Thank you!
I just had to say that I agree with you about the paddle attachment on the stand mixer.I am pretty sure when creaming the butter for buttercream frosting you can not use your hand or even a hand held mixer.And my Kitchen Aid mixer was only 180 not 300.Your post about the correct way to cream was lovely.And if people have nothing nice to say then they should not say anything at all!!
What’s up to all, it’s really nice for me to pay a visit on this web page, it includes precious information. Thanks!
I love this series, baking can be intimidating for some people. This demystifies it, love that.
Perfect post! I think so many people (including myself at one time) didn’t really know what it meant to cream something! Or they melt the butter in the microwave.
Excellent, detailed explanations and photos. THANK YOU for giving the speed number on your Kitchenaid. I always have a little bit of doubt in my mind when recipes say things like “low speed” or “medium heat.” I know what those things are, but it’s good to know an exact number or setting that the recipe writer used. Great post.
I Love them
Amazing and truly helpful post, thank you for sharing these tips!
xo, Elisa
Love the step by step and tips! So helpful!