

Funfetti Cake
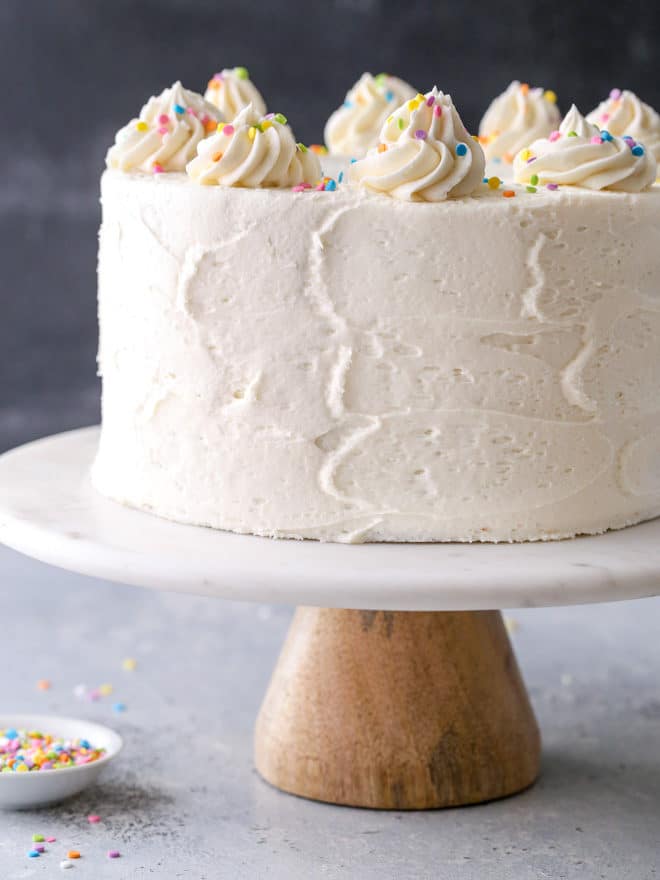
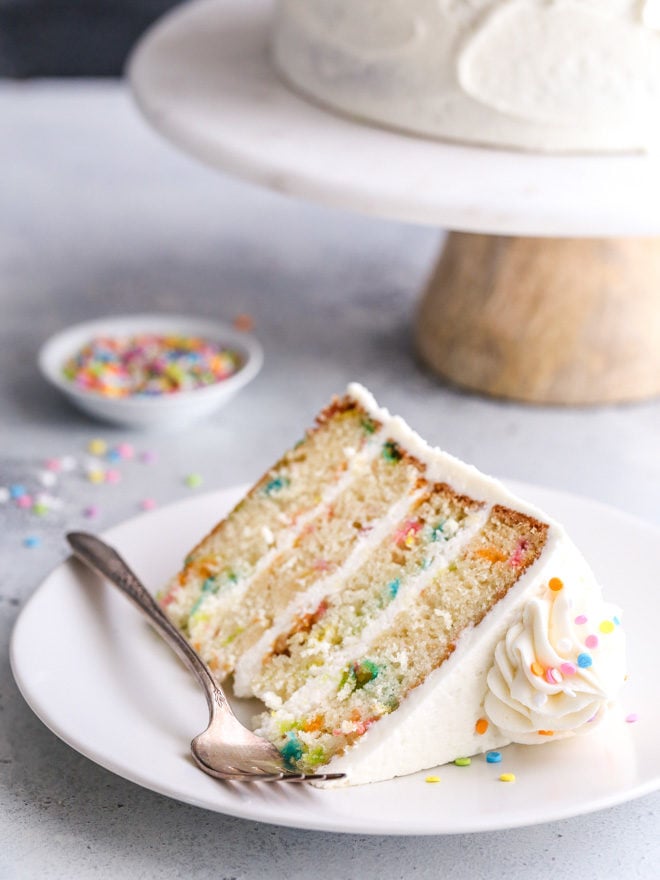
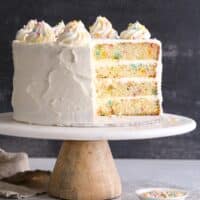
This funfetti cake featuring light and buttery vanilla cake layers studded with rainbow sprinkles and fluffy vanilla buttercream frosting is a fun and cheerful dessert!

Recipe overview: Funfetti Cake
- It’s a homemade recipe that tastes way better than store-bought mixes.
- It’s simple enough for beginners but impressive enough for seasoned bakers.
- It’s a cheerful dessert that brightens up birthdays or any day you need a little fun.
- You can make it ahead of time as needed.
- If you follow all of my tips and make the recipe as-written, it’ll be the best funfetti cake you’ve ever had!
Summarize & save this content on:
I think it’s safe to say that funfetti cakes have the most fun. I mean, how could they not? Each bite of delicious, beautiful, and rainbow-flecked cake does nothing but bring joy.
This homemade funfetti cake recipe starts with tender cake layers flavored with butter and vanilla, and the frosting is my favorite rich and creamy whipped vanilla buttercream. And rainbow sprinkles, both inside the cake layers and on top for decoration, are the final touch. While I often make this cake for birthdays, it’s perfect any day of the year!
Another nostalgic birthday favorite is my homemade cherry chip cake with vanilla buttercream.
What is funfetti cake?
Funfetti cake is basically a vanilla cake with confetti-like rainbow sprinkles. And sprinkles are always fun, so— funfetti!
See my other funfetti recipes: Funfetti Cheesecake and Funfetti Cupcakes for Two.
How to make this homemade funfetti cake recipe
- Prepare cake batter: This recipe uses the “reverse creaming method“, which means we’ll beat the dry ingredients with the butter and some buttermilk until light and fluffy, before stirring in the remaining liquids. It makes for a super light and tender crumb.
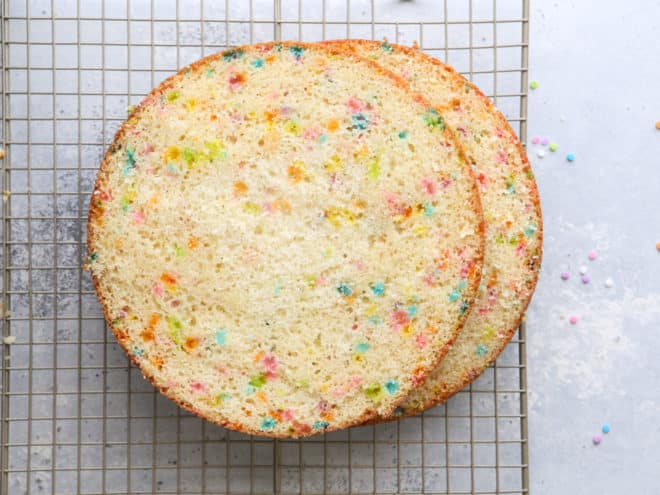
- Bake and cool cake layers: Divide the batter between lined pans and bake in a 350°F oven for 25–30 minutes.
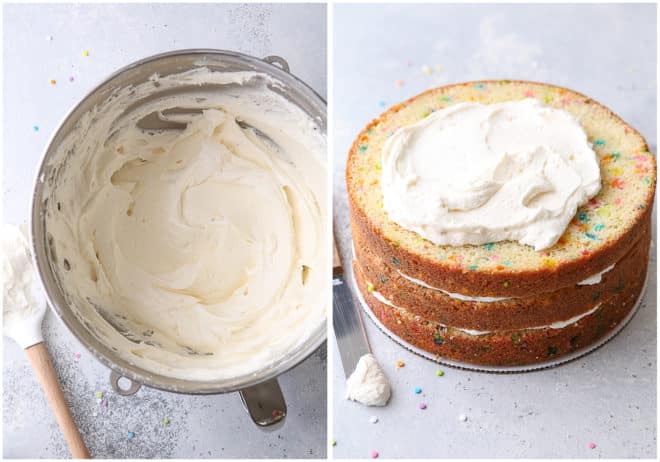
- Make the frosting: Beat all the ingredients until fluffy and smooth. The longer you beat it, the lighter it will be!
- Assemble your cake: Layer cake layers with frosting, then frost the whole cake. Decorate as you like, just be sure to add more sprinkles on top.
- Serve and enjoy: I like to chill layer cakes for at least 30 minutes to they’re firm and will slice nicely.
Recipe tips & FAQs
- If you’re new to baking layer cakes or need a little help, be sure to check out my complete guide for how to build a layer cake. It’s got everything you need to know!
- I recommend using cake flour to achieve the lightest and most tender crumb, though you can use all-purpose flour in a pinch. You can also make your own cake flour.
- Always start with room temperature dairy and eggs. Pull the butter, buttermilk and eggs from the fridge 30-60 minutes before you plan to bake. This helps cakes have the best rise and softest texture (more info on why room temperature ingredients matter here).
- What sprinkles work the best in funfetti cake? I recommend jimmies or confetti sprinkles (sometimes called sequins or quins). I’ve used both successfully in this recipe, and confetti sprinkles are pictured here in this post. Do not use nonpareils (the tiny round colorful sprinkles), as they will bleed into the cake batter.
- I prefer 8-inch cake pans for this recipe. Use 2 or 3 pans, depending on the look you want. You can use 9-inch pans, but know the cake layers will be thinner (and I recommend baking just 2 layers).
baking tip:How to prevent cake from sticking to the pan
- Line the bottoms of cake pans with parchment paper. You can trace and cut circles from sheets of parchment, or use pre-cut rounds.
- Grease with a baking-specific nonstick spray that contains flour (such as Baker’s Joy) OR grease pan completely with butter, then dust with flour.
- While I don’t like non-stick pans for traditional cakes (they tend to over-brown the edges), non-stick pans are great for other recipes like bundt cakes, cupcakes, loaf cakes, etc.
Make-ahead tips for layer cakes
It’s easy to prep this cake in advance if you want! In fact, I prefer to break up the work of layer cakes over 2 days , baking cakes on one day and then assembling and frosting the next. And you can even prep farther in advance too.
- Prepare cake layers in advance and store wrapped in plastic wrap in the fridge for up to 2 days and in the freezer (double wrapped) for up to 3 months. Assemble cake layers while cold from the fridge, and thaw frozen cakes in the fridge overnight still in their plastic wrap before using. See my tutorial on how to store cake layers for more detailed info.
- Prepare the frosting in advance and store at room temperature for several days, in the fridge for 1-2 weeks, or in the freezer for several months. For best results, beat frosting until smooth before using, adding a bit more cream if needed to get the right texture.
More of my best layer cake recipes
- Yellow Cake with Chocolate Frosting
- Brown Sugar Cinnamon Layer Cake
- Chocolate Sour Cream Cake
- Light and Fluffy Coconut Cake
Get the recipe
Funfetti Layer Cake
Ingredients
For the cake:
- 4 large eggs , at room temperature
- 1 ¼ cup (227 grams) buttermilk , at room temperature, divided
- 2 teaspoons vanilla extract
- ¼ teaspoon almond extract
- 3 cups (360 grams) cake flour
- 2 cups (400 grams) granulated sugar
- 1 tablespoon baking powder
- 1 teaspoon baking soda
- ½ teaspoon salt
- 1 cup (226 grams) unsalted butter , at room temperature
- 2 large egg whites
- ½ cup (80 grams) sprinkles , see Notes
For the frosting:
- 6 cups (683 grams) powdered sugar
- 1 ½ cup (340 grams) unsalted butter , at room temperature
- ⅓ cup (56 grams) heavy whipping cream
- ½ teaspoon salt
- 1 tablespoon vanilla extract
- ½ teaspoon almond extract
- Additional sprinkles , for decorating
Instructions
To make the cake:
- Preheat oven to 350°F. Line two or more 8 or 9-inch pans with parchment paper and grease with butter and flour (see Notes).
- In a small bowl whisk together the eggs, ¼ cup of the buttermilk, the vanilla, and almond extract.
- In the bowl of a stand mixer fitted with a paddle attachment or in a large bowl with a hand held mixer, combine the cake flour, sugar, baking powder, baking soda, salt, butter, and remaining 1 cup of buttermilk.
- Beat on low speed until it comes together, then increase speed to high and beat until light and creamy, pausing to scrape down the bowl as needed, about 3-4 minutes.
- Add the egg mixture in 3 additions, mixing after each.
- In a separate mixer bowl (alternatively you can transfer batter to another bowl and wash that mixer bowl) with a whisk attachment beat the egg whites to soft peaks.
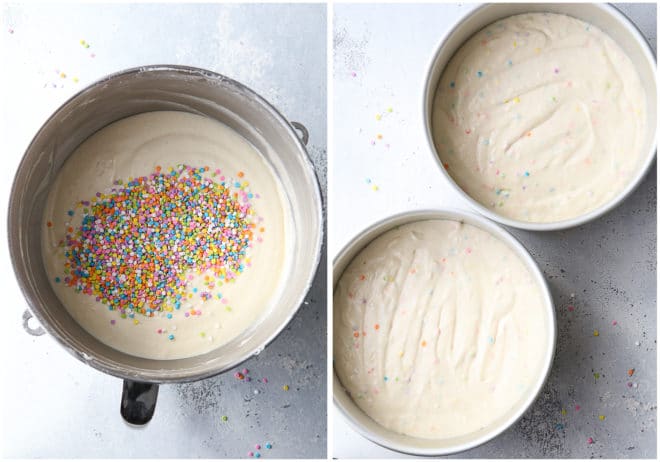
- Gently fold in two additions into the cake batter. Add the sprinkles with the second addition.
- Divide the cake batter evenly into the two pans and bake until the centers of the cakes bounce back when touched or a toothpick inserted into the middle comes out with a few moist crumbs, 25-30 minutes. Time will vary slightly depending on which pan size you use.
- Let cool 10 minutes in the pan, then transfer to a wire rack to cool completely.
To make the frosting and assemble cake:
- In the bowl of a stand mixer fitted with a paddle attachment, or in a large bowl with a hand held mixer, combine the powdered sugar, butter, heavy cream, salt, vanilla and almond extracts.
- Beat on low until the frosting comes together, then increase speed to high and beat until light and creamy, about 3-4 minutes.
- Place one cake layer on a cake stand or plate. Cover with 1 cup of frosting. Top with other cake layer.
- Cover completely with frosting and top with sprinkles as desired. For clean slices, let sit in the fridge for 20 minutes before slicing.
Notes
- Do not use “nonpareil” sprinkles as they will bleed into your batter. Use “jimmies” or “confetti/sequin” sprinkles.
- For a double layer 8-inch cake you’ll need to use two 8-inch pans that are 4 inches deep. Shallower pans will not be able to hold all of the batter. You can also use 3 (or even 4) pans, washing and reusing pans as necessary, or use 9-inch pans.
- Cake layers can be made ahead and stored in the fridge for up to 3 days and in the freezer for up to 1 month. See my tips for how to store cake layers.
- Here are some tutorials to help you make your cake: How to keep your cake from sticking to the pan, how to bake flat cake layers, how to cut a cake into even layers, and how to build a layer cake.


The cut looks just perfect! And I bet the cake is also really delicious.
Step #3 under the cake instructions- is this right? There’s no instructions to cream the butter and sugar till pale and fluffy nor is there an instruction to mix butter into dry ingredients until consistency is like damp sand. I’m not familiar with reverse creaming where the butter and the liquid added at same time. Please explain. Thanks.
Hi Penny, I just double checked and the instructions are correct as written. This is simple a different way of mixing cake ingredients, where you do things a little bit backward, hence the name “reverse creaming method”. If you follow the instructions, you should have a perfect batter and perfect cake layers! I hope this helps, happy baking. 🙂
The cakes look so beautiful and attractive, I want to enjoy it
Hmmm have to try this,very well explain
Eat as much cake as you want!