

How to Make Perfectly Whipped Cream
All you need to know to make the silkiest and creamiest sweetened vanilla whipped cream! It’s the perfect topping or accompaniment for pies, cakes, and other desserts.
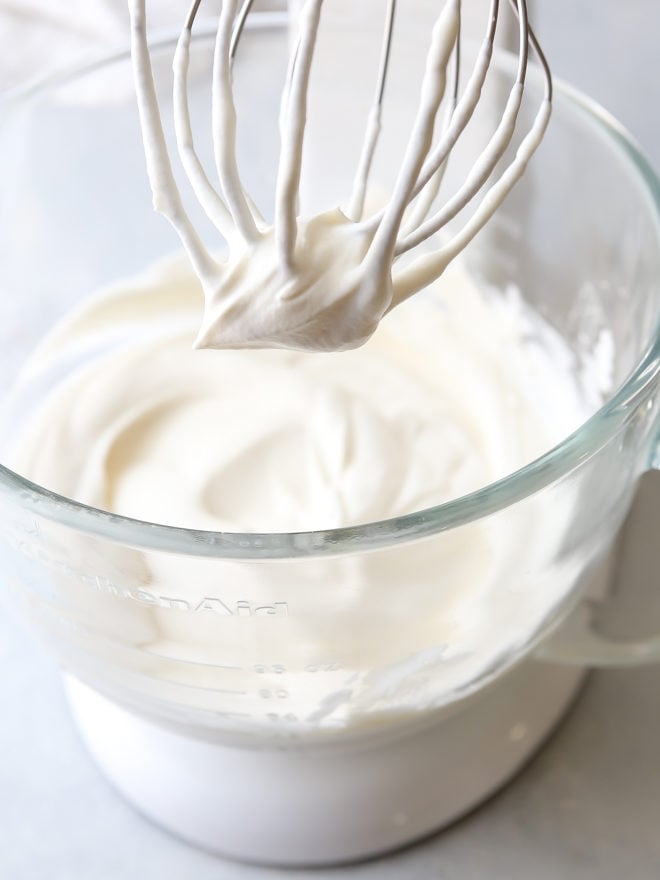
Forget the canned stuff, homemade sweetened whipped cream is so much better! I make it so often in my kitchen that it’s become second nature, but I’ve heard from many of you that perfect sweetened whipped cream is a bit of a mystery.
From getting the ratio of ingredients right to how long to beat the whipped cream, I’m here to share all of my secrets! Thankfully it’s super easy to make with just 3 ingredients.

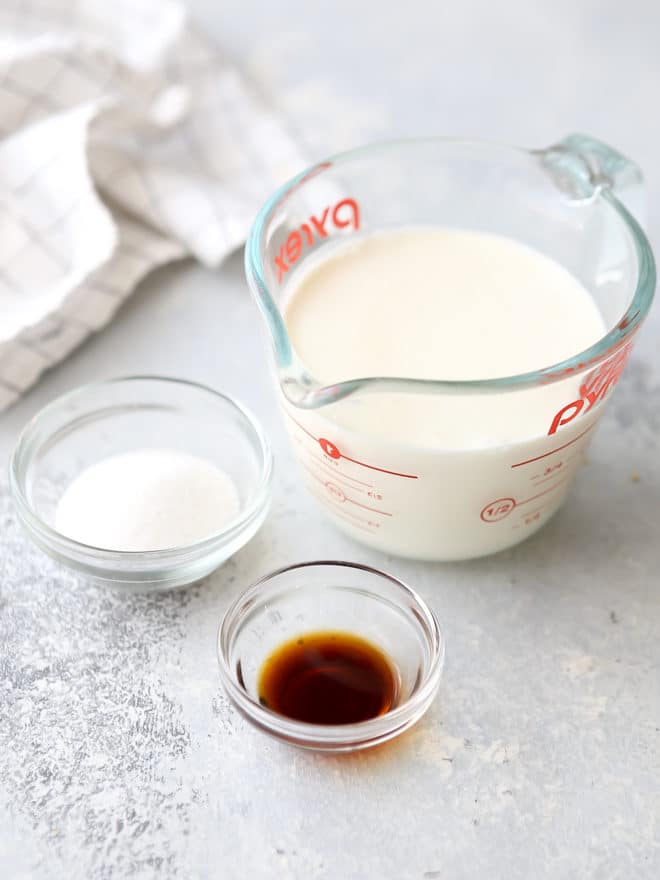
What you’ll need
- Cold heavy whipping cream: It has to be cold to get the best volume and texture.
- Granulated sugar or powdered/confectioner’s sugar: I use both!
- Vanilla extract: You can also use vanilla bean paste, whole vanilla bean seeds, or other extracts and flavors as you like.
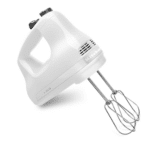
- An electric mixer: Either a hand-held or stand mixer will work, or you can always use a little elbow grease and mix by hand with a whisk!
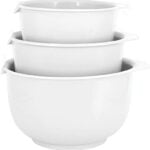
Note: Many resources tell you to chill the bowl and whisk/beaters before making whipping cream, but honestly I’ve never done it. But if you have an unusually warm kitchen, it is something to consider.
The best ratio of ingredients
I generally like the following ratio when I make sweetened whipped cream:
- 1 cup heavy whipping cream
- 1-2 tablespoons sugar (depending on how sweet you want it)
- 1/2 teaspoon vanilla extract
This basic ratio can be doubled or tripled as needed to meet your needs. Remember that the heavy cream will double once it’s whipped, so 1 cup of heavy cream will yield about 2 cups of whipped cream.
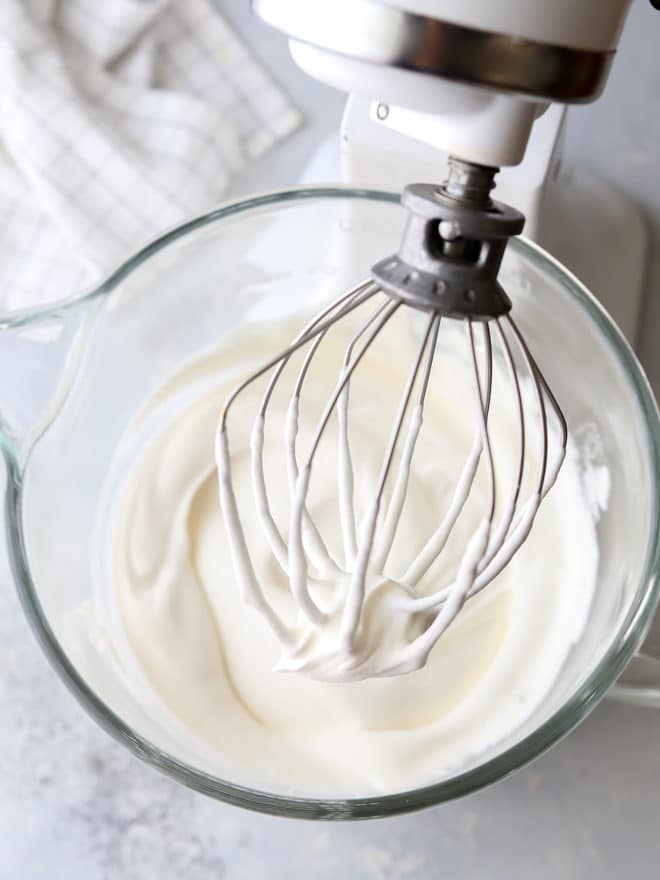
Beat it low and slow
If you’re using an electric mixer, beat on medium to medium-high speed, not on high. This will create more smaller bubbles of air throughout the cream as it whips, resulting in a more stable foam.
The tendency when making whipped cream is to just crank it all the way up to high and whip it really quickly, but that will create large unstable bubbles that will deflate over time. Plus going a little slower will give you more control so you don’t over-beat the cream.
Soft, medium, or hard peaks
How long you beat the cream will depend on how thick you want the whipped cream, which is entirely a personal preference. And I don’t look at the clock, I watch the cream to tell me when it’s done!
- Soft peaks— a dollop of whipped cream at this stage will be slightly softer than sour cream.
- Medium peaks— a dollop of whipped cream at this stage will have a pointy top, but a soft base that slumps over berries or a cake (my fave! and shown in this post).
- Hard peaks— a dollop of whipped cream at this stage will almost completely hold its shape once it falls off the spoon.
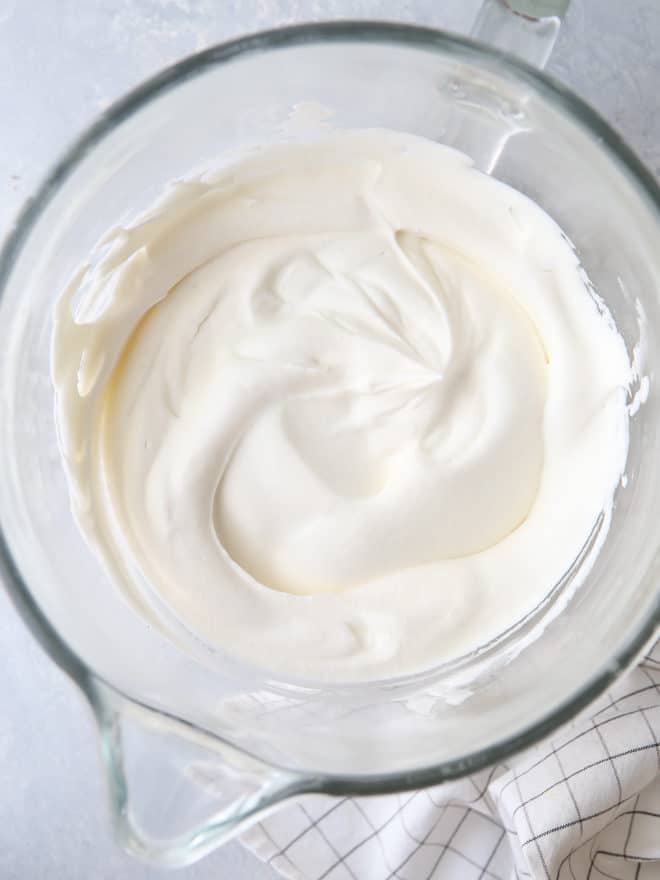
How to save over-whipped cream
It’s happened to all of us, you walk away from the mixer for a few seconds and you come back to a lumpy mess. As long as you haven’t gone so far as to make butter, it can be saved!
Simply fold a few tablespoons of heavy whipping cream into the whipped cream by hand. This should loosen the whipped cream and make it silky again. How much heavy whipping cream you’ll need will depend on how much whipped cream you’re making and how far you over-beat it. Start with a little and add more as needed.
How to store whipped cream
Whipped cream is best used immediately, but it can be stored in the fridge for later use as well. When ready to use, gently stir the whipped cream to loosen it again. If the cream had been whipped to stiff peaks, you may need to add a little heavy whipping cream. It’s best to use refrigerated whipped cream within a few days.
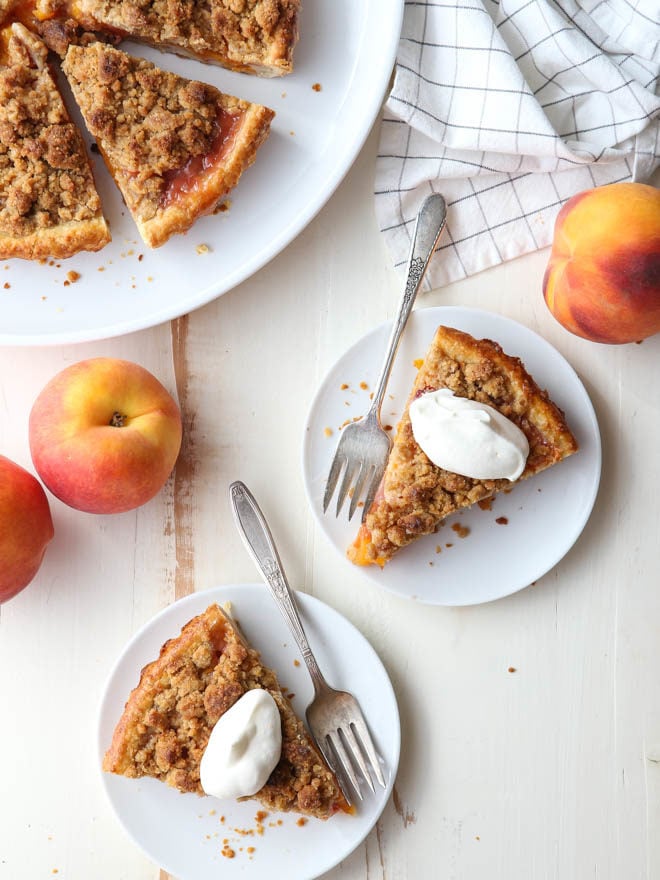
Uses for sweetened whipped cream
- It’s a must for Strawberry Shortcakes and Angel Food Cake
- Add a dollop to Pumpkin Pie or Apple Pie
- It’s the perfect topping for cream pies like Banana Cream Pie
- I also like to serve it on Buttermilk Pancakes, Waffles or French Toast, or with Crepes
Get the recipe
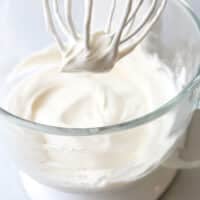
Perfectly Whipped Cream
Ingredients
- 1 cup (227 grams) heavy whipping cream
- 1-2 tablespoons granulated or powdered sugar
- ½ teaspoon vanilla extract
Instructions
- Add heavy whipping cream to bowl and beat by hand with a whisk, or use an electric mixer. If using an electric mixer, beat on medium to medium-high speed (I use speed setting 6 on my kitchenaid).
- Once mixture starts to thicken, add sugar and vanilla.
- Continue to beat for a few more minutes to soft, medium, or hard peaks per your preference.
- Use immediately for best use, but leftovers can be stored in the fridge for several days.


Thanks Annalise for these insights about Whipped Cream!
I want to add a dollop of whipped cream to the edge of a cheesecake. What is the best way to do this. Should I freeze the dollops then transfer them to the cheesecake? It would be eaten with 4-5 hours of doing this.
I would just add them to the cheesecake after the whipped cream is made and once the cheesecake has been chilled in the fridge. You can it on how you like and put the cheesecake in the fridge until ready to serve. You can also pipe little dollops/swirls with a piping bag and tip too.
Great tips for making whipped cream at home. Using cold cream really helps achieve the right texture and makes the whipping process faster. I’m excited to try this method the next time I prepare desserts for my family.
Great guide! Whipped cream always seemed difficult to me, but your steps make it look simple and to follow.
This guide on how to make perfectly whipped cream is super helpful! 🍰✨ The step-by-step tips make it easy to get that light, fluffy texture every time — perfect for desserts, cakes, and coffee toppings.
Instead of using vanilla and powder sugar, I use the powder from vanilla pudding mix to taste. No color change in the whipping cream and as sweet as you want or use the unsweetened pudding mix powder.
Hey Annalise! I just stumbled across your whipped cream tutorial, and I have to say, it’s a game-changer. I’ve always been a fan of the homemade touch, and your step-by-step guide makes it seem so achievable. I especially love the tip about beating it low and slow—I’ve definitely been guilty of over-whipping in the past and ending up with a lumpy mess.
Thanks for sharing this gem! I can’t wait to try it out and see how my friends react when I serve them perfectly whipped cream on their favorite desserts. Keep up the fantastic work!
Great guide! The tips on chilling the tools and watching for soft peaks are really helpful. Can’t wait to try making whipped cream myself!