Cream Cheese Pound Cake with Honey Whipped Cream
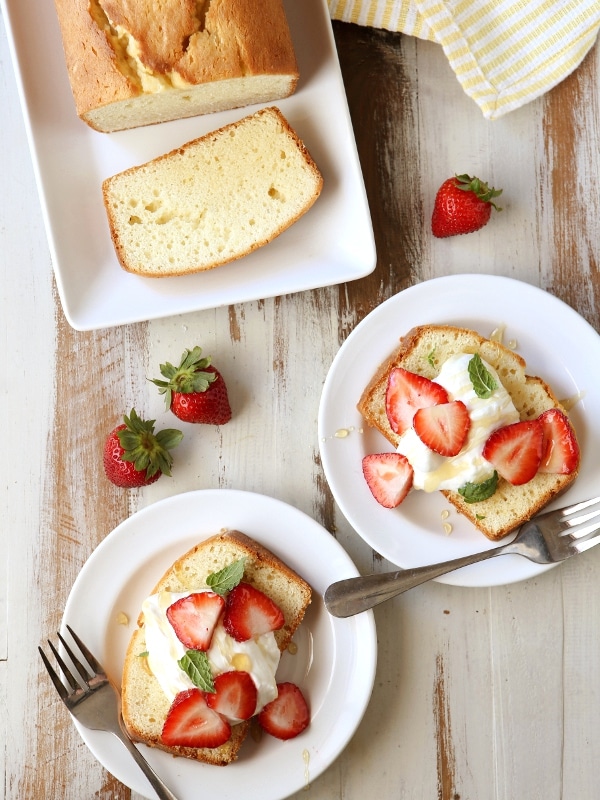
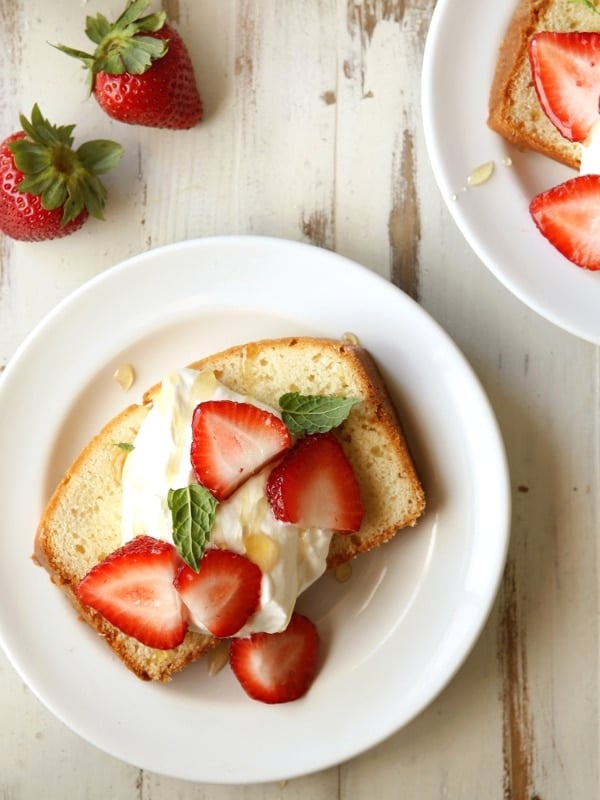
Serve this simple but elegant pound cake with honey-sweetened whipped cream and fresh fruit for an easy summer dessert.
I absolutely love entertaining, especially during the summer. All the fresh produce makes meal planning a cinch since so much of it can be served with little to no prep, and warm weather means we can enjoy being outside all evening long.
When I do have dinner guests I try to keep dessert super simple. One of my summer go-to’s is an easy loaf cake with whipped cream and fresh fruit. It’s light, easy to prep in advance, and it always gets rave reviews.
This right here is my current favorite riff on that theme— cream cheese pound cake with a hint of lemon, whipped cream sweetened with honey, and lots of fresh berries. A drizzle of honey over the whole thing completes the package.
And what a pretty package it is, am I right? So lovely, so tasty, and so little fuss. My kind of dessert!
baking tip:Do My Eggs Need to be at Room Temperature?
Many recipes call for eggs at room temperature. This is because the egg membranes are less viscous at room temperature and mix into the batter more easily. The difference will not be noted in every recipe, but it can make a big difference in egg-heavy cakes such as angel food and sponge cakes. A quick way to bring them to room temperature is to put them in warm water for about 5 minutes.

Cream Cheese Pound Cake with Honey Whipped Cream and Berries
Ingredients
For the pound cake:
- 2 cups all-purpose flour (260 grams)
- 1 ½ teaspoon baking powder
- ½ teaspoon salt
- Zest of 1 lemon
- 8 ounces cream cheese , at room temperature (225 grams)
- ¾ cup unsalted butter , at room temperature (170 grams)
- 1 ½ cup granulated sugar (300 grams)
- 2 teaspoons vanilla
- 4 large eggs , at room temperature
For the whipped cream:
- 1 cup heavy cream (250 ml)
- 3 tablespoons honey
- 1 teaspoon vanilla
- Fresh fruit , for serving
- Additional honey , for serving (optional)
Equipment
Instructions
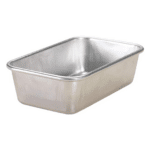
- Preheat the oven to 325°F. Butter and flour a 9x5 inch loaf pan.
- In a bowl, combine the flour, baking powder, salt, and lemon zest. Set aside.
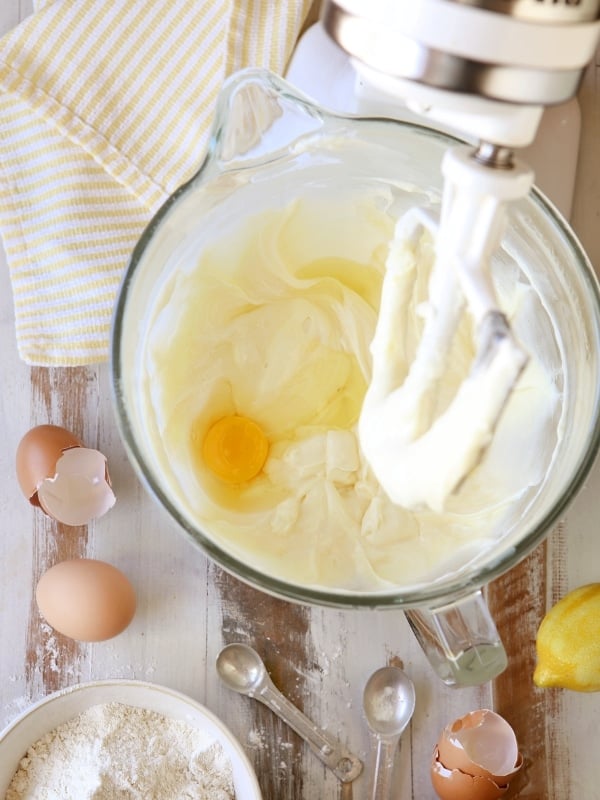
- In the bowl of a stand mixer fitted with the paddle attachment, beat the cream cheese, butter, and sugar and beat until light and fluffy, about 3 minutes.
- Add the eggs one at a time, mixing after each. Add the vanilla. Add the dry ingredients and mix on low until the mixture is just combined. Do not overmix.
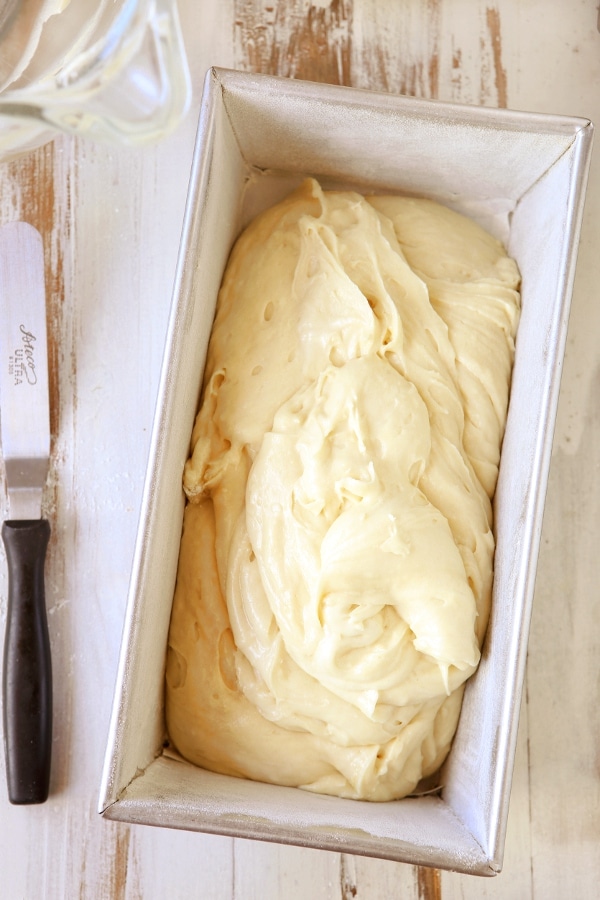
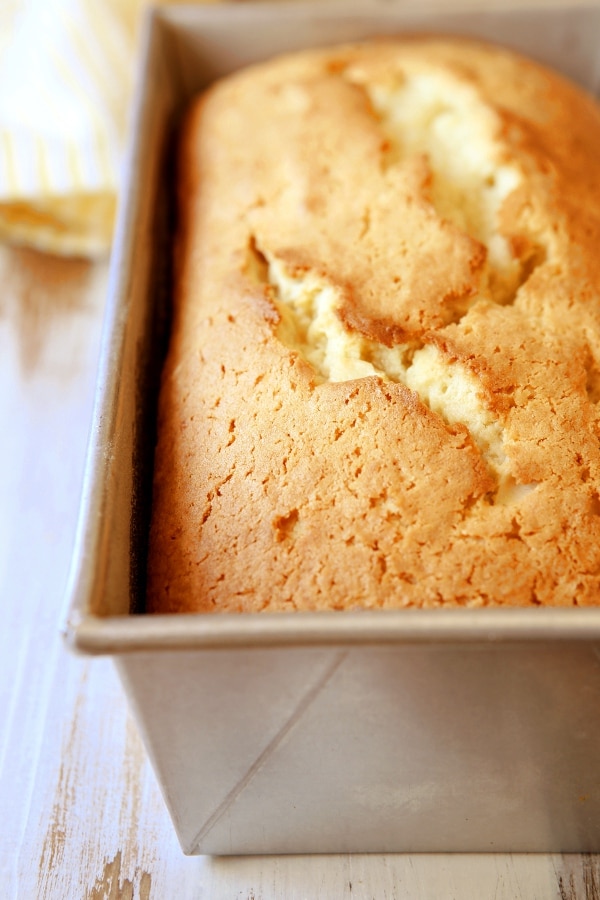
- Pour the batter into the prepared loaf pan and bake until golden and a toothpick inserted into the center comes out clean, about 1 hour - 1 hour 15 minutes.
- Let cake cool in the pan for 20 minutes, then remove to a wire rack to cool completely.
- To make the whipped cream, beat the heavy cream on high speed to soft peaks. Add the honey and vanilla and beat until just barely stiff peaks.
- Serve immediately on top of the pound cake with fresh fruit and a drizzle of honey if desired.
- The pound cake will store tightly wrapped at room temperature for several days. The whipped cream should be stored in the fridge.
This recipe was originally published in September 2012. Photos have been updated and slight changes to the wording of the recipe instructions have been made.



The honey whipped cream sounds so fabulous! Especially on this delicious cake 🙂
I’m holding on to summer too, though I did pull the pumpkin out this weekend! I’m a big in-between seasons mess 🙂
This pound cake looks awesome! I love the idea of honey whipped cream 🙂
Do you hear someone knocking at your door? Yeah, that’s me – I’m coming for the leftovers of that gorgeous sandwich and that irresistible pound cake. You two make a great team!
I’m so glad I got to be there to taste this one right out of the oven… pure heaven. I loved our afternoon together!
I`m definitely going to miss summer as well! This pound cake is something I have to try~ Never thought of adding cream cheese!
This looks fantastic! I can almost smell it from here.
This looks heavenly!
Annalise , gostei muito do seu blog as receeitas são muito gostosas . comtinue assim.
Beijos
Elza
Thanks for the recipe. Some friends and I tried it out this weekend and it was very moist and tasty. I was hoping for a creamier flavor from the cream cheese, but the lemon zest really gave the overall flavor more of a citrus base. Still delicious. I’d like to try this with an almond extract instead of the lemon zest and see how it comes out. Thanks again!
Glad you liked it! I think the cream cheese is meant to lend more moistness than flavor. I like the idea of adding almond extract!
This looks like pound cake perfection!
should I reduce the amount of salt if I only have salted butter, if so, how much? I ask a while back but misplaced answer. thank you