

Soft White Dinner Rolls
Simple, soft, and delicious white dinner rolls are a great accompaniment to any meal! This yeast-risen white rolls recipe requires just 7 ingredients, and they’re easy enough for anyone to make.
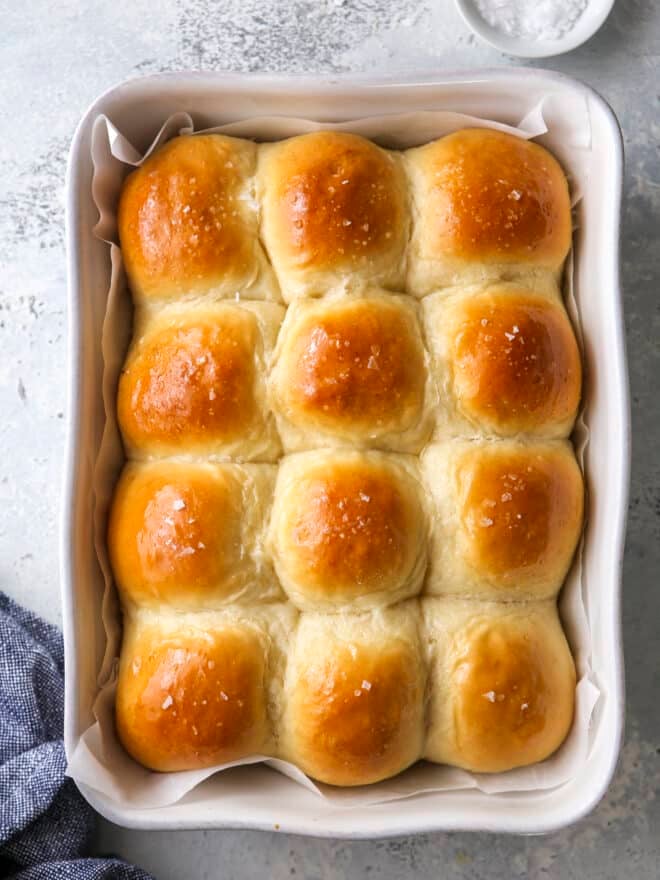
These soft white dinner rolls were the first yeast recipe I learned to master years ago in the early days of this website (see, I told you they are easy!), and they’ve been a favorite in our house ever since. No soup night, large family dinner, or holiday meal is complete without rolls on the table, and this recipe is the perfect one to bake!
These homemade dinner rolls are very soft and tender, with plenty of rich buttery flavor. They’re classic and simply unbeatable! Serve them with plenty of salted butter on the side, or brush them with melted honey butter and add a sprinkling of flaky salt when they’re fresh from the oven for an extra punch of flair and appeal. These easy dinner rolls are sure to be the star of your next meal!
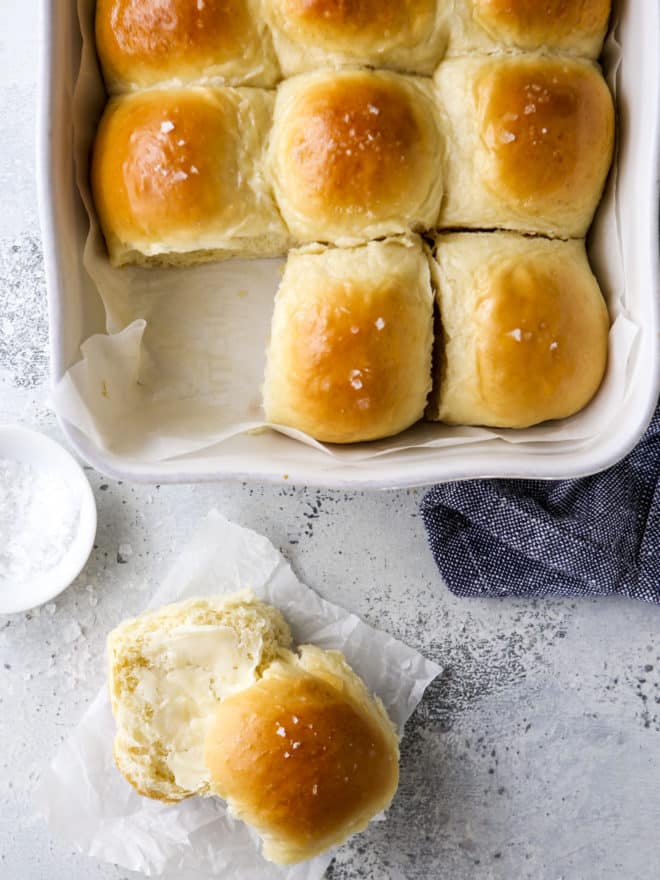
“This is the best white roll recipe that I have ever made! Fluffy, soft, and delicious! Thank you!” — reader Shanna-Lee
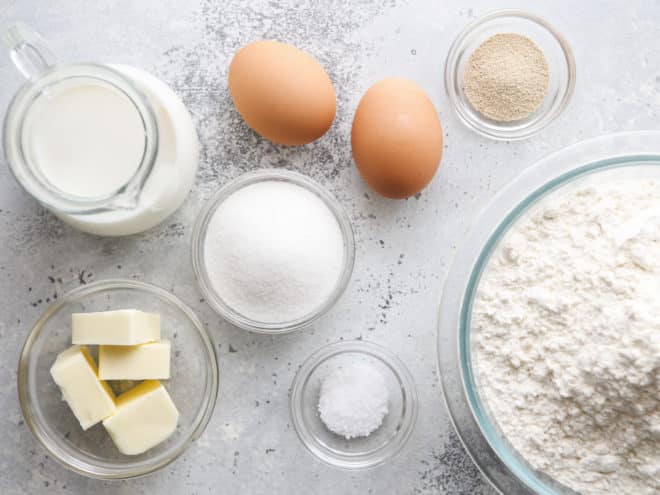
Ingredients you’ll need
- Bread flour— Use bread flour for the most rise and soft, chewy texture. But feel free to sub for all-purpose flour if that’s what you have.
- Active-dry yeast— Use instant/quick-rise for a faster rise time.
- Butter
- Milk
- Eggs
- Granulated sugar
- Salt
- Honey— Optional, but adds flavor and sweetness to the baked rolls.

How to make soft white dinner rolls
- Warm liquids. In a small saucepan melt butter, then add milk and heat for about 1 minute more. If you have a thermometer, heat to 120°-130°F (temps over 140°F will kill the yeast!).
- Combine dry ingredients, liquids, and eggs. Combine 2 cups of flour, the sugar, salt and yeast in a large bowl or the bowl of a stand mixer fitted with a dough hook (no need to combine yeast with warm water first!). Stir in milk/butter mixture, followed by eggs.
- Add more flour and knead. Gradually add remaining flour until dough is tacky but you can touch it without it coming off on your hands and knead bread dough until it’s smooth and elastic.
- Let dough rise. Cover with plastic wrap and set in a warm place to rise until doubled, about 1 hour.
- Shape rolls. Portion dough into 12 equal pieces and shape into rolls (see below for tips).
- Let dough rise again. Cover with plastic wrap and let rise about 30 minutes while you preheat oven to 350°F.
- Bake. Brush rolls with egg wash (optional) and bake until rolls are golden brown, 25-30 minutes.
- Brush with honey butter (optional). When rolls are still hot, brush them with melted butter and honey. Sprinkle with flaky salt if desired.
- Serve. The rolls are best the day they are baked but will keep for several days in airtight container at room temperature.

How to shape rolls
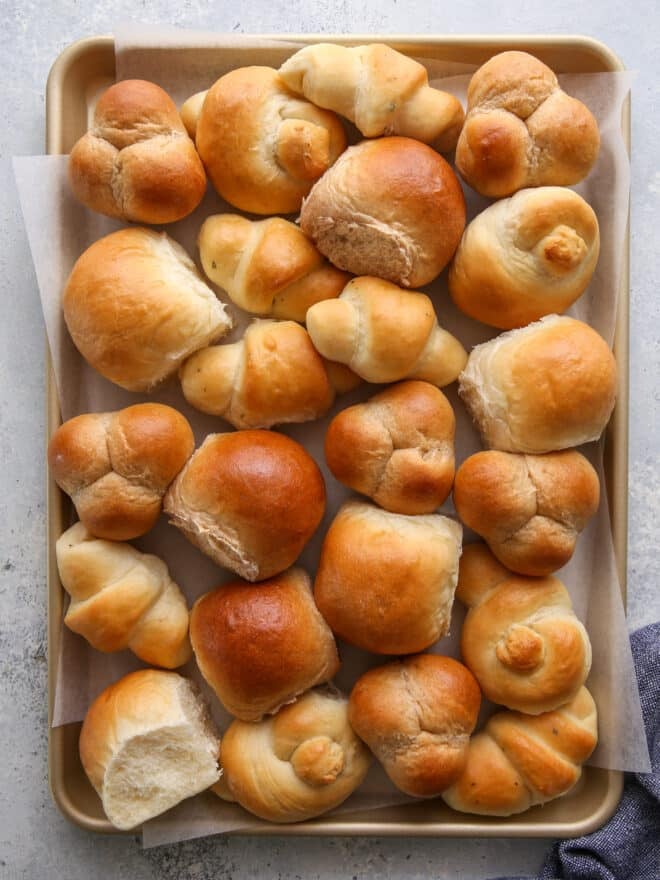
- Divide dough evenly. Use a kitchen scale if you have one— weigh total dough, divide by 12, and weigh each round to match. Or divide dough in half, then in half again, and then in thirds to get 12 total rounds.
- Stretch and pinch. Use your fingers to pull and stretch the dough from the top down around the roll, pinching it on the bottom. The top remains smooth while any messy bits stay on the bottom. Here’s a helpful video that shows you how to do it!
- Roll into ball. Gently roll on clean countertop, pinched end-down, in a circular motion to shape into an even ball.
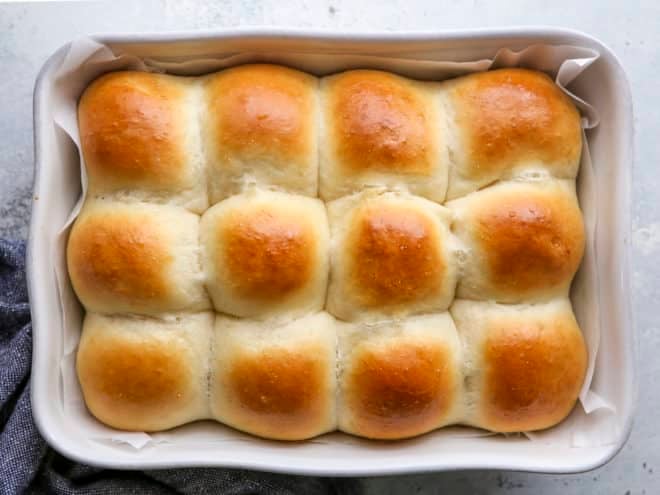
A great beginners recipe
If you’re new to baking with yeast, this is a great place to start! Rolls are very forgiving and easy to get right even on your first try. Still, here are a few tips to remember:
- Check that your yeast hasn’t expired.
- Be sure to measure flour correctly, as too much flour will produce heavy, dry rolls.
- Pay attention to rise time, but don’t let it stress you out. A good rule of thumb is to let yeast dough rise in a warm place for 1 hour for the first rise, and 30 minutes for the second.
baking tip:Why does yeast dough need to rise?
Letting dough made with yeast “rise”, or rest, gives the yeast time to do its job. Yeast is a living organism which releases carbon dioxide gas as it feeds on the sugars in flour, a process called fermentation. That gas gets trapped in the gluten formed in the dough, causing the dough to expand.
The first rise after kneading (known as bulk fermentation) provides a lot of volume to the dough with large gas bubbles. The second rise after punching down and shaping (known as proofing) redistributes the yeast within the dough to give it more food, causing it to increase in volume even more, but with smaller bubbles that give the the baked bread or rolls a finer texture.You can test if your dough has risen enough by gently pressing the dough with your finger. If the indentation remains, your dough is ready. If it quickly bounces back, give it more time.

Recipe FAQs
I learned the “dry blend method” for this recipe from Red Star Yeast, and I love that it saves a bit of time! If you are confident that your yeast hasn’t expired, you do not need to complete this step when making bread. Rehydrating yeast in water does speed activation along, however if you combine all dry ingredients with liquids heated to 120-130°F (which is much warmer than “warm water”) it accomplishes the same thing.
Your rolls may not be light and fluffy if you have added too much flour, which can make them tough and dense. It’s important to use just enough flour so that the dough is still soft and tacky to the touch, but not so much that it becomes difficult to handle. Also, be sure to let the dough rise sufficiently, as this allows the yeast to do its job and create the desired texture.
Cover shaped rolls in their baking pan with plastic wrap and store in the fridge for up to 18 hours (such as overnight) and let them come to room temperature and get a bit puffy before baking. This is a great option if you want rolls for a brunch but don’t want to get up early, or if you want to bake rolls early on Thanksgiving morning to free up room in the oven!
Yes, rolls freeze very well. You can freeze baked rolls in a heavy duty ziplock bag for about a month. Simply thaw at room temperature for a few hours. If you want to rewarm them, place them on a baking sheet pan, cover with foil, and warm in a 350°F oven for about 20 minutes.
More roll recipes
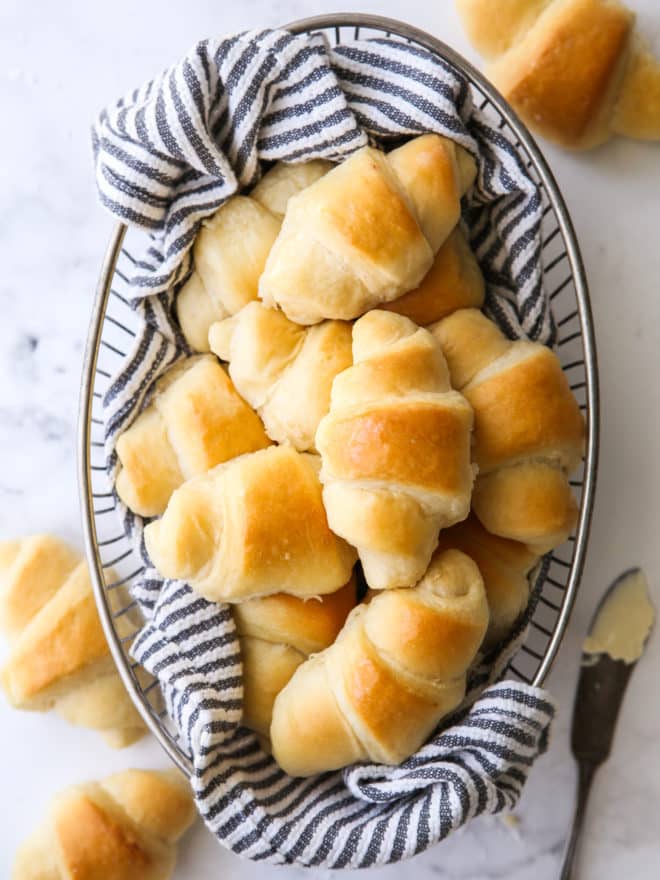
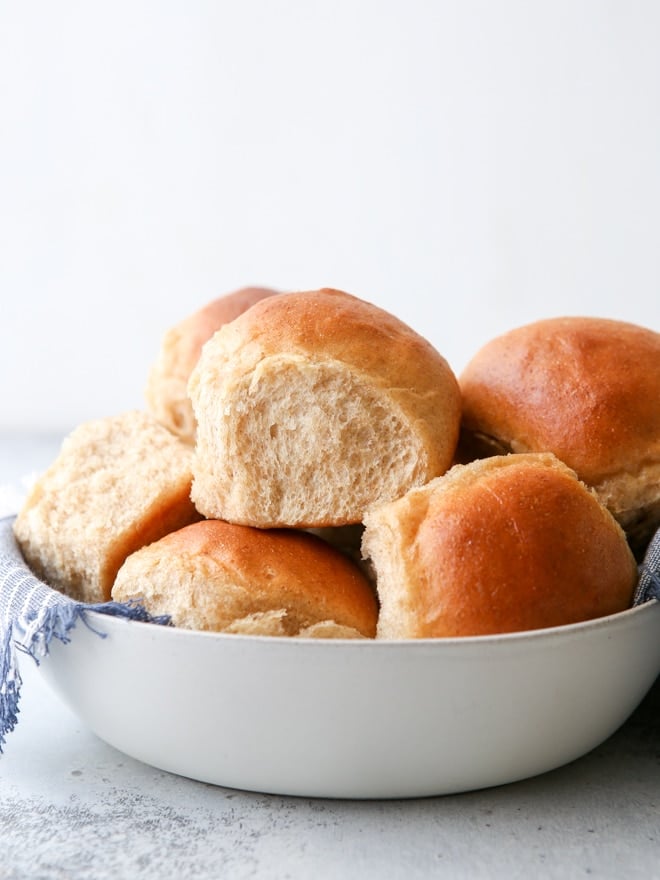
Get the recipe

Soft White Dinner Rolls
Ingredients
- ¾ cup (170 grams) milk , whole or 2% preferred
- ¼ cup (56 grams) unsalted butter
- 3½ cups (438 grams) bread flour , see Notes
- ¼ cup (50 grams) granulated sugar
- 1 teaspoon salt
- 2 ¼ teaspoons (7 grams) active dry yeast (1 envelope)
- 2 large eggs
- 1 large egg + 1 tablespoon water , for egg wash (optional)
For the glaze (optional):
- 1 ½ tablespoons (20 grams) unsalted butter (20 grams)
- 1 teaspoon honey
- Flaky salt , for sprinkling

Instructions
- In a small saucepan over medium heat, melt the butter, then add the milk and heat for 1 minute more. Temperature should be very warm but not steaming. (For best results, use a thermometer to make sure temp is between 120-130°F, as temps over 140°F will kill the yeast).
- Meanwhile, in a stand mixer fitted with a dough hook, combine 2 cups of the four, sugar, salt and yeast. Add the milk/butter mixture eggs and stir with spoon or dough whisk until incorporated.
- Add the remaining flour ¼ cup at a time, kneading after each addition, until dough starts to clear the bowl and it's still tacky to the touch but does not stick and come off on your hands. (You may not need all 3½ cups of the flour, or you may need more. Do not add excess flour or your rolls will be tough and dry!) If needed, knead the dough a few minutes more until it's smooth and quite stretchy.
- Shape dough into a ball, cover the bowl with plastic wrap and place in a warm place to rise until doubled in size, about one hour.
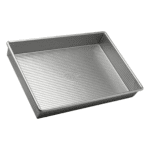
- Punch down the dough and divide the dough into 4 equal pieces, then divide each of those pieces into 3 smaller pieces, making 12 rolls (or use a kitchen scale to divide dough equally). Shape into rounds and place in a greased 9×13-inch baking dish.
- Cover with plastic wrap or a towel and let rise again until an indentation remains when lightly pressed with your finger, about 30-45 minutes more. While rolls are rising, preheat oven to 350°F.
- For rolls with shiny bright golden tops, make an egg wash by whisking together egg and water, then brush lightly onto the top before baking. (Rolls baked without an egg wash will be a duller brown.)
- Bake rolls until golden brown, 25-30 minutes.
To make the glaze (optional):
- Melt the butter and honey together. Brush on to tops of rolls immediately when they come out of the oven. If desired, add a sprinkling of flaky salt.
Notes
- You can also use instant yeast or quick-rise/rapid-rise yeast. Decrease rising time to about 30 minutes for the bulk (first) rise and about 20 minutes for the second rise.
- Bread flour will produce rolls with the best rise and soft, chewy texture. You can use all-purpose flour if that’s all you have and rolls will still be delicious!
- To make this recipe ahead: Cover shaped rolls in their baking pan with plastic wrap and store in the fridge for up to 18 hours (such as overnight) and let them come to room temperature and get a bit puffy before baking.
- Adapted from Red Star Yeast.

This recipe was originally published November 2012 in partnership with Red Star Yeast.

Quick Question!! do you think this recipe would double well? Planning on making these for a family dinner and i don’t think 12 will be enough! I’m just not sure if doubling it would effect to rising time, kneading time, etc.
I just made these rolls and wow!!! Soon delicious!!! They rose so big and fat!!! Thanks for sharing the recipe and baking tips!!
Hi,
I just try your recipe and I love it ! tks so much for all thoses beautiful recipes.
karima from France
Hi love your blog!! i already pinned a few recipes hope to start making something soon. question, if I don’t have bread flour can I use regular flour?
You can use all-purpose flour, though it will affect the bread structure and texture. Not sure how much in this particular recipe, though. You might be fine. Bread flour is best for yeast breads as it has the highest amount of proteins which form gluten, trap the carbon dioxide in the dough, and help it rise.
You can substitute all-purpose flour but for every cup of bread flour a recipe calls for, add two extra tablespoons of AP. So if it says 3c. bread flour, you would use 3c. + 6T. all-purpose flour. I have used this substitution in a pinch for years and it has worked wonderfully for me. Happy Baking! 🙂
Sooo good! I subbed 1/3 of the flour with whole wheat and they still came out fluffy and fantastic. A great addition to our Thanksgiving feast. 🙂
Wonderful! Love the idea of using a little whole wheat flour, I’ll have to give that a try too.
Hi Annalise, do you knead the dough with your mixer or by hand?
Hi Megan!! I knead it with the mixer. You can do it by hand, it will just take longer.
Woohoo! Bread and cookies are my very favorite baking things so I’m excited to see more bread recipes coming. These are beautiful and so rich-looking. I’ll bet they were gone in a flash. I’m bookmarking this recipe for sure.
Also, don’t be too critical with yourself about previous yeast bricks. There is a certain amount of practice and getting a feel for yeast dough, but frankly some recipes are just duds. I’m sure you’re more aware of this than anyone with all the baking and cooking you do, but a lot of times it’s just a matter of finding a recipe you’re happy with. You’ve clearly got the hang of yeast baking now! Well done!
Can you believe I went to a school where they made these in the cafeteria every day for our lunch? I don’t think kids are that lucky these days.
I am also wondering at what point do you add the milk/butter to the mix?
Oops! I’ve fixed the recipe. Thanks for catching my mistake!
I love the recipe but i believe the directions are off a bit as i am reading the recipe you say to heat the milk and butter together until the butter melts then to set aside to cool.but you don’t say when to add it in the mixer to incorporate the mixture.
Hi Courtney, sorry for the mistake. I’ve fixed the instructions now.
Not sure if I’ve ever seen such perfect rolls! I must try your recipe. My only roll experience turned into small bricks that would be better weapons than Thanksgiving bread.
Gorgeous rolls, just in time for the holidays! You certainly have shown that baking with yeast is not difficult, and the results are so worthwhile! Looking forward to the rest of your posts in this series. ~Linda@RSY
I love that you’re venturing outside of your comfort zone. It looks as thought it’s worked out VERY well for you so far. Those rolls are gorgeous!
Yeast can be friend or foe. These rolls look perfect. Lovely post. Excited for this series.
These look absolutely perfect! Just like my Nanny makes 🙂