

Easy No-Knead Fairy Crescent Rolls
My mom’s no-knead “fairy” crescent rolls are the lightest and fluffiest white dinner rolls, and couldn’t be easier to prepare. This recipe is a reader-favorite for good reason, and I can’t go to any family function without bringing these delicious rolls along!
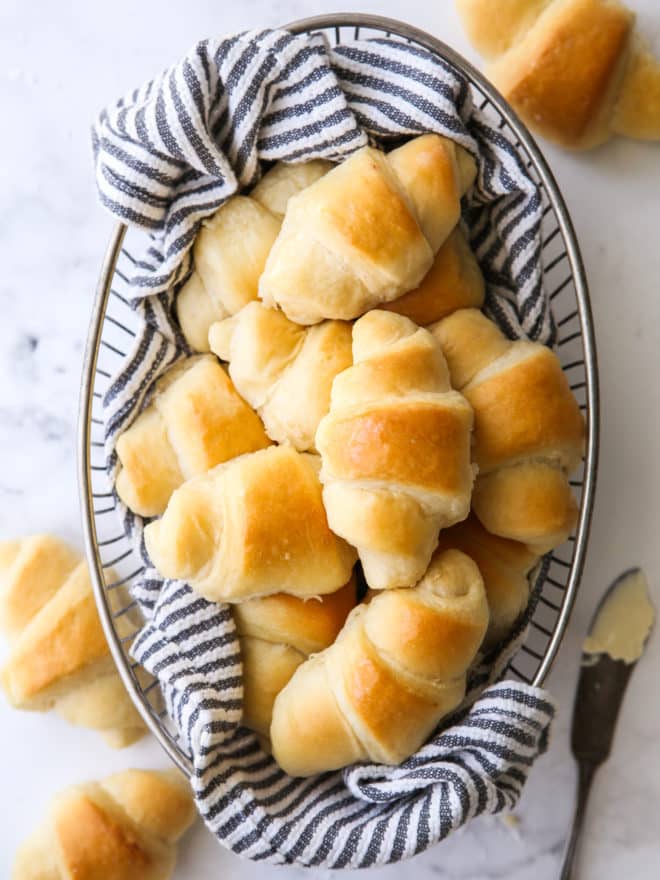
Everyone needs an easy and delicious go-to roll recipe, one that pairs well with everything from a holiday roasted turkey to a simple weeknight soup. These rolls meet those requirements, and then some!
These rolls have been handed down from my mom, and our family has been enjoying these little pillows of heaven for as long as I can remember. They’re so buttery and delicious, and best of all, these rolls are as easy as homemade gets. No-knead means the dough comes together in a bowl in just a few minutes! So fuss-free.
Table of Contents
- Why you'll love these crescent rolls
- Ingredients you'll need
- How to make easy no-knead crescent rolls
- Recipe tips
- More roll recipes
- Get the recipe
Why you’ll love these crescent rolls
In case I haven’t convinced you yet, here’s why you need to try these rolls:
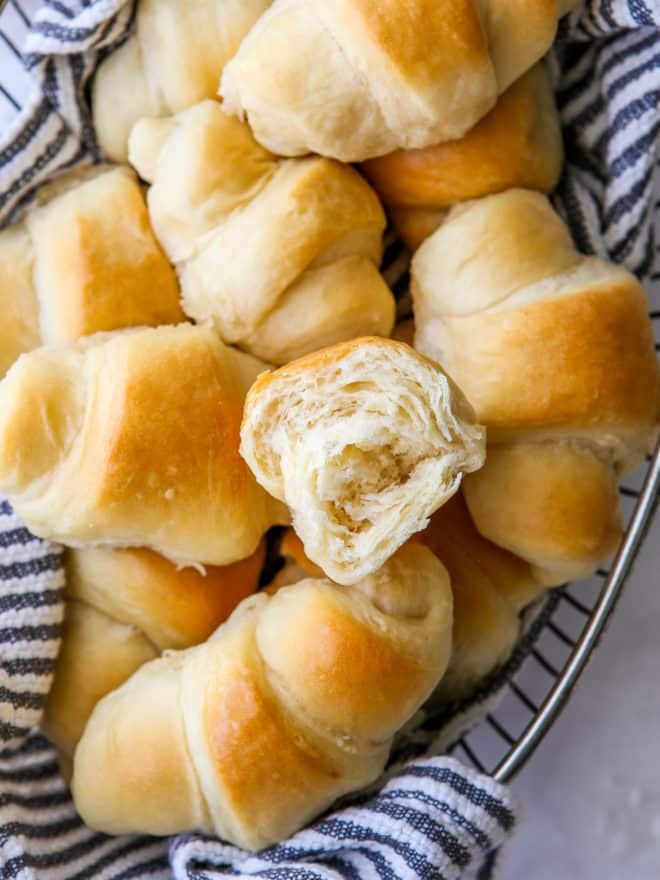
- Buttery, rich and slightly sweet flavor
- Light and fluffy texture
- No mixer or kneading required
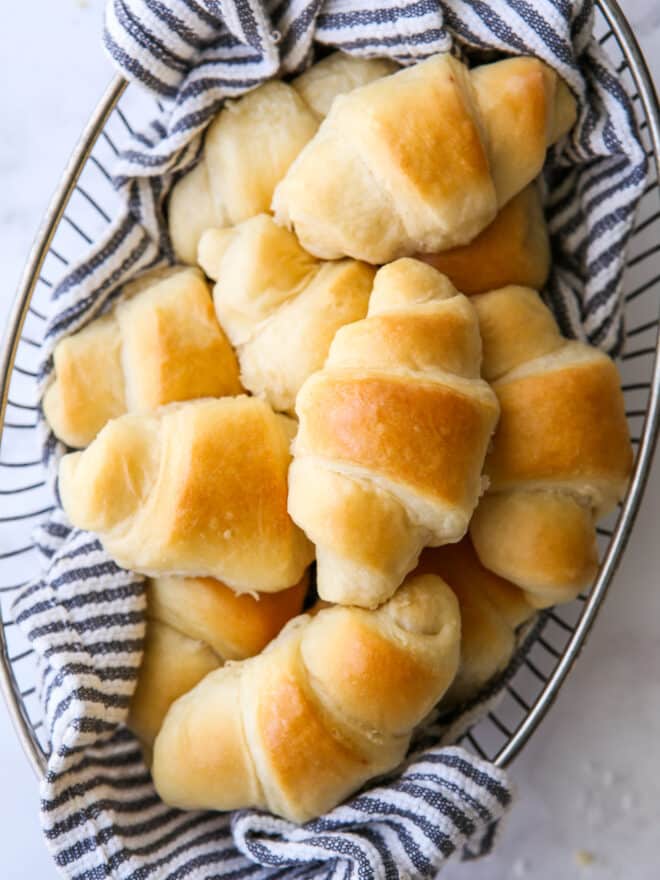
- Pretty crescent shape
- Not just easy, but practically foolproof too!
Ingredients you’ll need
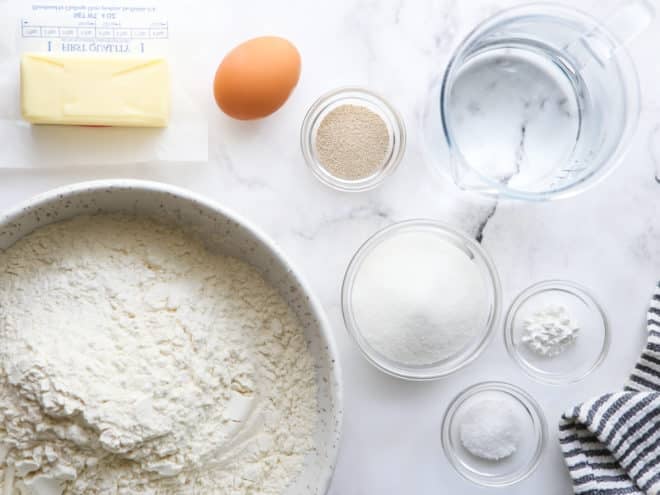
So let’s get baking, shall we? Here’s what you’ll need for this recipe (be sure to see the full recipe in the recipe card below):
- All-purpose flour
- Butter
- Active-dry yeast
- Egg
- Sugar
- Salt
- Baking powder
- Water
Why use yeast + baking powder? Though not very common, this recipe calls for both yeast and baking powder to leaven the rolls. The baking powder helps give a quicker and higher rise than yeast alone. It also slightly improves the texture, resulting in a light and tender crumb.
How to make easy no-knead crescent rolls
- Mix dough. Let warm water and yeast sit for 5 minutes, then mix with butter, sugar and egg. Stir in flour, salt and baking powder. Mixture will be shaggy.

- Let rise. Cover and set bowl in a warm place to rise for about 1 hour till about doubled. Gently punch down dough, then work with your hands to shape into a ball.
- Roll, cut and shape. Divide dough in half, and roll one portion out on a lightly floured surface to about 12 inches across. Cut into 12 equal sized pizza-shaped pieces. Starting at the wider end, roll the dough up and place on a lined sheet pan, tucking the pointy end on the bottom. Repeat with remaining half of the dough. You should have 24 rolls.
- Let rise again. Cover shaped rolls loosely with greased plastic wrap or a towel and let rise for about 30 minutes while you preheat the oven to 375°F.
- Bake. Bake rolls until golden brown and puffed, about 20 minutes.
- Rub with butter. As soon as rolls come out of the oven, brush with melted butter. These rolls are best enjoyed warm!


Recipe tips
- 24 may seem like a lot of rolls (my Mom’s recipe actually made 2 sheet pan, 48 rolls total!), but these are not large rolls and many guests may want more than 1 with their meal. Leftovers can be frozen and reheated to enjoy later.
- If you would like to cut recipe in half, most ingredients will halve just fine, but use 1 egg yolk and 2 tablespoons sugar.
- My favorite yeast to use for bread baking is Red Star Platinum Yeast. You can use either active-dry or quick-rise/rapid-rise/instant yeast for this recipe. The only difference is that with instant yeast rise times will be cut approximately in half.
- I prefer to use a dough whisk to mix dough in a large bowl. You can also use a large spoon or spatula (a wire whisk may be helpful in combining wet ingredients).
- I like to let dough rise in my oven. Heat the oven to its lowest setting for a few minutes, then turn it off. Place the covered dough on the center rack and close the door. More rising tips can be found here.
- You can brush rolls with melted butter using a pastry brush, but I always instead take a stick of butter, unwrap it partly and rub the butter all over the rolls. It’s how my mom did it too.
baking tip:4 ways to prepare rolls in advance
- Rise the bulk dough in the fridge overnight: Place kneaded dough in a greased bowl and cover with plastic wrap. Put in the fridge overnight. The next morning, shape into rolls, rise and bake.
- Rise the shaped rolls in the fridge overnight: Place shaped rolls in a greased baking dish or pan lined with parchment paper and cover with plastic wrap. Put in the fridge overnight. The next morning bring it to room temperature for 1 – 1 1/2 hours until puffy, then bake.
- Freeze unbaked shaped rolls up to 2 months in advance: Place shaped rolls on a pan lined with parchment paper so they aren’t touching. Cover with plastic wrap and freeze for 1 hour. Transfer frozen rolls to a heavy duty ziplock bag and store for up to 2 months. When ready to use, place frozen rolls in a greased baking dish or pan lined with parchment and thaw at room temperature for a few hours, let rise until puffy, then bake.
- Freeze baked rolls up to 1 month in advance: Bake rolls as normal and cool completely. Wrap in foil and then place in a ziplock bag. When ready to serve, remove from bag and loosen the foil a bit. Warm in a 300°F oven for 20-25 minutes until warmed through.
More roll recipes
Get the recipe

Easy No-Knead Fairy Rolls
Ingredients
- 1 cup (237 ml) warm water
- 2 ¼ teaspoons (7 grams) active dry yeast
- ½ cup (113 grams) unsalted butter , melted and cooled
- ⅓ cup (66 grams) granulated sugar
- 1 large egg
- 4 cups (480 grams) all-purpose flour
- ½ teaspoon baking powder
- 1 teaspoon salt
- Additional butter , for brushing
Instructions
- Combine the water and yeast and allow to sit for five minutes.
- In a large bowl, combine the yeast mixture, butter, sugar and egg. Add the flour, baking powder, and salt and stir with a wooden spoon until just combined and comes together into a ball.
- Cover with a towel and allow to rise in a warm place for 30 minutes.
- Split the ball of dough into two equal pieces and put one half back in the bowl. Roll out the other half on a floured surface to about 12 inches in diameter.
- Cut into 12 equal triangles. Starting with the fat end, roll up each triangle and place in a buttered baking pan. Repeat with the other half of dough.
- Cover the baking pan with a towel and let rise for an additional 20-30 minutes. Meanwhile, preheat oven to 375°F.
- Bake rolls until golden brown, about 20 minutes. Remove from the oven and then immediately brush with butter.
- Rolls will keep in an airtight container for up to 3 days.
Video

This recipe was originally published November 2014.

Thank you some times double does not work, I was worried about yeast.
Your reply is appreciated.
I wondering if I could have the full recipe as I cook for a crowd. These rolls look awesome.
I just halved the recipe here, so all you’ll need to do is double it. Happy baking!
Looks easy enough even for a total kitchen klutz like me. I wonder if I could add cinnamon sugar inside it?
Made these for Easter 2012. They completely reminded me of the fairy rolls my grandmother used to make, however she would roll them and put them vertically in muffin tins to bake. I followed your recipe exactly and I cannot tell you enough how great they were. Thank you for this recipe.
What kind of yeast are you using?
So so so yummy! I made these yesterday for dinner, my family was so impressed, to be honest, I was so impressed. I will make these again and again, thanks!
Gotta love fresh rolls that are foolproof, delicious and easy! I have a go-to recipe for dinner rolls, but I could see this becoming a new favourite, what with that whole no-knead thing. Thanks to you (and your mom) for sharing.
I also have troubles with yeast breads, but I'm going to try these this week. Have you tried them with whole wheat flour?
What a fabulous name for these! I love it. I've never really made crescent rolls before – are they like croissants?
Jax x
There is nothing more delicious than rolls made by mom. Looks delicious!
Love the name of the rolls! I agree, nothing like a tried and true MOM recipe and for YOU to carry on the tradition!
Mmmmm…cannot WAIT to try this!
Gorgeous! There's nothing like a tried and true mom recipe 🙂
Nice buns! These look great. I forsee rolling some chees up in these…perhaps some ham and a brushing of mustard! Love it!
These look yummy! I'm learning to bake yeast breads myself these days, and this seems like a great recipe to start with!