

Light and Fluffy Coconut Cake
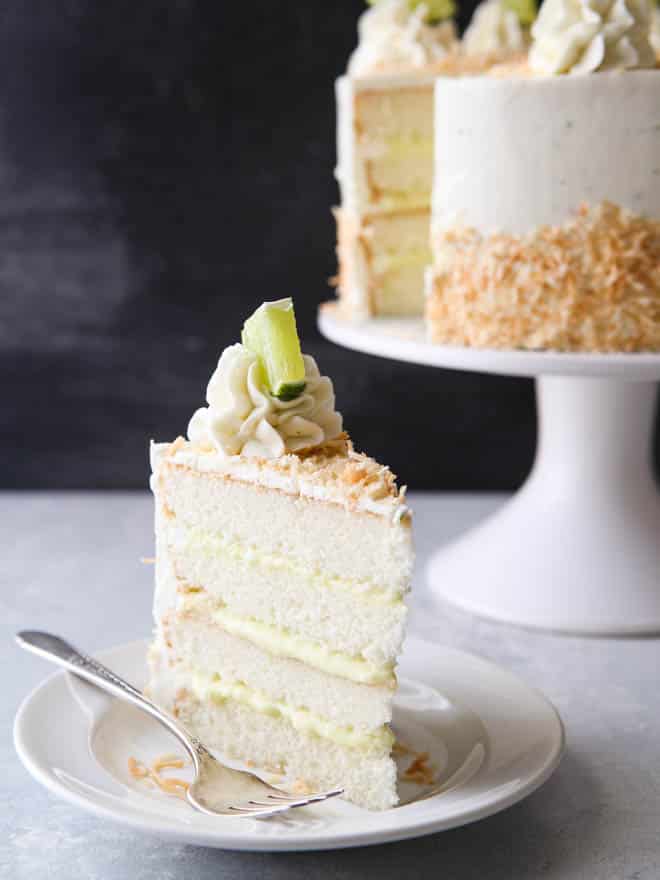
This coconut cake is guaranteed to be the BEST coconut cake you’ve ever had. It has light and tender coconut cake layers, a creamy coconut filling, and coconut cream cheese frosting. It’s a coconut lover’s dream come true!
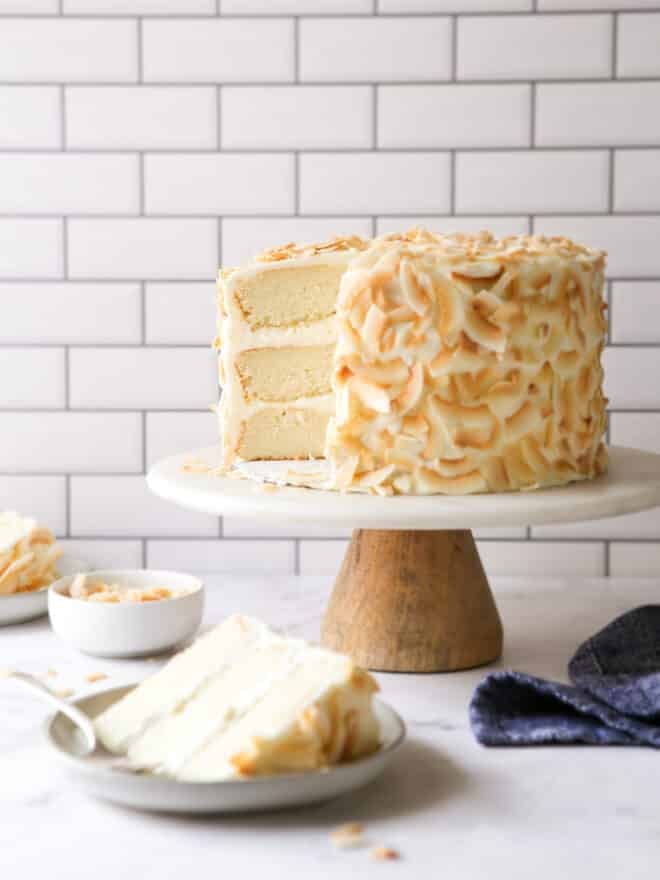
Since I first shared this old-fashioned “southern” coconut cake recipe in 2010, this cake has been a favorite with pretty much everyone. I have family and friends request it for birthdays and holidays, and it’s the recipe on my site with the most consistent 5-star reviews. There’s no doubt about it, everyone LOVES this cake!
What makes this coconut cake special?
- The coconut flavor really comes through in every aspect of this cake, from the cake layers to the frosting, to the toasted coconut on top!
- Using canned coconut milk not only helps with flavor, but it also make the cake super moist and tender.
- It’s an elegant yet comforting dessert, perfect for any occasion.
One bite and I know you’ll agree, this really is the best coconut cake recipe!
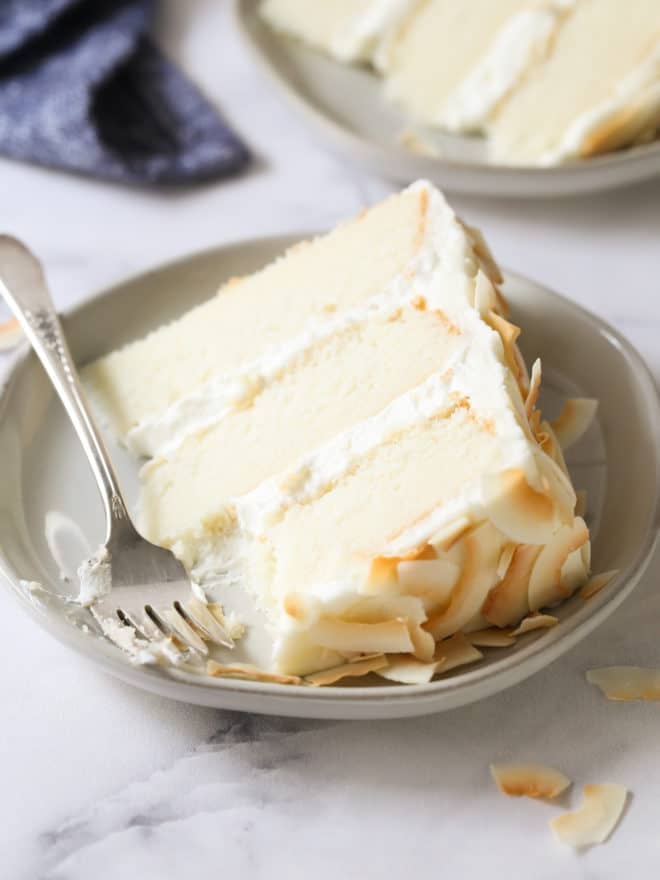
“I just want to say that I was so intimidated by this recipe at first. I bake a lot-but usually not cakes. This sounded so complicated! But, tomorrow is my mom’s birthday and coconut cake is her favorite. So, I gave it a try. Just want to say that everything turned out beautifully! Thank you for sharing this recipe with us!!!” — reader Diane
How to make the best coconut layer cake
Layer cakes are a labor of love and can be a bit time-consuming, but this coconut cake is more than worth it! Make sure to read and follow all of my tips below for the most success. I’ve done my homework and fine-tuned this recipe over the last 10 years, and it’s practically fool-proof.
There are 4 components to this cake: coconut cake layers, coconut cream cheese buttercream frosting, creamy coconut filling and a toasted coconut topping. Let me show you how to make it!
Moist and tender coconut cake layers
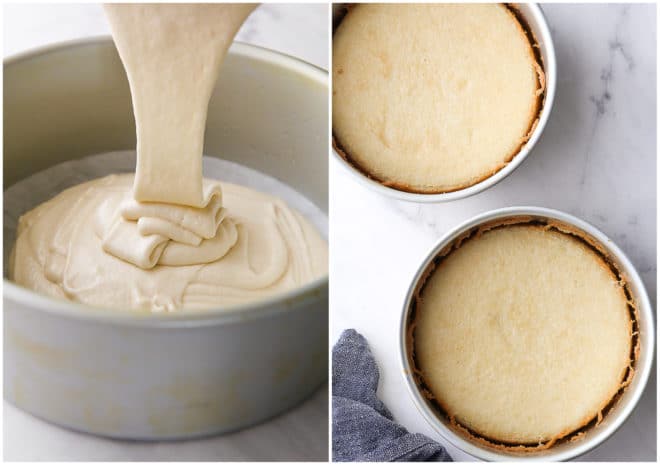
These white cake layers are so soft and very tender. They’re flavored with both coconut flavoring and coconut milk, which adds a lot of richness and helps keep the cake layers moist.
This recipe uses the reverse creaming method, which means all the dry ingredients are beaten together with the butter before the egg whites and coconut milk are added at the end. It’s not any more difficult than using the traditional creaming method, and I like how light the cake layers turn out.
Tip: Bake the cake layers in advance for easy assembly. I usually bake mine at least 1 day ahead of when I will assemble the final cake. Cake layers can be stored in the fridge for up to 2 days and in the freezer for a month or more. See my tips on how to store cake layers here.
Rich coconut cream cheese frosting
For frosting, I’ve taken my classic cream cheese frosting and added coconut flavoring. I love the combo together and it’s the perfect rich topping to complement the light cake layers and whipped filling. (If you want a lighter/less-sweet frosting, I recommend trying my chantilly cream frosting instead.)
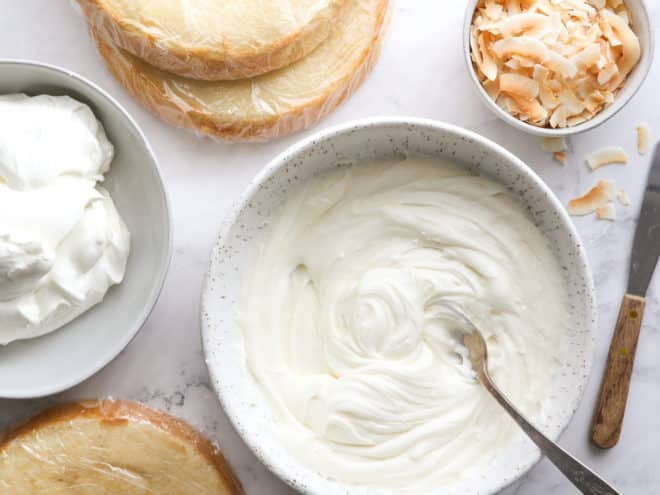
Creamy coconut filling
To balance the sweetness of the cake layers and cream cheese frosting, the filling for this southern coconut cake is simply whipped cream folded together with just a bit of frosting. It’s very light and creamy, with a hint of coconut flavor and sweetness.
Tip: This is my hack for many layer cakes where I want a slightly different filling between the layers than the overall frosting. Simply fold whipped cream and a bit of frosting together! Voila!
Top it with toasted coconut
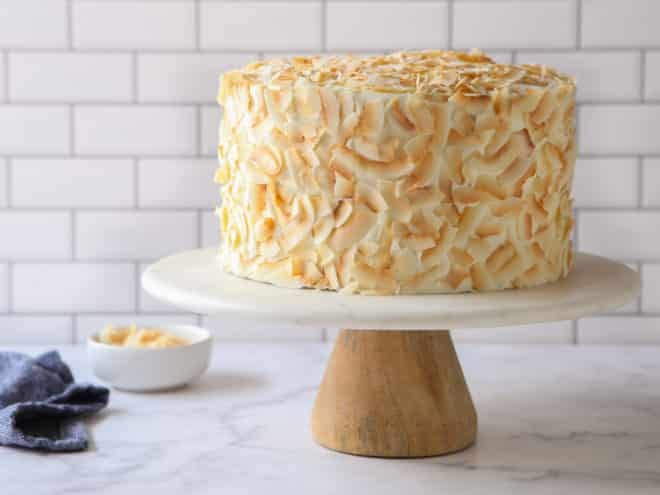
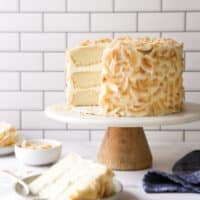
Coconut is of course the perfect finish for this cake. I prefer to toast it in the oven until it’s golden brown, but you can also leave it untoasted for an all-white appearance. Use sweetened coconut or unsweetened coconut, coconut flakes or shredded coconut, it’s all up to you!
And together with the coconut cake layers, creamy filling, and cream cheese frosting is a magical coconutty combination. It’s delicious! And I know you’re going to love it as much as we do.
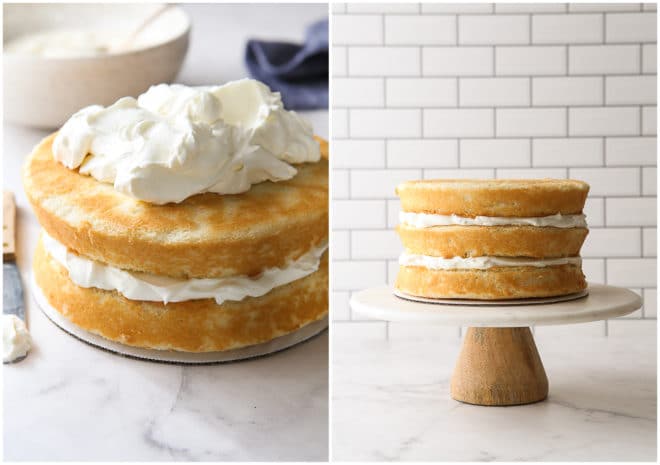
My best cake tips
- Need help assembling and frosting layer cakes? If you’re new to bakinglayer cakes or need a little help, be sure to check out my complete guide for how to build a layer cake. It’s got everything you need to know!
- This recipe uses one 13.5-oz can of unsweetened coconut milk (plus more for the frosting if you want). If you don’t see it in the baking aisle, look for it with the Asian foods. You can also use whole milk in a pinch, just increase coconut extract by 1 teaspoon in both the cake and frosting.
- You can use either 8-inch or 9-inch cake pans. (These are the pans I have and love.) 8-inch pans will yield a taller cake, 9-inch will yield one that’s wider. I baked this cake in 3 8-inch pans, but if using 9-inch, only bake 2 layers.
- Use parchment paper rounds to prevent sticking! The cake layers are so tender, so don’t skip this step and be sure to grease your pans too. Here’s all my tips for prepping cake pans before baking.
- Handle baked cake layers carefully. For best results, chill layers completely in the fridge for several hours or overnight so they are firm and easier to work with. See my tips for storing cake layers.
baking tip:Why you should use cake flour
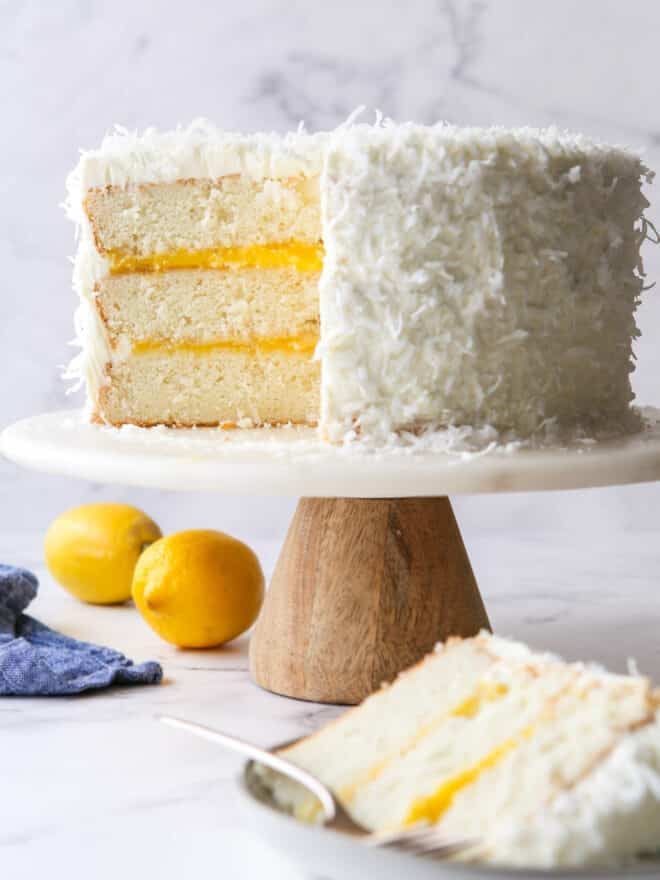
Flavor variations
I love this cake so much, I’ve made a few variations that are equally delicious! These all use the coconut cake layers as a starting point:

Make this cake now!
Recipe originally published in April 2010, with slight improvements to the recipe and clearer instructions added over the years. Most recent update April 2025, it’s just as awesome as ever!
Light and Fluffy Coconut Layer Cake
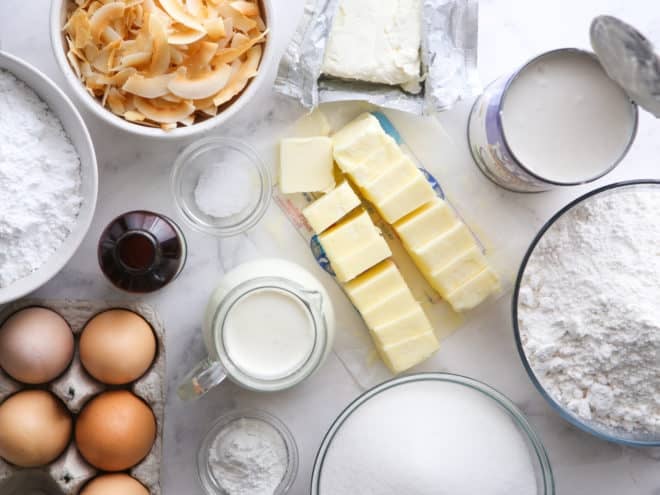
Ingredients
For the Coconut Cake:
- 5 large egg whites
- 1 ½ cup (375 ml) unsweetened full fat coconut milk , divided
- 2 teaspoons coconut flavoring (see Notes)
- 3 cups (340 grams) cake flour
- 2 ⅓ cups (470 grams) granulated sugar
- 4 ½ teaspoons baking powder
- ½ teaspoon salt
- 1 cup (226 grams) unsalted butter , softened to room temperature
For the Cream Cheese Buttercream Frosting:
- 8 ounces (227 grams) cream cheese , softened to room temperature
- ½ cup (113 grams) unsalted butter , softened to room temperature
- 4 cups (455 grams) powdered sugar , sifted
- 1-3 tablespoons unsweetened coconut milk or whole milk
- 1 teaspoon coconut flavoring
For the Whipped Coconut Filling:
- 1 cup of the Cream Cheese Buttercream Frosting , above
- 1 cup (250 ml) heavy whipping cream
- 1-2 cups (85 grams) flaked or shredded coconut , for decoration

Instructions
To make the cake:
- Preheat oven to 350°F. Butter and flour (or use nonstick baking spray) two or three 8-inch or 9-inch cake pans and line with parchment paper. (See Notes)
- In a small bowl, lightly whisk together the egg whites, ½ cup of the coconut milk, and coconut flavoring just until combined.
- In the bowl of a stand mixer fitted with a paddle attachment, combine the flour, sugar, baking powder, and salt. Add the butter and remaining 1 cup coconut milk and combine on low speed until moistened. Increase speed to medium and beat until light and fluffy, about 2 minutes, scraping down the sides of the bowl as needed so the mixture is uniform.
- Add the egg white mixture in 3 additions, scraping down the sides of the bowl and mixing just long enough to incorporate between additions.
- Divide the batter among the prepared pans and bake for about 35-40 minutes. Baking time will vary based on pan size and how many layers you're baking, so start checking when the tops look dry and set. The tops should bounce back when gently pressed.
- Allow the cakes to cool in their pans for 10 minutes, then turn them out onto cooling racks to cool completely. If making cake layers in advance, wrap in plastic and store in the fridge for up to 2 days and in the freezer for up to 1 month (thaw in the freezer overnight before using).
To make the buttercream:
- Beat together the butter, cream cheese, and powdered sugar on medium high speed until light and creamy. Add the coconut flavoring and enough coconut milk (or regular milk) to reach a spreadable consistency. Mix until smooth.
To make the Whipped Cream Cheese Filling:
- With a whisk attachment, beat the heavy cream until it starts to thicken. Add 1 cup of the cream cheese buttercream a spoonful at a time while mixing on medium-high speed. Whip to soft peaks.
To frost and decorate the cake:
- Place one cake layer on a cake stand or plate. Cover with some whipped cream cheese filling. Repeat with the rest of the layers and filling. Frost the entire cake with the cream cheese buttercream as desired.
- To toast coconut, spread the coconut on a sheet pan. Toast in a 350°F oven until golden, checking every 2 minutes. Watch it carefully, the coconut will burn fast. Let it cool completely before adding to the frosted cake.
- Chill the cake for one hour before serving. Store in the fridge, cake will keep for several days.
Video
Notes
- This recipe uses one 13.5-oz can of unsweetened coconut milk (plus more for the frosting if you want).
- “Coconut flavoring” can be coconut extract or coconut baking emulsion flavoring. This is what I use.
- The cake can be baked in either 8 or 9-inch pans and you can use 2 or 3 pans, depending on the look you’re going for. Be sure to not fill cake pans more than 2/3 full, or they may overflow in the oven. If using 8-inch pans, make sure they are deep enough, or bake more separate layers.
- This recipe uses the Reverse Creaming Method, meaning you cream the butter and sugar along with the dry ingredients. This coats the flour with a layer of fat, resulting in a very light texture.


Amazing it look like very delicious. Best recipie ever seen
Amazing blog, thank you so much for sharing such an amazing blog with us
Hey Annalise,
I stumbled upon your article on Southern Coconut Cake, and it looks absolutely divine! As an AI, I cannot taste the cake, but from the way you described it, I am sure it tastes just as heavenly as it looks.
I love how detailed your instructions are and appreciate the tips you’ve provided. I am not the best baker, but I feel confident that with your guidance, I could make this cake successfully. Your passion for baking really shines through, and it’s no wonder why this cake has become a favorite among your family and friends.
Here is my website:https://1321downtown.com/
Coconut is one of my favorite flavors, and I cannot wait to try this cake out. I love that there are four different components to the cake, which will make it all the more satisfying to create. The toasted coconut topping sounds like the perfect finishing touch to the cake, and I can just imagine how it will complement the flavors of the cake layers, filling, and frosting.
Thank you for sharing your recipe, and I cannot wait to try it out!
I really appreciate your piece of work, Great post. https://simmionline.co.in/
Nice work! This is the type of info that should be shared across the net. https://priyaescort.net/
It’s amazing to go to see this web page https://simmionline.club/
Your blog got me to learn a lot, thanks for sharing, nice article
Thanks for sharing nice post……..
One of the most effective and informative article is this. Really i feel happy to read your article which has outstanding points. Thanks for share. If you need to update rockspace firmware then get the details to contact us. https://thetrendingmedia.com/manual-method-to-do-rockspace-firmware-update/
thank you very nice blog
nice blog thank you
Don’t let a dirty furnace compromise your family’s safety and comfort. Our top-rated furnace cleaning services in Edmonton help keep your home’s heating system running efficiently while removing harmful pollutants and debris. Trust our experienced technicians to provide thorough and affordable furnace cleaning services. Contact us today to schedule an appointment.
One of the most acceptable techniques that massage therapists would concentrate on is male body massage
I have a different perspective on this topic, but I appreciate the thought-provoking discussion you have started here. It is always great to have different viewpoints to consider. Here is the Arlo pro4 setup instruction available for the user help. You can ping us for other details.
sometimes, we may experience with blinking orange light issue with Netgear WiFi router. If you are also getting the same issue, then fortunately, you have landed on the right post. Here, you will find the best fixes following which troubleshooting the issue will be a walk in the park for you. Let’s get started!