

Old-Fashioned Buttermilk Doughnuts
These old-fashioned buttermilk doughnuts are soft and tender, just like your favorite bakery glazed cake doughnuts! They require no yeast, and are easier to make at home than you might think.
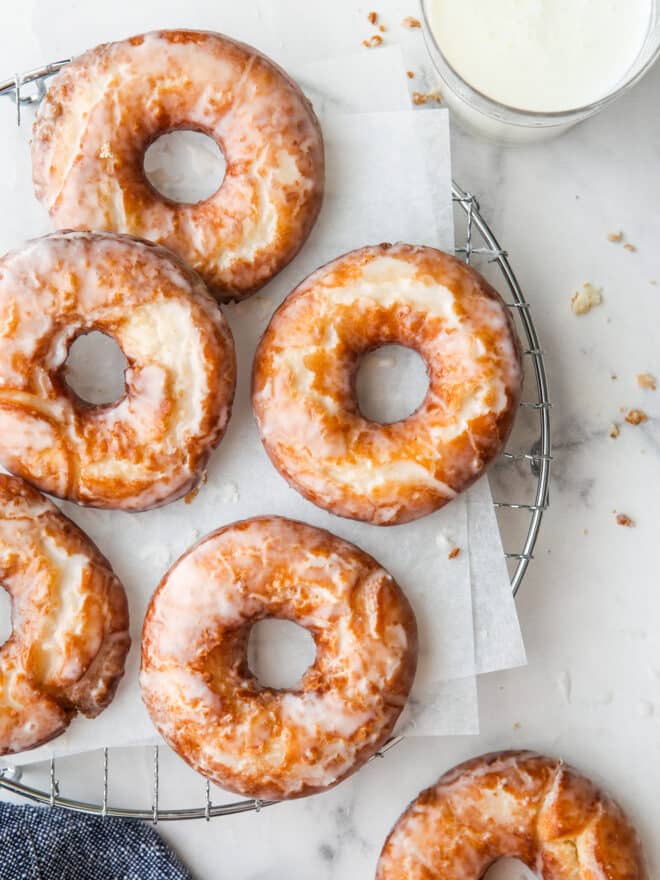
If you’ve never fried your own doughnuts, it’s time to fix that! And this old-fashioned buttermilk doughnut recipe is the perfect beginner doughnut to start with. It requires ingredients you likely already have in your kitchen, and since there’s no yeast, the dough is a cinch to make.
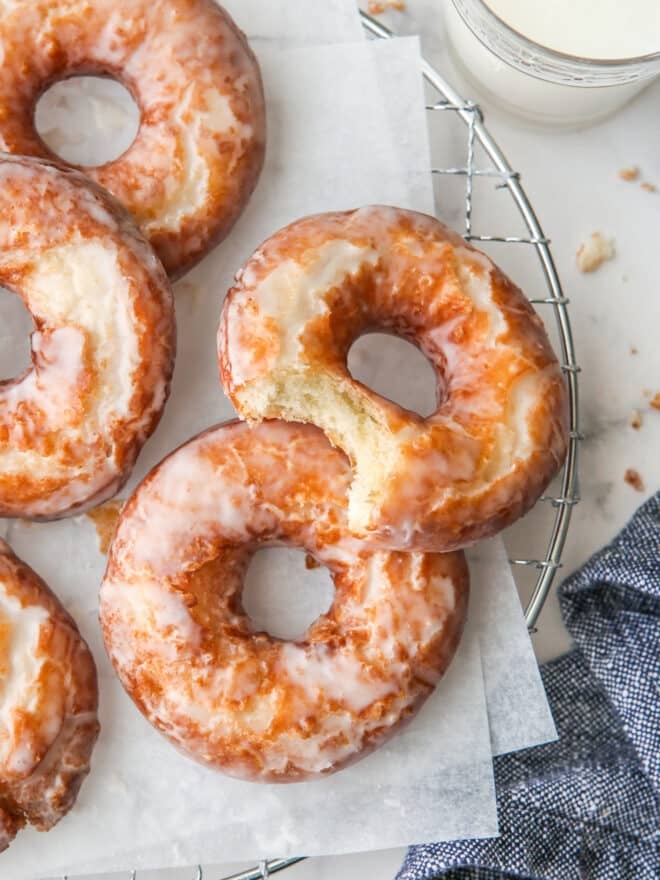
These doughnuts fry up with a slightly crispy and cracked exterior, great for trapping puddles of the vanilla glaze. And inside, the doughnut is deliciously soft and cakey. This recipe makes a perfect small batch of just 8 doughnuts— enough to share, or keep all to yourself!
What are old-fashioned doughnuts?
Old fashioned doughnuts (or donuts) are often called “cake doughnuts”. They are leavened with baking powder and not yeast. This recipe uses cake flour for an extra tender texture, buttermilk for flavor, and a pinch of nutmeg for a bit of something extra. And the simple vanilla glaze is the perfect tasty finish!
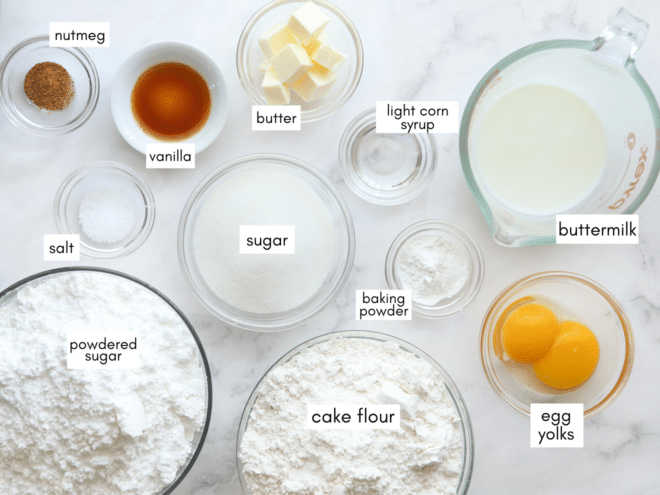
Ingredients you’ll need
Here’s everything required to make these old fashioned donuts (full recipe at the end of this article):
How to make old-fashioned buttermilk doughnuts
Making doughnuts at home requires a few steps, but all of them are easy! Here’s how to make this recipe:
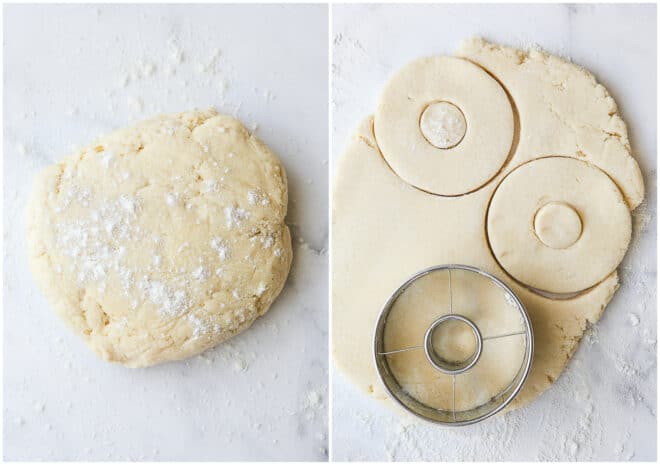
- Prepare dough. Mix butter and sugar together until mixture is sandy. Add egg yolks and beat until pale and creamy. Sift dry ingredients together and add in 3 additions, alternating with the buttermilk. Mix until dough is uniform, it will be very sticky.
- Let it rest. Cover with plastic wrap and chill in the fridge for at least 1 hour and up to 24 hours.

- Roll and cut doughnuts. Generously flour your work surface, and roll chilled dough to about 1/2-inch thick. Use a doughnut cutter (or 2 different sized round cutters) to cut out doughnuts.
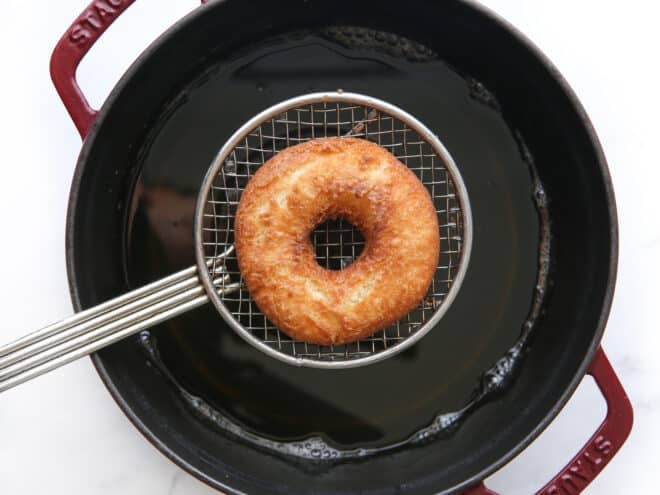
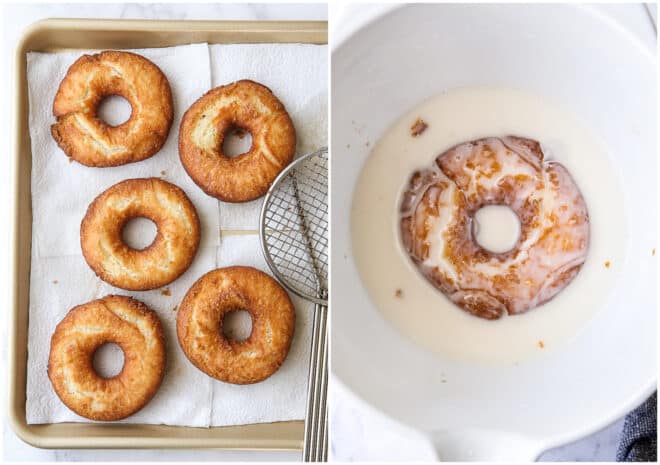
- Fry doughnuts. Heat oil in a heavy bottom pot to 350°F (use a thermometer if you have one). Once oil is hot, fry in small batches for a few minutes on each side until golden brown. Use a slotted spoon or spider strainer to transfer to paper towels to drain.

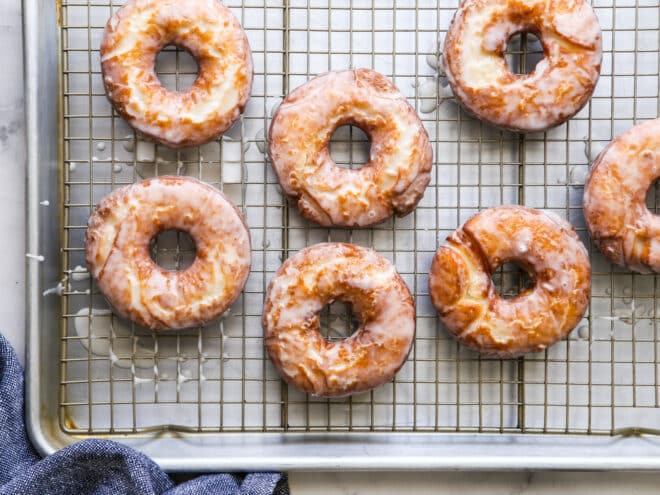
- Cover with vanilla glaze. Whisk together powdered sugar, light corn syrup, vanilla and hot water to make a smooth glaze. Dip doughnuts into the glaze, covering both sides. Set them on a cooling rack set over a baking sheet to catch excess glaze, and let the doughnuts set up for about 10 minutes.
Then, enjoy!
baking tip:Deep frying tips
- Use a heavy-bottomed pot, such as Dutch oven.
- Fill it with at least 3 inches of oil so that everything has enough room to float.
- Use a thermometer so you know the exact temperature of the oil.
- Fry at 350-375°F (per recipe instructions) and adjust heat as needed to maintain that temp. If the oil is too cool, it’ll take longer and your treats will soak up more oil. If the oil is too hot, you risk burning them.
- Work in batches as needed to not crowd the pot or cause the oil temp to drop too much.
- Protect yourself! Wear an apron to protect your clothing from any splatters, and use a slotted spoon to flip them over and remove them.
- When you’re done, turn off the heat and let the oil cool to room temperature completely. Pour through a funnel into a container with a secure lid and discard (or save to use for frying later). Do not pour oil down the drain.
Recipe tips
- Substitute sour cream for buttermilk, if desired. Increase amount to 1/2 cup.
- Don’t skip the nutmeg. Nutmeg really adds something extra to these doughnuts, without drawing attention to itself! You’d won’t know it’s there, but you’d miss it if it wasn’t. While it is technically optional, it’s highly recommended. If you have it, freshly grated nutmeg is preferred.
- If you don’t have a thermometer, test the temperature with a single doughnut hole. If it immediately sizzles and rises to the surface, the oil is ready.
- A toothpick or chopstick is a handy tool for dipping and flipping the doughnuts in the glaze.
- Storage: These doughnuts are BEST the day they are made, though they will keep in an airtight container at room temperature for several days.
- How to properly discard cooking oil. When you are done, turn off the heat and let the oil cool to room temperature completely. Pour through a funnel into a container with a secure lid and discard (or save to re-use for frying later). Do not pour oil down the drain.
More doughnut recipes to try
Old-fashioned buttermilk doughnuts recipe
Old-Fashioned Buttermilk Doughnuts
Ingredients
For the doughnuts:
- 2 ¼ cup (225 grams) cake flour
- 1 ½ teaspoon baking powder
- 1 teaspoon salt
- ½ teaspoon ground nutmeg (freshly grated/ground preferred)
- ½ cup (100 grams) granulated sugar
- 2 tablespoons unsalted butter , cubed
- 2 large egg yolks
- ⅓ cup (80 ml) buttermilk
- Canola or vegetable oil , for frying
For the vanilla glaze:
- 3 ½ cup (350 grams) powdered sugar , sifted
- 1 ½ teaspoon light corn syrup
- ¼ teaspoon salt
- ½ teaspoon vanilla extract
- ⅓ cup (80 ml) hot water
Equipment

Instructions
To make the doughnuts:
- In a bowl, sift together the cake flour, baking powder, salt and nutmeg.
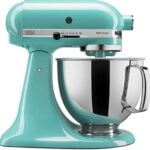
- In the bowl of a stand mixer fitted with a paddle attachment, beat the butter and sugar together until mixture resembles coarse wet sand (see Notes). Add the egg yolks and mix until thick and pale yellow in color, about 3-4 minutes.
- Add the flour mixture to the bowl in 3 additions, alternating with the buttermilk, starting and ending with the dry ingredients, scraping the sides of the bowl down as necessary. The dough will be sticky.
- Cover with plastic wrap and chill for 1 hour and up to 24 hours.
- On a floured surface, roll out the chilled dough to about ½ inch thick. Use a doughnut cutter or two differently sized round cutters to cut out 3-4 inch doughnuts, dipping the cutters into flour as necessary to prevent sticking.
- Pour the oil into a heavy bottomed pot to at least 2-4 inches deep. Insert a thermometer and heat to 350°F over medium-high heat.
- Add the donuts to the heated oil a few at a time, careful not to overcrowd the pot. Fry on each side about 2 minutes until golden brown, and watch to make sure they don’t burn. Doughnut holes will fry about 1 minute on each side.
- Remove with a slotted spoon and set on paper towels to drain.
- Fry remaining doughnuts, adjusting heat as needed to maintain 350°F.
To make the glaze:
- Mix all ingredients in a bowl with a whisk until smooth. Dip each donut into the glaze, flipping to cover both sides, making sure they are covered completely. Place on a wire rack above a sheet pan to catch any excess glaze. Let sit for 10-20 minutes until glaze is set.
- Doughnuts are best the day they are made, but will keep in an air tight container at room temperature for a few days.
Notes
- The addition of nutmeg adds something extra to these doughnuts. You can leave it out, but I highly recommend you include it. If you have it, freshly ground nutmeg is preferred.
- If you have a larger mixer like I do, it can be hard to mix the butter and sugar together since it’s such a small amount. If you find that the beater isn’t reaching very well, you can do this step by hand with a fork. Mash butter and sugar together to make a coarse sandy mixture.

This recipe was originally published in 2012, photos have been updated and slight improvements to the recipe have been made.

dough is too sticky, would not recommend
I wish these food blogs would proofread posts before going public! 🙄 The dialog states frying oil should be 375°F; the recipe states frying oil should be 350°F. And Handle the Heat borrowed (stole – with credit given) this recipe, but listed frying oil temperature as 325°F! Which temperature is correct??
Hi Jay! I sincerely apologize for the typo. I do proofread everything, but sometimes a mistake makes it through. I’m human! I am extremely careful with my recipe card information though, that info gets like quadruple checked. So if there’s a discrepancy, always follow the recipe card. 350°F is the temperature we’re going for with frying these doughnuts, and I’ve corrected it in the body of the post. I hope you’ll give them a try! 🙂
We did not enjoy these donuts. The temperature seemed to high for cooking them, and they were quite heavy and dry. I threw them all out. Very dissapointed
These are fantastic. Followed directions exactly and fried them in my WestBend electric skillet I’ve had since the 70’s but works fantastic because it keeps the oil at temp. Making the next batch Sunday for my great-grandsons. Thank you so much!
Buttermilk doughnuts
Are the best!
I absolutely love old-fashioned buttermilk doughnuts. They’re soft, tender, and reminiscent of the glazed cake doughnuts from my favorite bakery. The best part? You can make them at home without yeast! The thought of biting into a freshly made buttermilk doughnut with its delicate crumb and sweet glaze brings me so much joy. It’s a fun and achievable baking project, perfect for lazy weekend breakfasts or indulgent desserts. I highly recommend trying your hand at making these homemade doughnuts to satisfy your cravings. You’ll be pleasantly surprised by how delicious and rewarding they are. Treat yourself to the classic taste of these delightful doughnuts in the comfort of your own kitchen.
I have never made doughnuts before, but old fashioneds are my favourite kind; thanks for the wonderful recipe and clear directions.
I have a question, so as a beginning baker I have learned that you can “chill proof” doughs that have yeast in it. (Chill the dough overnight)
For this recipe could I make it the day/night before, chill it overnight, and then make it the next morning?
Would it affect the texture and outcome of the doughnuts?
Hi Hayden! These doughnuts are leavened with baking powder, not yeast. So it’s a little different as baking powder loses its power over time. I think as long as you prepared the dough, chilled it, and made the doughnuts within 12 hours max you might be okay. But I haven’t tested it to say for sure.
I made these doughnuts today and the texture was perfect and exactly what I expect from both the doughnut itself and the glaze, however I felt that the doughnut part lacked in that classic cake doughnut old fashioned flavor. I did add some vanilla to the batter, but it still lacked in flavor. Other that that I thought it turned out fairly well.
I had to add 1/2c of extra cream/buttermilk in addition to the 1/3c the recipe calls for, to get it to come together at all. I then turned the dough out on a cutting board and gently incorporated the rest of the crumbly bits. After an hour in the refrigerator it did roll out well and the donuts turned out great!
I’ve never made donuts before. But I’m excited to make this recipe. It’s really simple it seems. I do hope mine don’t fall apart as some of the women I read about. There’s another recipe for regular donuts I’m gonna try as well. Thanks hun for sharin.