

How to Blind Bake Pie Crust
Here’s my fool-proof method and best tips for how to blind bake or par-bake pie crust. No shrinking guaranteed and no fancy tools required! Learn from my mistakes and follow this simple tutorial for the best success.
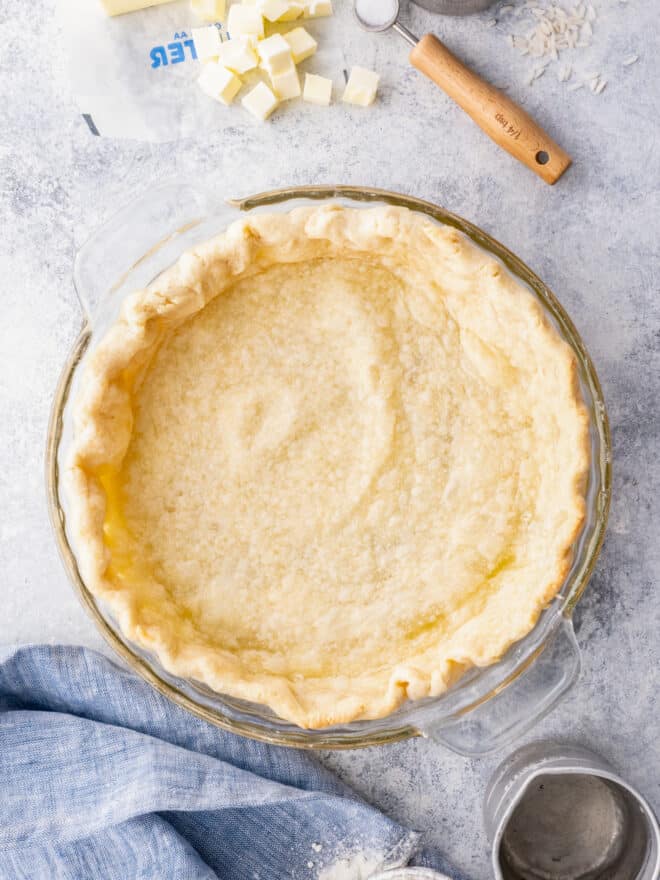
Over the years I’ve had my fair share of baking fails of all kinds, but nothing is nearly as upsetting as a shrunken, slumped pie crust. All that effort wasted!
In the early days when I started my baking hobby, I followed so many blind-baking pie crust tutorials from other bakers that, honestly, didn’t work. Through my own trial and error, I’ve landed on this guaranteed method for success.
Follow my steps, and tips and tricks, and I guarantee you’ll have success too!
“Thanks so much! I did make this crust and it’s the first time I ever made a pie crust without shrinkage 🙂 I love this method.” — reader Patricia
Blind-bake and par-bake, what do they mean?
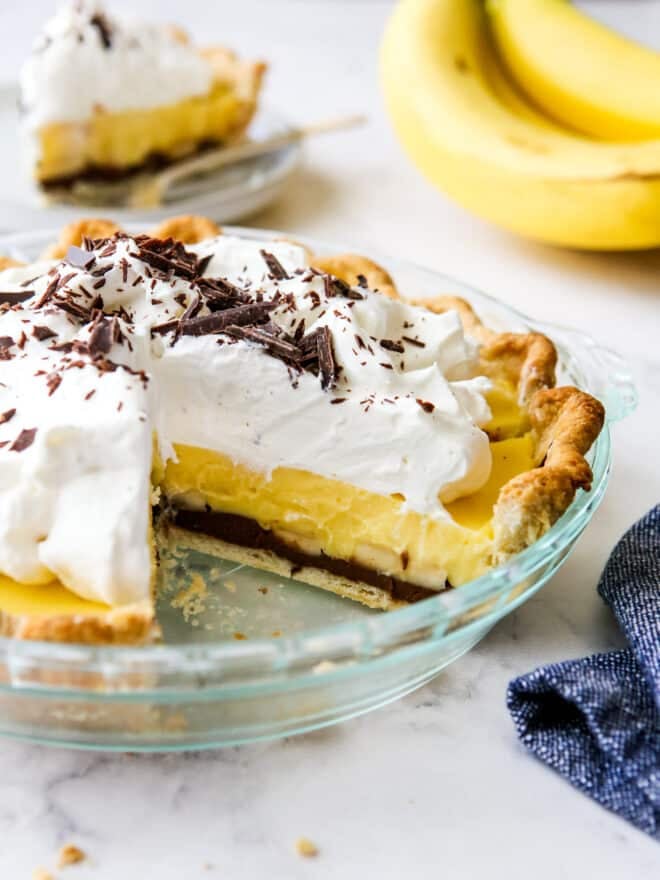
Blind baking means that you bake a pie crust all on it’s own, without a filling. Usually it’s for a pie recipe that has a no-bake filling to be added after the crust bakes. Examples of pies that use a completely baked crust are any kind of cream pie and French silk pie.
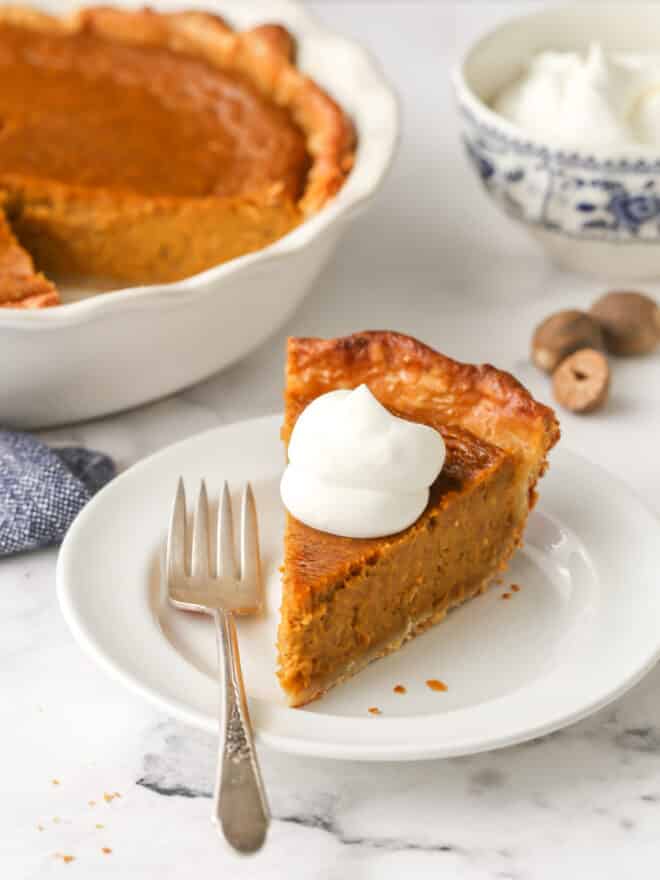
Par-baking, or partial blind-baking, means that you only partially bake the pie shell on its own before adding a filling and returning it to the oven. This is used for pies with a runny filling in order to prevent a soggy bottom crust. Pies that may use this method are custard pies, pumpkin pie, pecan pie, lemon meringue pie and quiche.
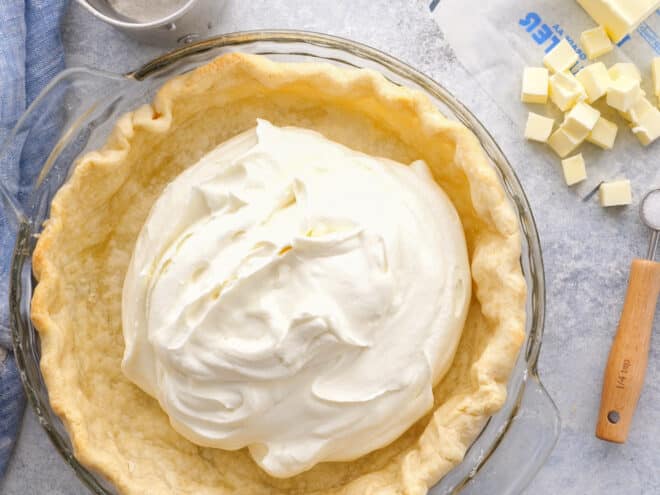
How to blind bake pie crust
Blind baking is quite simple if you follow all 4 of these easy steps (we’ll go more into each of these steps below):
- Prepare pie dough. Use your favorite pie crust recipe!
- Freeze. Freezing the pie crust helps it hold its shape during baking.
- Add baking weights. Weights hold the sides of the pie crust up as it bakes, preventing shrinking and slumping.
- Bake. Baking the crust for long enough ensures it’s completely set in its shape.
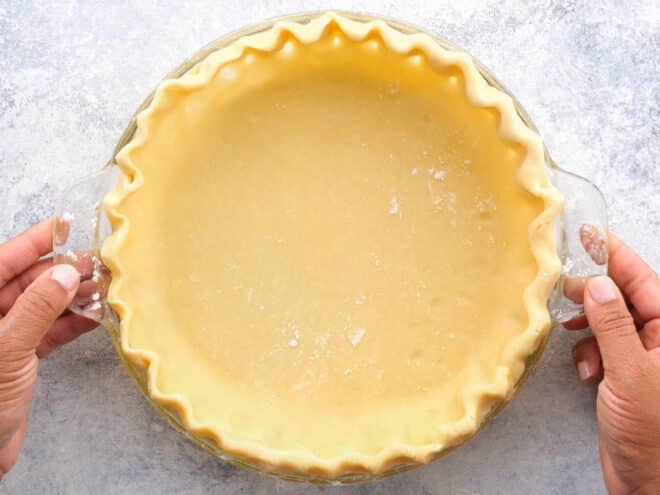
Step 1: Prepare pie crust
You can use whatever pie crust recipe you prefer, but I highly recommend you check out my go-to flaky pie crust recipe and my favorite buttermilk pie crust variation. You can also quickly make pie crust in a food processor! And if you’d rather, follow these same instructions with store-bought crust.
Roll the pie crust out on a lightly floured surface, transfer it to a pie dish or pie plate, and crimp edges as desired.
Step 2: Freeze pie crust for 30 minutes
Once your pie crust is ready to go, chill it in the freezer for at least 30 minutes. Freezing the crust solidifies the butter, preventing it from melting too quickly in the oven, which helps the crust keep its shape.
You can also freeze the pie crust in the pie dish for up to 1 month, just make sure it is tightly double-wrapped with plastic wrap. (This is a great make-ahead option!)
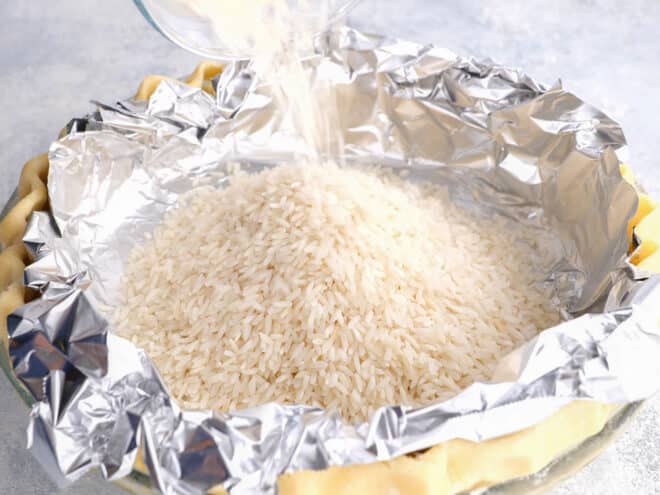
Step 3: Fill with pie weights
If you don’t fill the crust with pie weights, there’s nothing to hold the shape of the pie crust as it bakes, and it will shrink down the sides of the pan or turn out misshapen. Don’t skip the pie weights! You can buy pie weights made specifically for this purpose, but you can also easily use dried rice or beans (my preference, they’re both cheap and easy to find!)
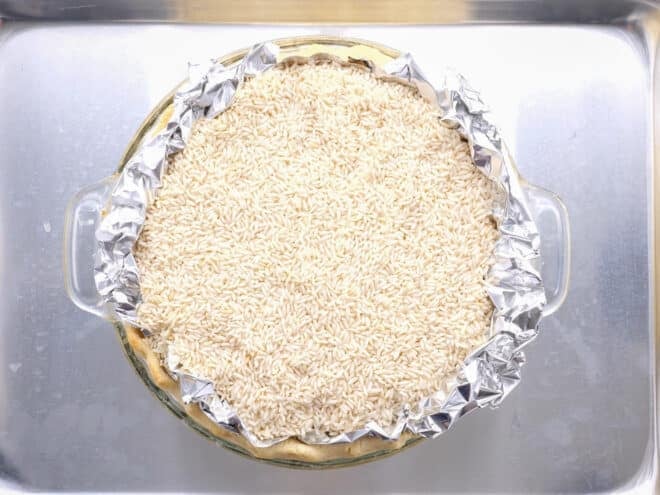
Grease a sheet of aluminum foil or crinkled parchment paper with non-stick cooking spray and press it into the frozen pie crust so that it’s flush with the crust and covers the crimped edges. Use more than one sheet if needed to cover all of the crust.
Next, fill the lined crust all the way to the top with your pie weights. Filling the weights to the top of the crust ensures the crust doesn’t have anywhere to go during baking. If you only fill the crust partially, it will likely shrink down to where the pie weights start.
Step 4: Bake pie crust, fully or partially
Place prepared crust on a baking sheet pan and bake at 425°F for about 20-25 minutes. The edges of the crust should appear completely baked and have just started to turn golden brown.
(Many tutorials I’ve read only say to bake the crust for 10-15 minutes, but in my experience that’s not nearly long enough. If you bake it for too short of a time, the sides of the crust may not be set and the crust could still shrink or slump down when you take out the weights.)
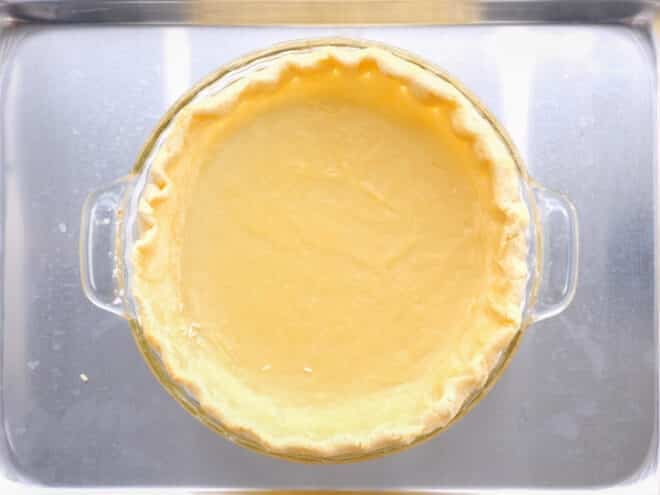
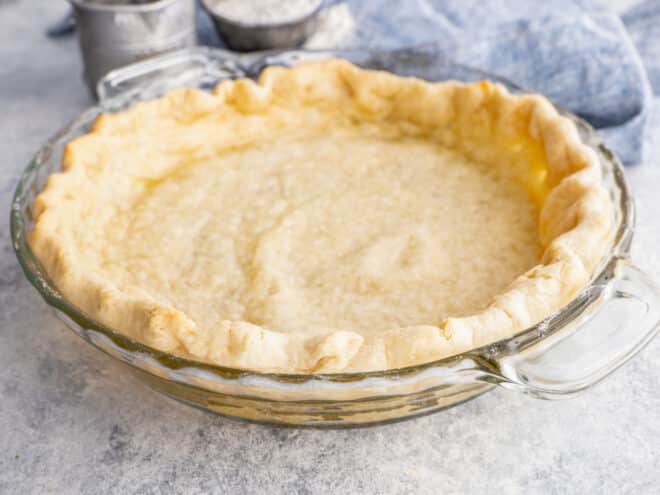
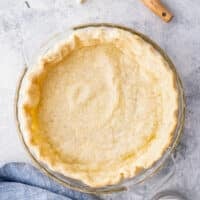
After this first bake, use the edges of the foil to lift the weights out of the pie. If you only need a partially baked crust: you can add your filling mixture and bake the pie according to the recipe instructions. If you need a fully baked crust: dock the bottom of the pie crust with a fork to prevent it from puffing up and bake the crust for 5-10 minutes more until the bottom of the crust is set and dry.
Tips for success
- Store and reuse weights. Dried rice and beans can be used over and over again as pie weights. Let them cool completely, then store in an airtight container. I’ve used the same rice for years! If you’ve purchased pie weights, clean and dry them before storing.
- Foil vs. parchment paper. I prefer to use foil for lining the pie crust because it can mold to fit it completely, and will lay flat over the edges so they don’t burn. If you want to use parchment paper, measure it out and then squish it into a tight ball to soften it, then use it to line the pie pan.
- Watch edges so they don’t burn. Sometimes par-baking can result in uneven browning. If you notice the edges are browning too quickly, make sure they’re well covered with the foil. During the second baking (when you remove foil and weights), you can cover the edges with a foil pie shield,
- Don’t skip a step. If you think you don’t really need to use pie weights, or maybe you can skip the freeze time— don’t! Success is worth it!
- If you want a golden shiny crust, brush the edges with an egg wash made of 1 whisked egg + 1 tablespoon of water before baking.
- De-puff while the crust is still hot. If the bottom of the crust puffs up after its second baking, simply push it back down with the back of a spoon. You have to do this when it’s hot from the oven and not cooled and set.
- Don’t stress if crust is a little misshapen. Sometimes the crust still slumps slightly in places, or maybe the crust comes out unevenly. It’s okay! Once the filling is in and your beautiful pie is complete, it won’t be as obvious and no one will care.
- Storage and make-ahead instructions: A completely baked pie crust can be stored at room temperature for up to 3 days, or in the freezer for up to 1 month.
Pie recipes

How to Blind Bake Pie Crust
Ingredients
Instructions
- Roll pie crust out on a lightly floured surface, transfer it to a pie dish, and crimp edges as desired.
- Place prepared pie crust in the freezer for at least 30 minutes. You can also freeze the pie crust up to 1 month, just make sure it is tightly double-wrapped with plastic wrap.
- Grease a sheet of aluminum foil with non-stick cooking spray and press it into the frozen pie crust, covering the crimped edges (use more than one sheet of foil if necessary).
- Fill the foil-lined crust all the way to the top with either pie weights or dried beans or rice.
- Place prepared crust on a sheet pan and bake at 425°F for about 20-25 minutes. The edges of the crust should appear completely baked and very lightly browned.
- Use the edges of the foil to lift the weights out of the pie. Transfer to a large bowl to cool, then store weights or beans/rice.
If you need a partially blind baked crust (usually for pies with a more runny filling):
- Add your filling immediately and bake the pie according to the recipe instructions.
If you need a fully blind baked pie crust (usually for pies with a no-bake creamy filling):
- Dock the bottom of the pie crust with a fork to prevent it from puffing up, and bake the crust for 5-10 minutes more until the bottom of the crust is set and appears dry. (If the bottom of the crust puffs up, just simply push it back down with the back of a spoon.)
- A completely baked pie crust can be stored at room temperature for up to 3 days, or in the freezer for up to 1 month.
Video

This tutorial was originally published November 2016.

Blind baking a pie crust is a crucial step for achieving a perfectly crisp and flaky base, especially for pies with no-bake or partially baked fillings. This technique involves pre-baking the crust before adding the filling, which helps prevent sogginess and ensures a well-cooked bottom layer.
I’m not good at cooking, but I wanna do something for my grandma. That’s sweet.
Thanks a lot! This crust was actually made by me, and it was the first pie crust I’ve ever made without shrinkage. I adore this approach.
what temperature and how long do you bake an apple pie or any fruit pie?
I’d follow the instructions of the apple or fruit pie recipe you’re using. Hope this helps!
Great info! I will visit your site Kalonkis xelosani more often for me to be updated. The idea I gather from here can’t be payed by money. Thanks a lot!
WOW! This looks gorgeous AND delicious!
In the beginning, it says to blind bake at 425 for 30 minutes. In the instructions it says to bake 20 minutes. Should I split the difference? ?
Also, what prevents the fluted edges of the crust from getting too brown if it’s blind baked earlier?
Thanks
Oops, thanks for catching my goof! I changed both places to now say 20-25 minutes, or until the edges are completely baked and golden brown. If the edges get too brown during the second baking, you can cover the edges with foil. To do this, measure out a piece of foil slightly larger than your pie. Fold in half and cut out a half circle (that will become a circle once unfolded) about 3-4 inches in diameter. Place over pie so that edges are covered. I hope this helps!
Lower rack? Middle rack? Where do you put the rack??
Unless otherwise stated, I always bake on a single rack in the middle of the oven. My second rack in then underneath in the bottom third, unused. If I absolutely have to bake on two racks at once I put them in the top and bottom thirds.
Thanks so much! I did make this crust and it’s the first time I ever made a pie crust without shrinkage 🙂 I love this method.
Yay! So happy to hear it worked for you.
I notice you use a glass (probably Pyrex) pie pan which I prefer also. But do you ever worry that going from freezer to hot oven will crack the glass?
I think that’s the beauty of pyrex? That it’s supposed to withstand temperature changes unlike regular glass? Either way, no I have never worried about it nor had a problem with it!
Thank you! I’ve tried blind baking crusts before and always ended up with weird, not baked things with melted butter oozing around. Except for that time I tried out a lard crust which basically disintegrated and lit the bottom of my oven on fire. While my husband was standing there to witness the whole disaster. Of course. But this way makes much more sense. I even read an article recently about using sugar as your pie weights, which doesn’t hurt the sugar at all and gradually toasts it the more times you use the same sugar. I was considering a Vidalia onion pie for an upcoming Christmas party and I think this makes me brave enough to try! Thanks!
This looks like the perfect pie crust! Great guide 🙂
Baking blind is one of the best things for perfect crust every time! Thank you for giving detailed instructions here.