

Peppermint Meringues
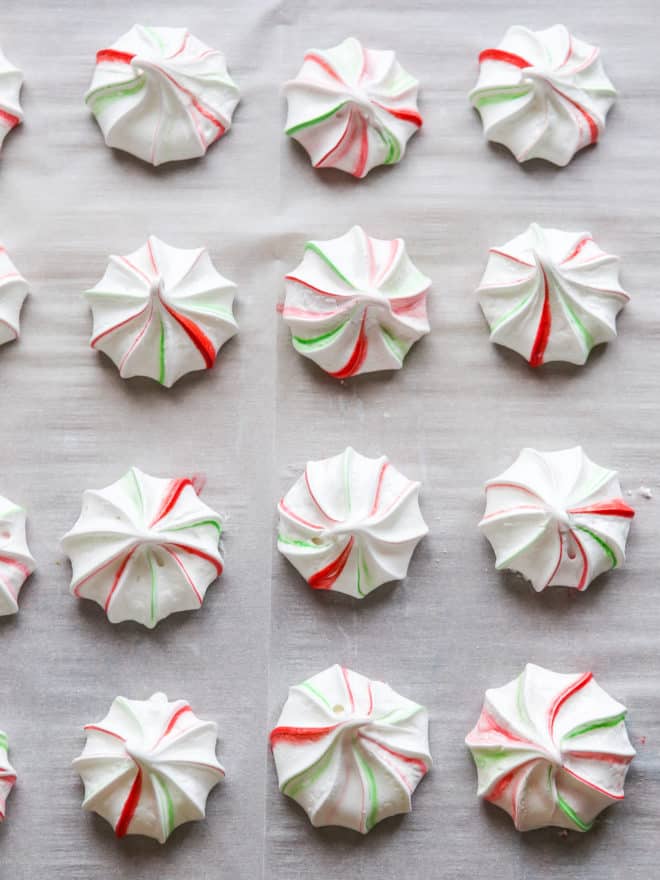
These festive red and green-striped peppermint meringues are super simple to make and a fun treat for the holidays!
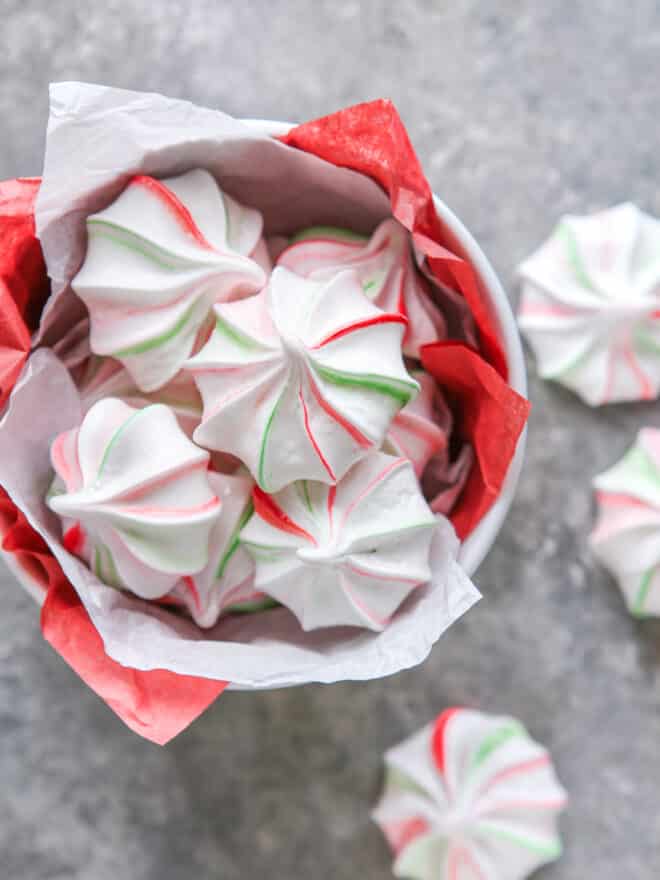
All you need is just 4 ingredients and only a few minutes of active work to make these peppermint meringues— your oven does the rest! They’re light and airy, with a crisp outer layer and a chewy center.
Just look how cute these bite-sized peppermint meringues are! They’re a lot of fun to make too. And they’d be perfect for an edible gift, on a cookie tray, or treat anytime this holiday season.
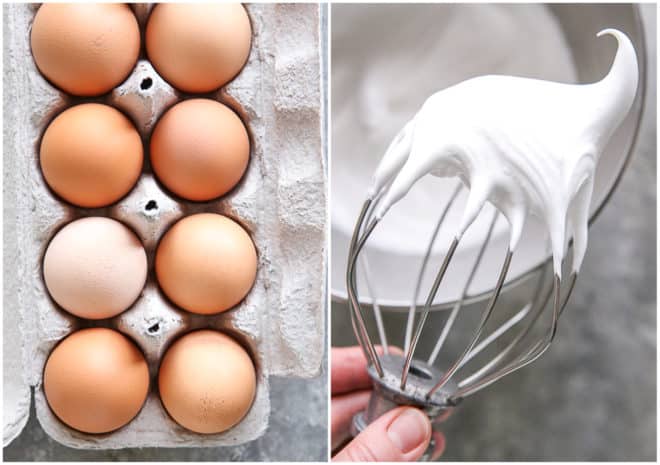
Ingredients You’ll Need
- Egg whites
- Granulated sugar
- Peppermint extract
- Red and green gel food coloring
How to Make Peppermint Meringues
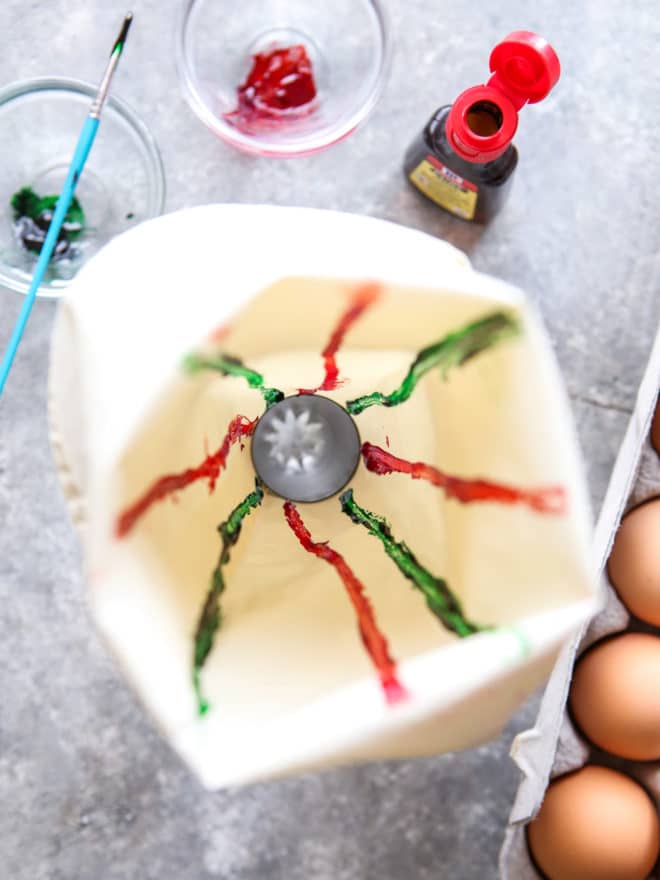
- Prepare piping bag. Use a paint brush to lightly brush red and green food coloring in stripes up the sides of a piping bag fitted with a star tip.
- Warm egg whites and sugar. Place egg whites and sugar in the bowl of a stand mixer and place over a pot of simmering water. Stir frequently until sugar is dissolved.
- Whip to stiff peaks. Beat egg white mixture with the wire whisk attachment at high speed until meringue holds a stiff peak, about 4-5 minutes.
- Fill piping bag. Use a spatula to scoop meringue into the piping bag.
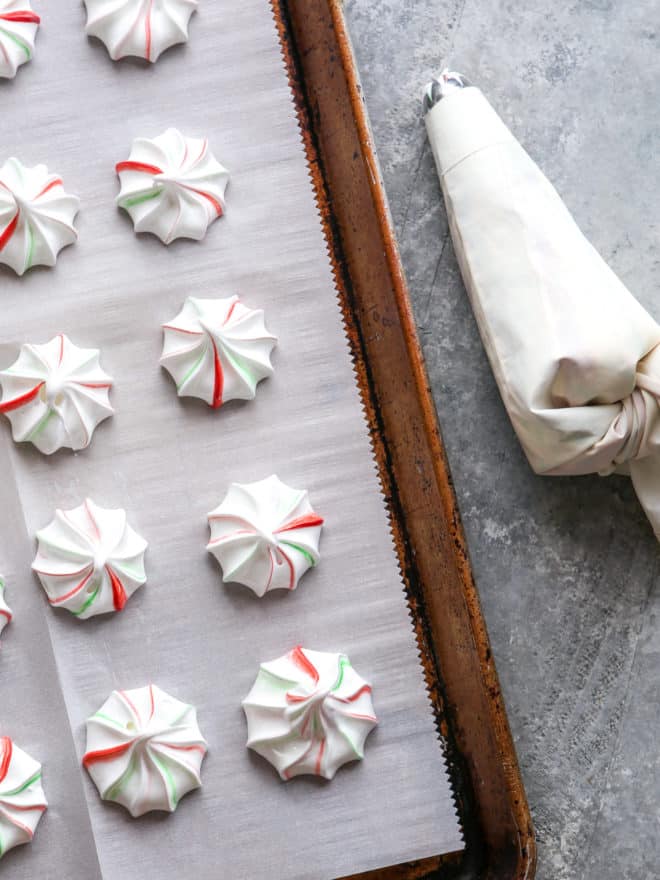
- Pipe onto sheet pan. Pipe out meringue into a bowl until color starts to come through, then pipe starbursts onto a sheet pan lined with parchment.
- Bake. Bake at 175°F until meringues are crisp but not at all browned, about 2 hours.
- Store. Once cooled, store in an airtight container for about a week.
Tips for this Recipe
- Your mixer bowl and whisk attachment need to be clean and completely free of any grease or fat or your egg whites will not whip up properly.
- To properly separate your eggs, making sure no yolk (i.e. fat) contaminates your whites, see my tutorial here.
- Gel food coloring is required for this recipe, as liquid food coloring won’t stick to the sides of the piping bag.
- I prefer to use a stand mixer when whipping meringues, but a hand mixer would work too.
Can I Make this Recipe without a Piping Bag & Tip?
Yes! I love the looked of these piped meringues, and if you don’t have a piping bag, follow this tutorial for how to use a plastic ziplock bag instead. But if you prefer, you can skip the bag altogether. Instead, do your best to swirl the food coloring into the whipped whites and use a cookie scoop. What your meringues lack in presentation, they’ll more than make up with flavor.
Shop Tools for this Recipe
This recipe was originally published December 2010.
Peppermint Meringues
Ingredients
- 3 (105 grams) large egg whites
- ¾ cup (150 grams) granulated sugar
- ½ teaspoon peppermint extract
- red and green gel-paste food coloring
Instructions
- Preheat the oven to 175°F and line 2 sheet pans with parchment paper.
- Put the egg whites and sugar in the metal bowl of a stand mixer. Place over a pot of simmering water and stir occasionally until the sugar is dissolved and the mixture is warm, about 3 minutes.
- Return the bowl to the stand mixer and beat on high with a whisk until the meringue reaches stiff peaks, about 5 minutes. Add the peppermint extract.
- Use a small paint brush to paint the inside of a pastry bag fit with a medium star tip with 3 stripes each of the red and green food coloring.
- Fill the pastry bag and pipe into 2 inch sized stars on the prepared sheet pans (Note, the first little bit of meringue to come out of the pastry bag will not have the stripes because it was inside the tip and not the bag. Pipe it out into a bowl until you see the stripes, then begin piping the stars).
- Bake for about 2 hours until meringues are crisp but not browned. They should peel off the parchment easily. Let cool and store in an airtight container for up to 1 week.
Video
Notes
NOTES
- Your mixer bowl and whisk attachment need to be clean and completely free of any grease or fat or your egg whites will not whip up properly.
- To properly separate your eggs, making sure no yolk (i.e. fat) contaminates your whites, see my tutorial here.
- Gel food coloring is required for this recipe, as liquid food coloring won't stick to the sides of the piping bag.
- I prefer to use a stand mixer when whipping meringues, but a hand mixer would work too.


Just made these today. I just don’t understand all the comments about the egg whites not whipping to stiff peaks. I am very basic novice at candy making. But I followed the recipe to the T and the meringues are perfect! I didn’t need cream of tartar. I used 9 tbsp All Whites (equivalent to 3 large egg whites). Be careful of the double boiler so you don’t get scrambled egg whites. And I highly suggest waiting till they are completely cool to take off the parchment. I loosened a few too early and the underside was tstill tacky and kind of collapsed. These are beautiful and delicious! I think next time I will add cocoa extract for a chocolate peppermint meringue.
I do not see the quantity. Ie. How many eggs, how much sugar?
The full recipe with quantities is at the bottom of the post! 🙂
Any tips on how tom paint the bag and fill it without making a huge mess and lessening the intensity of the color? I just did a trial run and wound up with bright red hands and wimpy pink stripes!
So I made these and followed all the directions, I saw ppl complain about there egg whites not turning out right and id have to say my were easy and turned out fabulous!!!!! Perfect. Thanks for the recipe.These will be a huge hit at ny Christmas party. Wish I could post a pic, they look just as the pictures 🙂
Yay! Thanks so much for the comment Missy, and I’m so happy you enjoyed the recipe!
I followed this recipe to a “t” despite my misgivings, and sure enough I beat these for 20 minutes without getting any stiffness. I started again and this time did the meringue properly: beat egg whites, extract, and cream of tartar, then slowly added the sugar. You must have magical eggs to be able to get stiff peaks when adding the sugar all at once in the beginning! I do like the tip of letting the egg whites warm up over simmering water as I always forget to let mine get to room temperature.
I add the sugar all at once and let it dissolve into the egg whites over the stove before whipping (it’s called a “swiss meringue”). In my opinion, this produces a more stable meringue. You’re right, if I were just to add all the sugar at once to cold or even room temp eggs before whipping it wouldn’t work.
These look so festive and delicious! I’ve never made meringues before, but you’re inspiring me!
Did you change the picture (and possibly the recipe) recently? I saved this page a week or so ago and it looks different now!
Yes, I just updated the photos. But the recipe is the same!
You seriously bake these for TWENTY (20) hours!?!
Oops, thank you for catching my typo so quickly! They should be baked for 2 hours. 🙂
Bake for 20 hours ???? You posted 20 hours???
Nope, just two. 🙂 Sorry for the confusion!