Frosted Brownie Cut-Outs
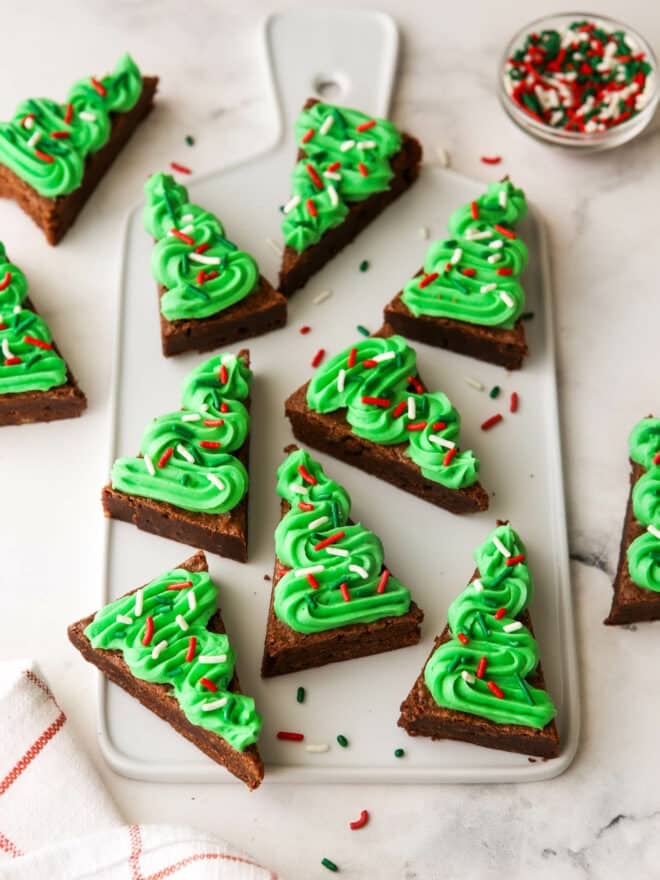
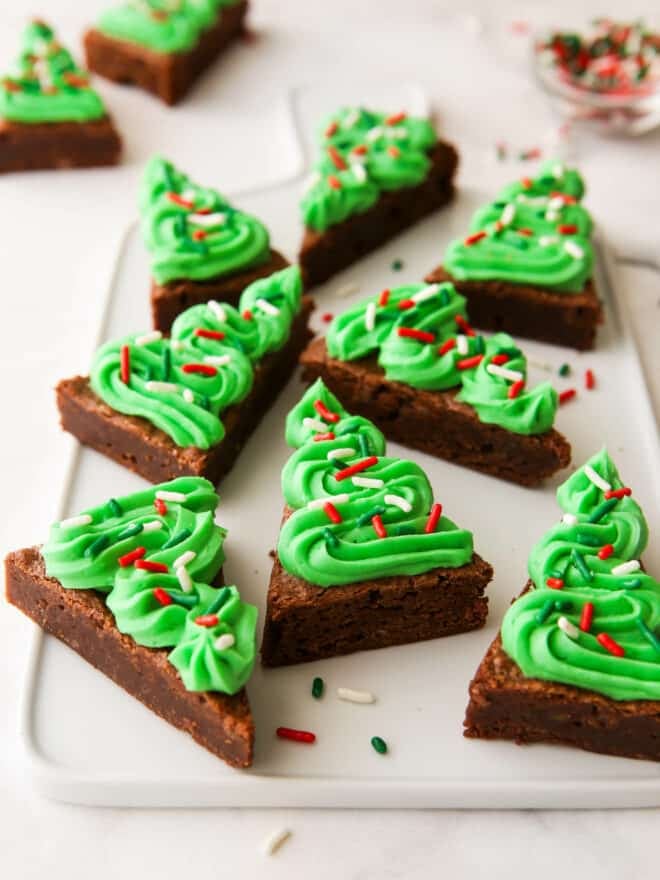
These frosted brownie cut outs are a festive and unique addition to any holiday party or cookie exchange. Everyone will love these rich and fudgy brownies frosted with fluffy buttercream frosting to look like Christmas trees, or whatever else your creativity can dream up!
While frosting sugar cookies is a beloved holiday tradition for many of us, these brownie cut out “cookies” are a fun alternative. And they’re much easier to make too! There’s no chilling, rolling, or cookie cutters required.
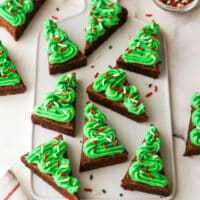
I’ve simply taken my favorite one-bowl homemade brownies recipe, cut them into triangles, and topped them with green-tinted vanilla buttercream frosting and sprinkles to look like Christmas trees.
Just look at how cute and fun they are! And you better believe they taste delicious too. If you’re searching for something different for your cookie exchange or holiday party, these frosted brownie cut outs are it!
Table of Contents
- Ingredients you’ll need
- How to make brownie cut outs
- How to cut the brownies to look like Christmas trees
- Flavor variations and more decorating ideas
- Tips for this recipe
- More brownie recipes
- Get the recipe
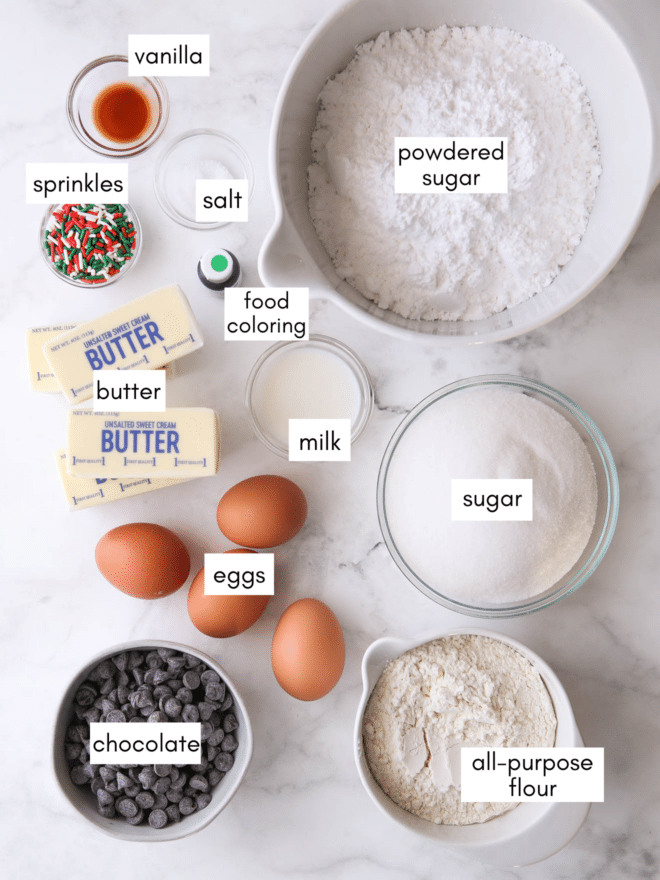
Ingredients you’ll need
How to make brownie cut outs
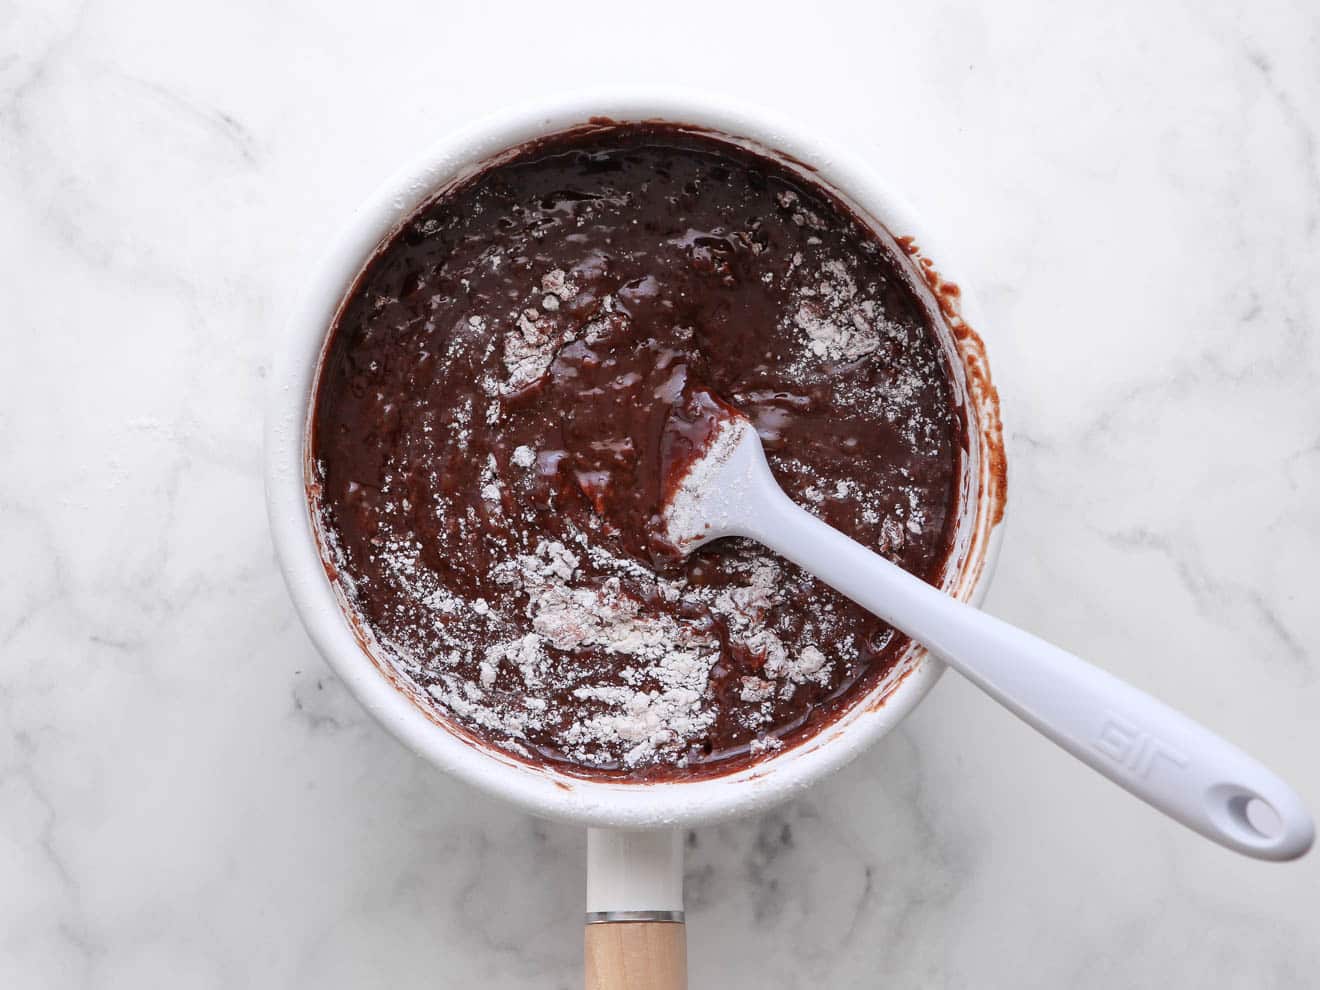
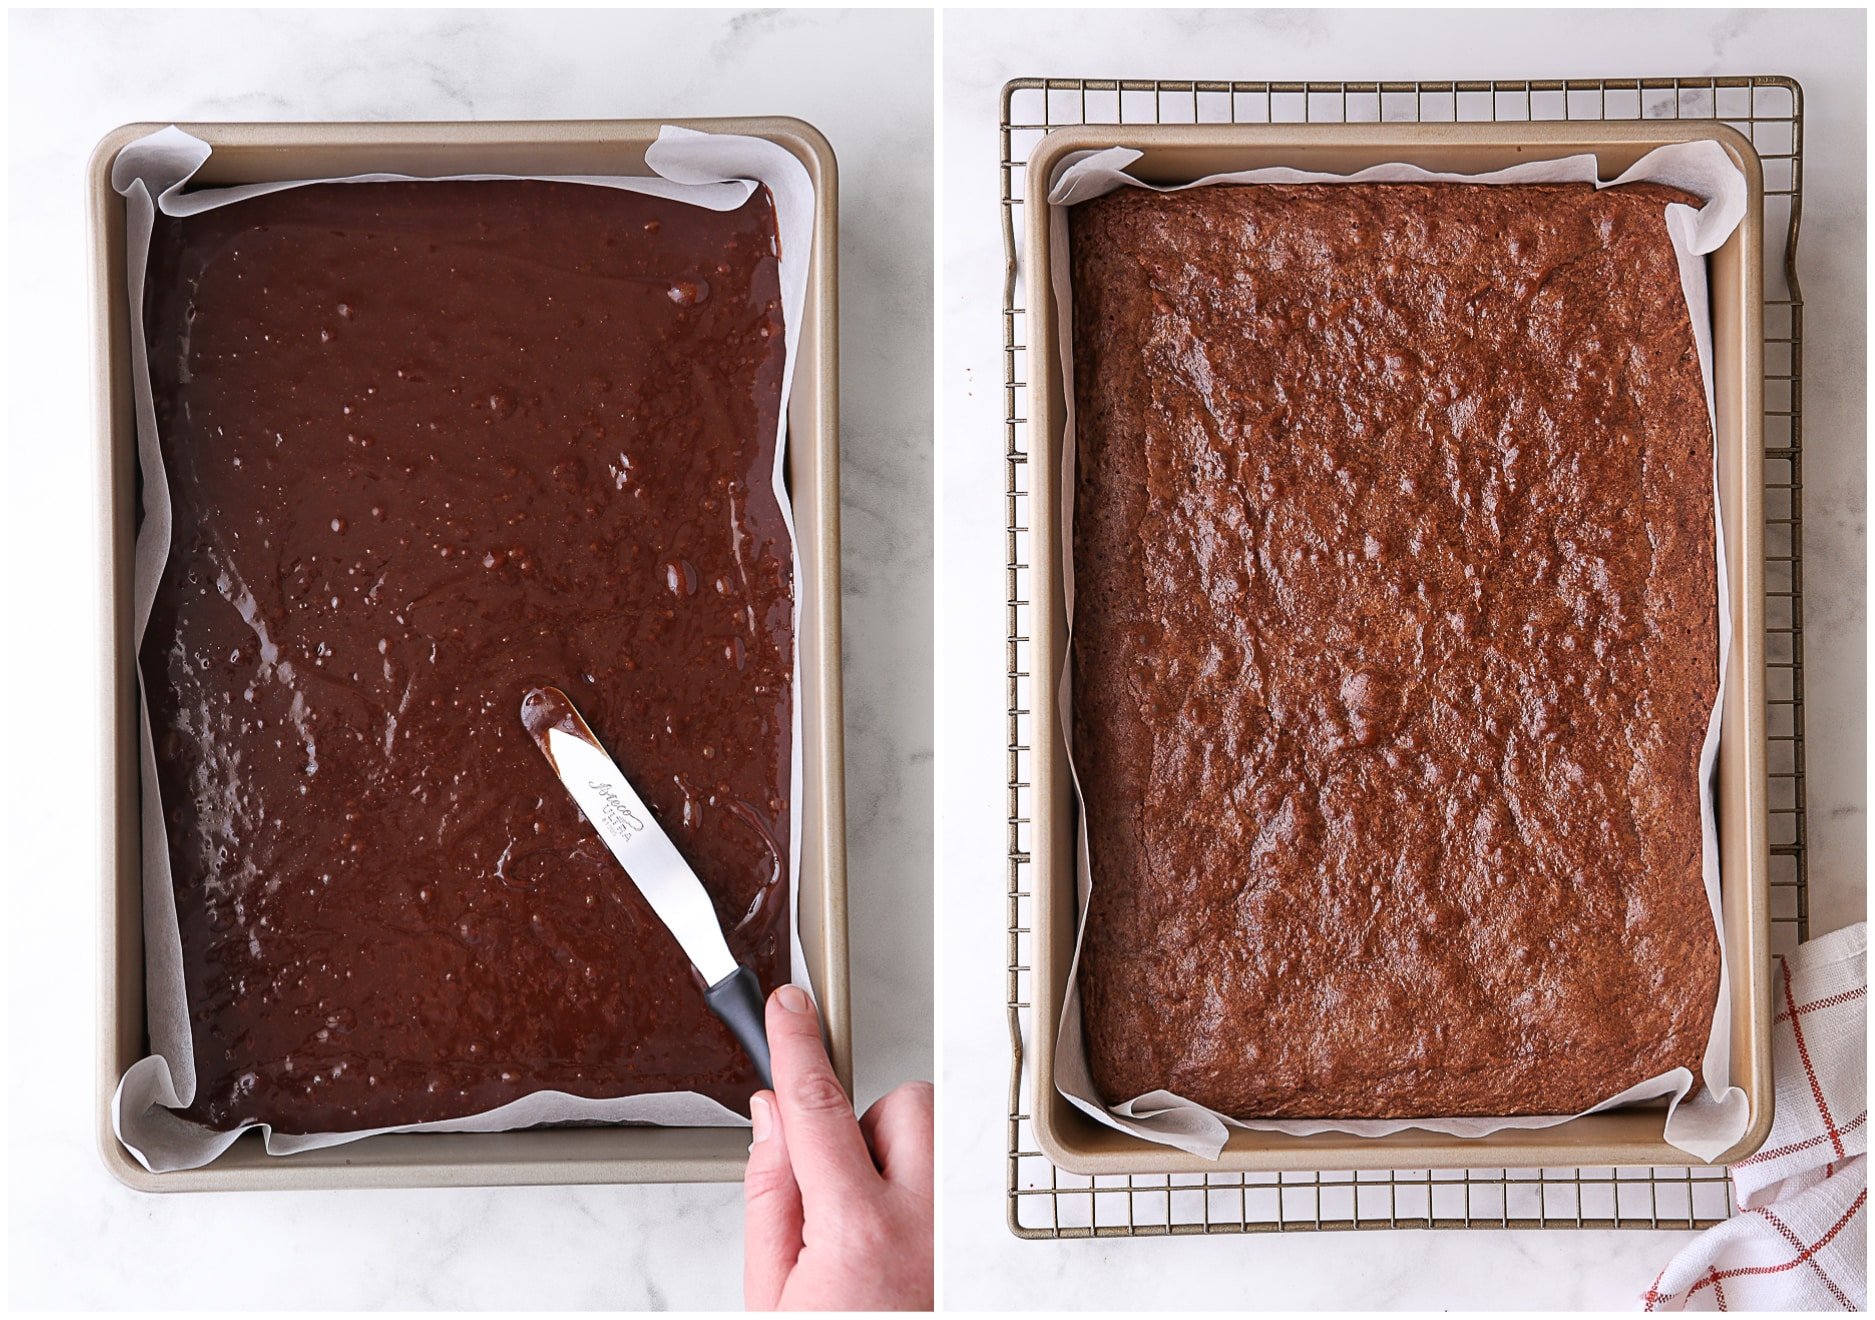
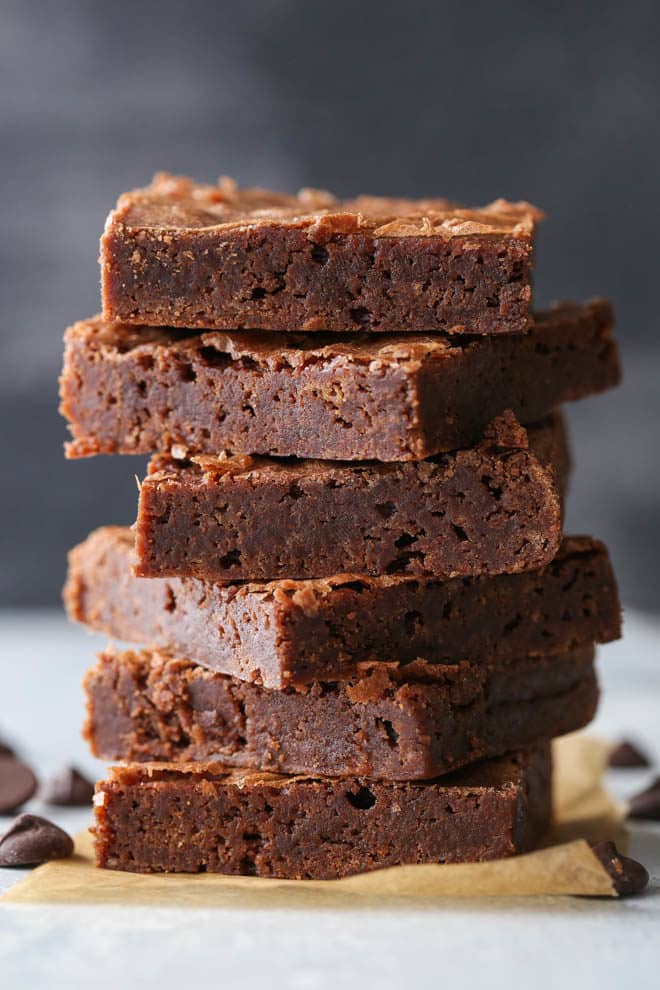
- Make brownie batter. These brownies are an easy one-bowl recipe! Melt butter and chocolate together, then stir in sugar and eggs individually. Add vanilla, flour and salt and mix just until dry ingredients are combined.

- Bake. Pour brownie batter into a greased 9×13-inch pan and bake at 350°F for 20-25 minutes until the edges are slightly puffed and set, and the surface of the brownies appears dry.

- Cool & slice. Let the brownies cool completely in the pan, then transfer to a cutting board and cut into triangles. More detailed info on this below!
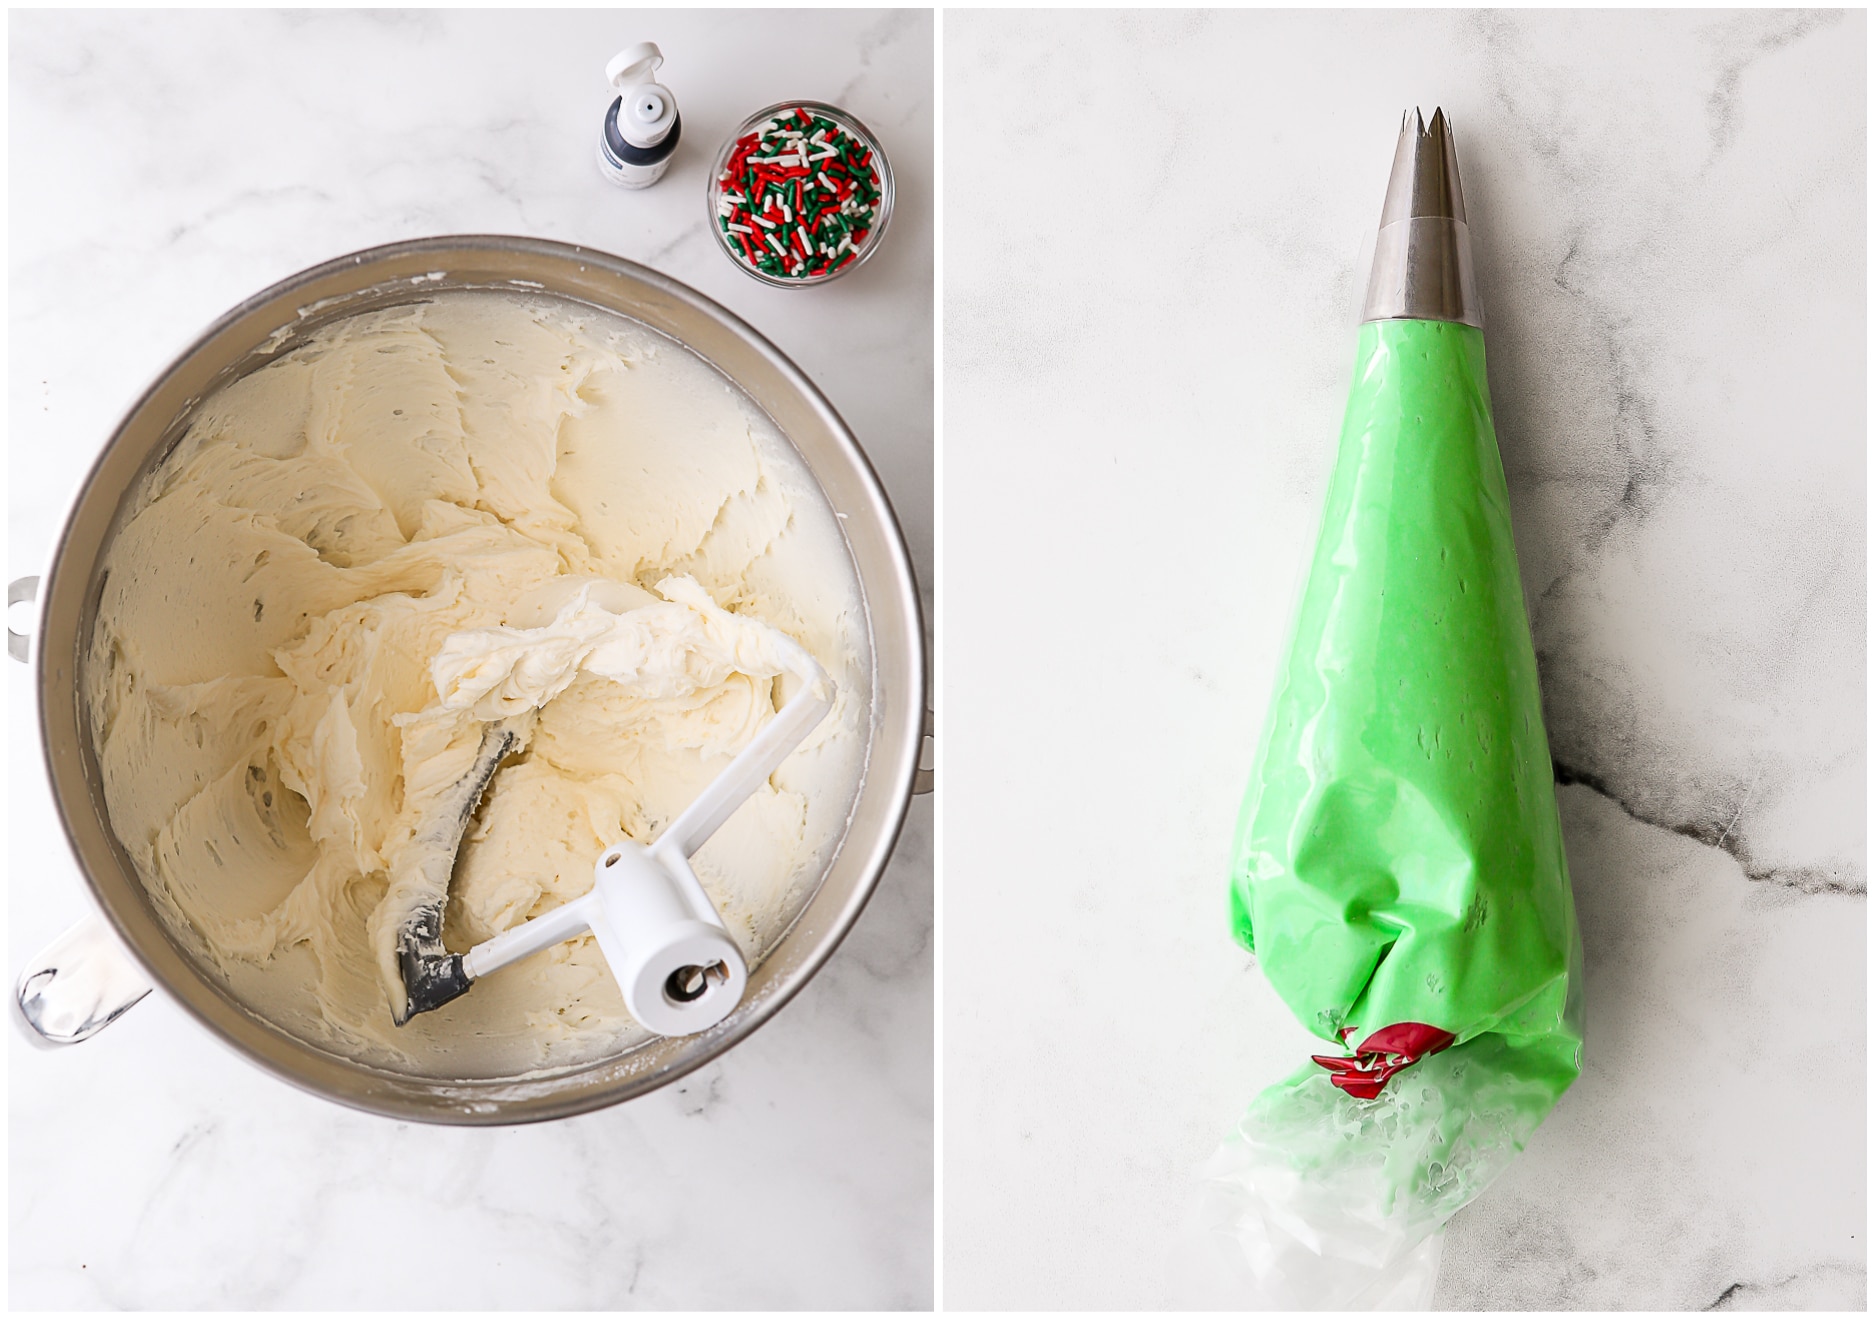
- Make frosting. With an electric mixer, beat the butter, powdered sugar, milk and vanilla on low until combined, then increase speed and beat on medium high until light and fluffy. Stop to scrape the bowl down, if needed. Add gel food coloring as desired.
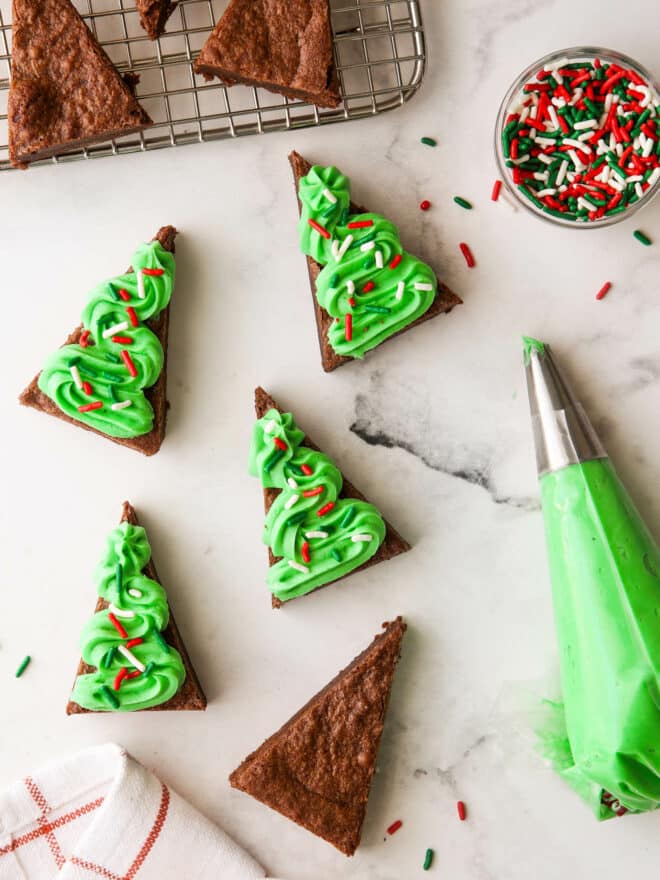
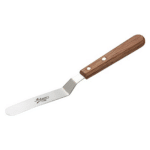
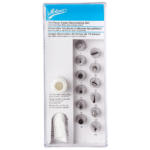
- Decorate. Use a piping bag and tip to pipe frosting on top of the brownies. I like to use a star tip and a swooping motion, but you can get creative. If you don’t want to pipe, simply frost with a spatula. And don’t forget some festive sprinkles!
- Enjoy! Serve these brownies right away or store for later. If desired, arrange them on a festive platter or party tray for serving.

How to cut the brownies to look like Christmas trees
These frosted brownie cut outs are easy to make, but it does require just a bit of forethought (and maybe a ruler) to cut them correctly. Here’s more detail on how to do it:
- Cut the brownies into 4 strips parallel to the short sides so you have 4 long rectangles.
- We’ll cut each long rectangle into 7 isosceles triangles (meaning 2 sides have the same length but there’s no right 90° angles). This shape will look the most tree-like.
- Cut from one bottom corner of the brownies diagonally across to the other edge 1 inch in. Then cut diagonally again back to the other side another 1 inch in. Repeat until you’ve cut 7 triangles. (You’ll have 2 half-triangle scraps on either side— perfect for snacking!)
- Repeat with the rest of the brownies until you have 28 total brownie triangles.
Flavor variations and more decorating ideas
- Add 1/2 teaspoon peppermint extract to the brownies and/or the frosting to make these brownie cut outs peppermint flavored.
- Top with fudge buttercream frosting if you prefer chocolate frosting.
- Decorate triangle-shaped brownies with white and red frosting to look like Santa hats.
- Cut brownies into traditional squares and frost to look like Christmas gifts.
- Use cookie cutters to cut cooled brownies into traditional holiday shapes.
- Get creative! Use any shape, frosting color(s), and sprinkles you like.
baking tip:How to tell when brownies are done
For the gooey-est brownies, bake for the minimum baking time listed on the recipe. And when in doubt, take them out! As the brownies will finish setting up in the pan as they cool.
Tips for this recipe
- Use parchment paper! Lining the pan with parchment paper so it has overhanging edges makes it really easy to just lift the cooled brownies out of the pan for slicing. (Greased foil will work too.)
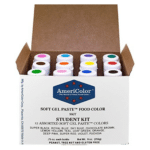
- Use gel food coloring. For the most vivid colors that don’t affect the consistency of your frosting, gel food coloring is preferred over liquid food coloring. Wilton and AmeriColor brands can be found in craft and baking stores, and Betty Crocker also makes some that can be found at most grocery stores.
- Brownies keep very well if made in advance. Store them in an airtight container at room temperature for up to 1 week, or covered with plastic wrap in the freezer for a month or more. Frosted brownies can be stored similarly, though you’ll want to be careful to let the frosting sit and develop a “crust” so it won’t smudge during storage.
More brownie recipes
Get the recipe
This recipe was originally published December 2013 in partnership with Go Bold With Butter.
Frosted Brownie Cut-Out Cookies
Ingredients
For the brownies:
- 1 cup unsalted butter , cut into cubes
- 6 ounces bittersweet chocolate , chopped or use chips
- 1 ½ cup granulated sugar
- ¼ teaspoon salt
- 4 large eggs
- 1 teaspoon vanilla extract
- 1 ½ cups all-purpose flour
For the frosting:
- 1 cup unsalted butter
- 4 cups powdered sugar , sifted
- 2 teaspoons vanilla extract
- Pinch salt
- 2-3 tablespoons milk
- Food coloring , as desired
- Sprinkles , as desired
Instructions
To make brownies:
- To make the brownies, preheat oven to 350°F. Grease a 9×13-inch baking dish or line with parchment paper.
- In a saucepan set over low heat, melt the chocolate and butter. Stir until smooth. Remove from heat and add sugar and salt. Add the eggs one at a time, mixing after each. Stir in the vanilla extract. Add the flour and stir until just combined.
- Pour batter into the prepared baking dish and bake until edges are set and the middles appear dry, about 20-25 minutes. Let cool completely.
To make frosting:
- In the bowl of a stand mixer fitted with a paddle attachment, or in a bowl with a hand mixer, beat together the butter, powdered sugar, vanilla extract, salt and 2 tablespoons of milk on low speed until smooth.
- Increase speed and beat until frosting is light, fluffy and creamy, pausing to scrape down the bowl if needed. Add more milk if needed to get the right spreadable consistency.
- Color as desired with food coloring (I used green).
To cut and decorate into Christmas trees:
- Cut cooled brownies into 4 long rectangles parallel with the short edges. Taking one rectangle at a time, cut from one corner diagonally across to the other edge 1 inch in. Then cut diagonally again back to the other side another 1 inch in. Use a ruler if you have one to make sure all cuts are even.
- Repeat until you've cut 7 triangles, then repeat with the remaining brownie strips until you have 28 total triangles. You'll have a few scraps leftover from each side, which make great snacks!
- Use a piping bag and tip, or a spatula, to top brownie triangles with the frosting. Add sprinkles as you like.
- Store brownies in an airtight container at room temperature for up to 1 week, or well-wrapped with plastic wrap for a month or more. Be careful to let the frosting set up an develop a "crust" before storing, especially if you plan to stack brownies on top of each other.

I think you are pretty expert at baking and decorating these brownies in my books. They are too cute!
Aww so fun! These are so festive!
These are so fun!!
EEEEEK!!! These are flipping soooooo cute! And go Team Brownie!
Cut out cookies have never been my favorite treat, but brownies?? I can get down on some brownies! Fabulous idea. Loved virtually “meeting” and chatting with you tonight!
Such a cute idea! I have SO many cookies cutters, but never use any of them because I just don’t love cut out cookies and decorating can be a pain…this is a way better (and tastier) alternative!
It´s a great an easy idea. You have an incredible hability to cook.
Can’t wait to try, will be making for Valentines Day.